Please follow the steps below to perform the cableless setup method.
 Make sure the computer (B) is connected to the access point or router (A) first before you setup the printer.
- Refer to the product's instruction manual or contact the manufacturer if you have any questions.
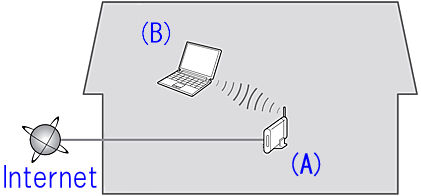
Printer cableless setup
-
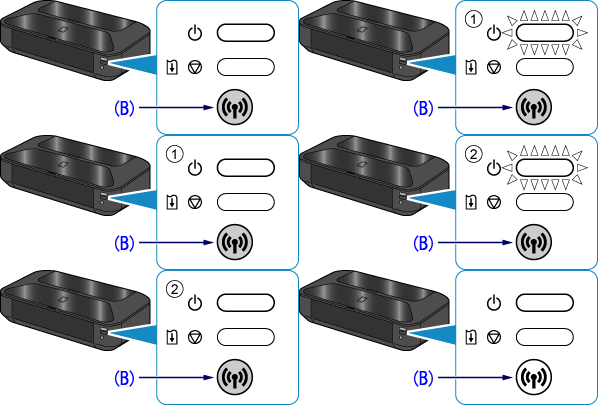
Make sure that the printer is turned on. The white power lamp (A) will be lit.

-
Hold down the Wi-Fi button (B) on the printer until the white power lamp flashes 2 times, then release the Wi-Fi button after the second flash.
-
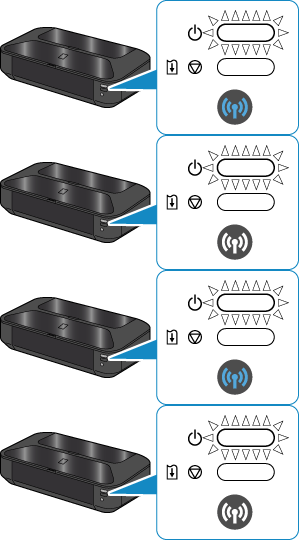
Make sure that the blue Wi-Fi lamp flashes quickly and the white power lamp is lit.
-
The printer is now ready for wireless LAN connection via the cableless setup method.
Software installation.
 Installation notes:
-
Quit all applications before installation.
-
Log on with an administrator account.
-
Internet connection may be required during the installation. Connection fees apply.
- Insert the CD-ROM into the computer.
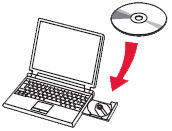
 If your computer does not have the CD-ROM drive or you do not have the Setup CD, follow the steps given below:
-
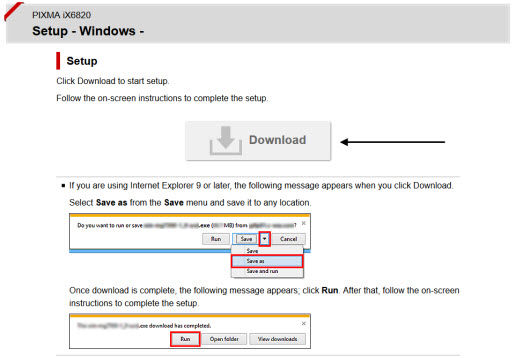
Download the software from our website.
-
Select Download. The setup file will be downloaded.
-
Double-click the downloaded .exe file.
-
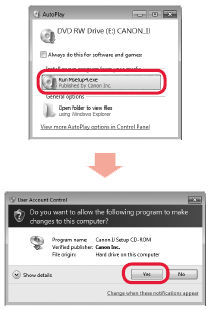
Select Run Msetup4.exe on the AutoPlay screen, then choose Yes or Continue on the User Account Control dialog box.
-
If the User Account Control dialog box reappears, select Yes or Continue.
-
If the CD-ROM does not autorun, Double-click (My) Computer, then the CD-ROM icon, and finally MSETUP4.EXE.
-
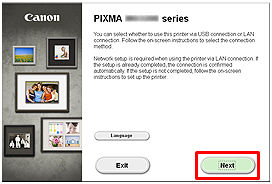
Select Next.
-
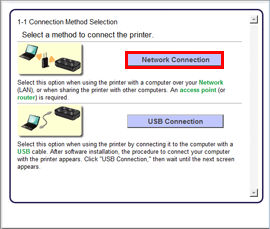
Select Network Connection.
-
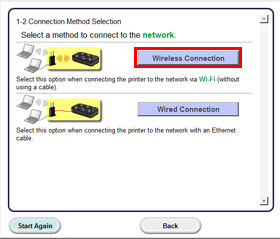
Select Wireless Connection.
-
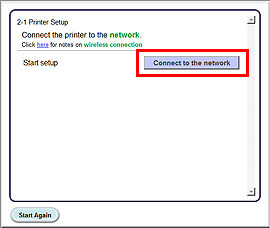
Select Connect to the network.
-
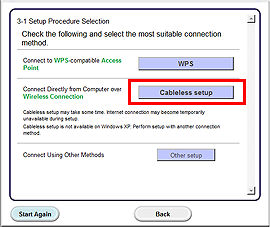
Select Cableless setup.
-
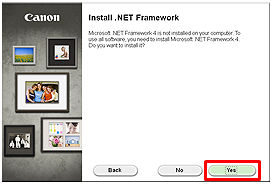
If the .NET Framework screen appears, select Yes.
-
Select Next. Follow any on-screen instructions to proceed with the software installation.
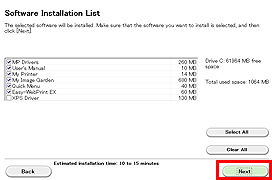
 Easy-WebPrint EX is Web print software that is installed on the computer. Internet Explorer 7 or later is required to use this software.
-
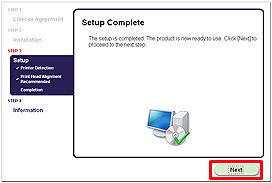
When the Setup Completion dialog box appears, select Complete.

-
Select Next.
-
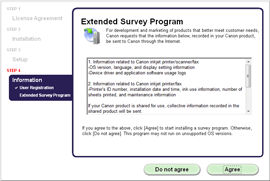
The Extended Survey Program appears. You can select Agree or Do not agree. If you select Do not agree, the Extended Survey Program will not be installed. This has no effect on the printers's functionality.
-
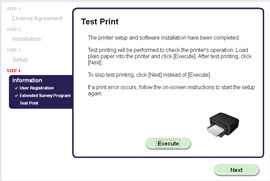
The Test Print window is displayed. Load plain paper into the printer and choose Execute. After the test print select Next. To skip the test print, choose Next instead of Execute.
-
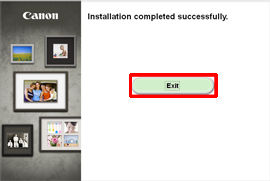
Select Exit to complete the installation.
-
Remove the Setup CD-ROM and keep it in a safe place.
-
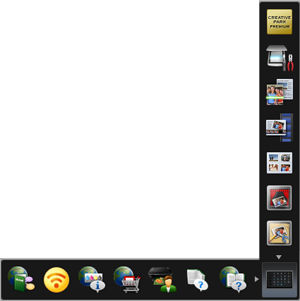
The Quick Menu starts.
-
The Cableless setup method is now completed.
If your product issue was not resolved after following the steps above, or if you require additional help, please create or log in to your Canon Account to see your technical support options.
Or if you still need help, visit our Canon Community by clicking the button below to get answers:

____________________________________________________________________________________________


