Before Starting
The available options in this app may vary depending on the printer model being used.
Follow the steps below to print a picture in Canon PRINT:
-
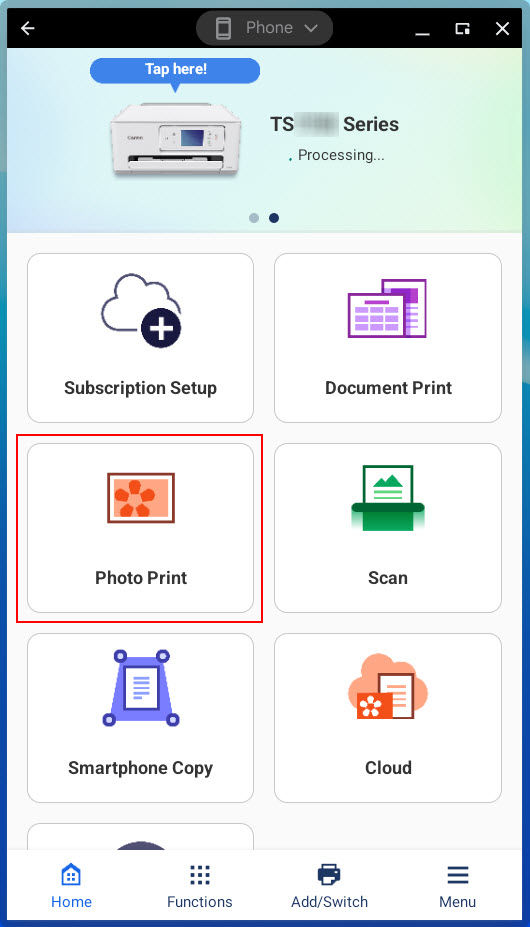
From the main screen, tap Photo Print.
-
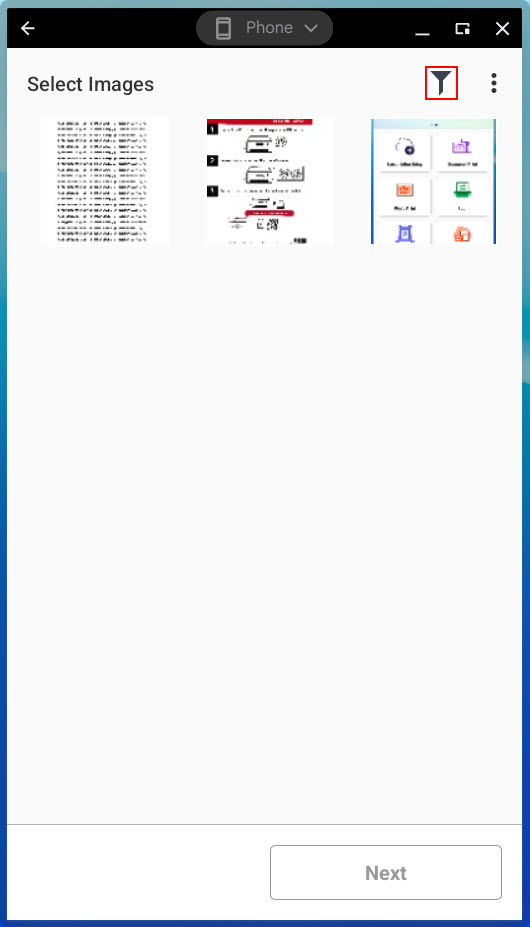
Tap on the picture(s) you want to print. If desired, you can tap the filter icon (funnel shape) if you want to see photos in a certain date range.
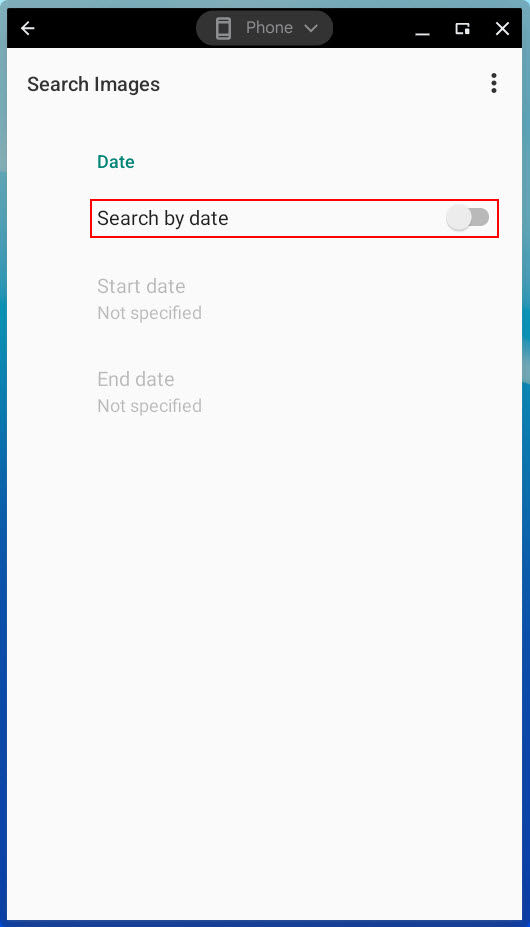
Tap the switch for Search by date if desired. You can then specify a date range for the photos you want to display.

-
Use the back arrow to return to the Select Images screen
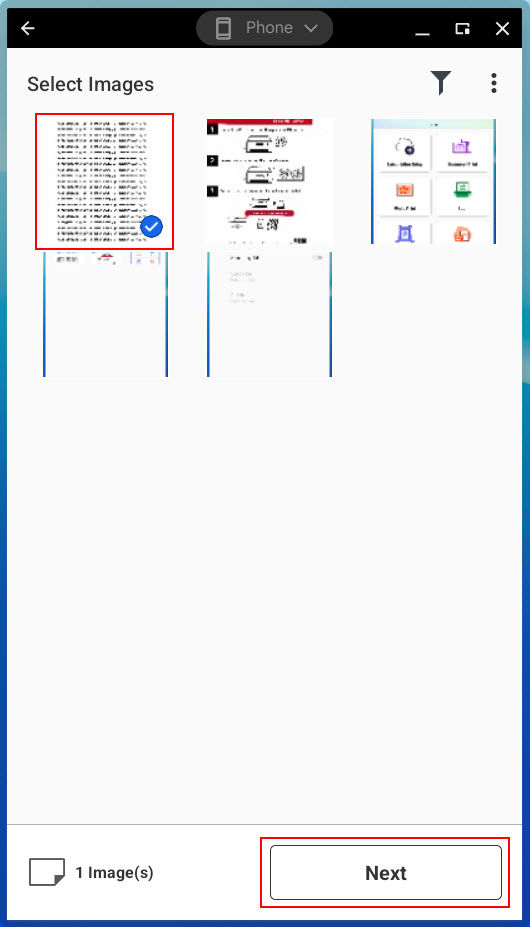
When you have found the image(s) that you want to print, tap them. Then, tap Next.
-
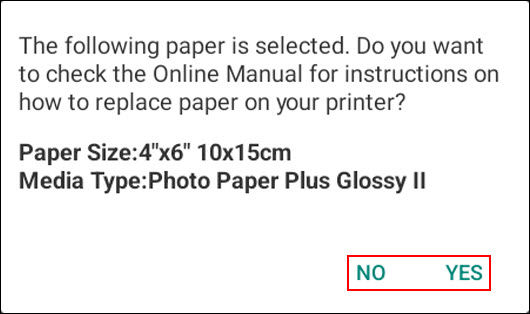
A message may appear indicating the paper size and media type specified for printing. If you need to check the online manual for your printer for instructions on replacing the paper, tap Yes. Otherwise, tap No.
Before printing, a Print Preview screen that shows a preview image and the size and color settings used to print will appear. If you want to change these or other settings, tap Print settings and change them as desired.
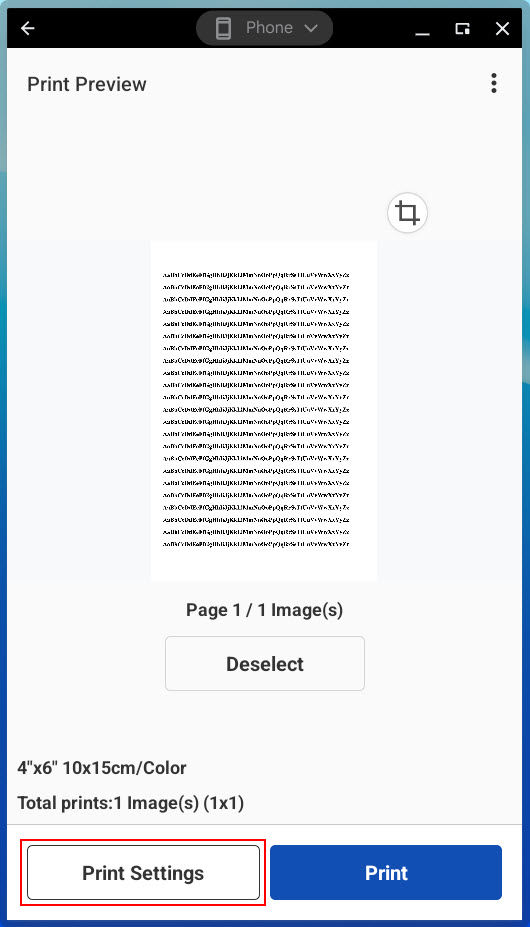
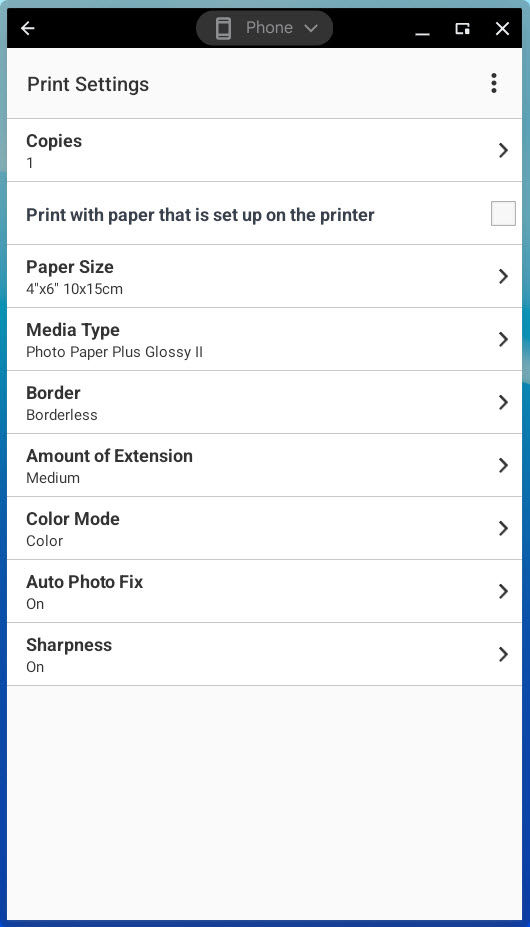
 The available settings that can be changed may differ depending on the printer model being used.
When you are ready to print, tap Print.
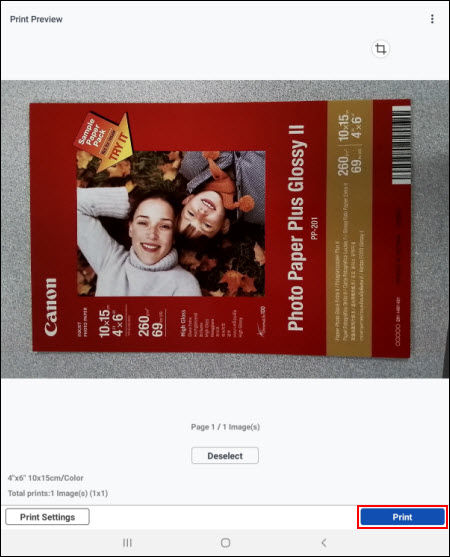
If you wish to crop an image, tap the crop icon
 .
.
 Learn about the cropping function.
-
Printing will begin.
At any time during this process, tap the Menu
 icon to see an option to return to the main menu of Canon PRINT. The following message will appear:

Tap Yes to return to the main menu, or No to proceed with the printing process.
If your product issue was not resolved after following the steps above, or if you require additional help, please create or log in to your Canon Account to see your technical support options.
Or if you still need help, visit our Canon Community by clicking the button below to get answers:

____________________________________________________________________________________________


