Before Starting
Make sure that your photo or document is placed on the scanner before starting this process.
To scan a photo or document with Canon PRINT:
-
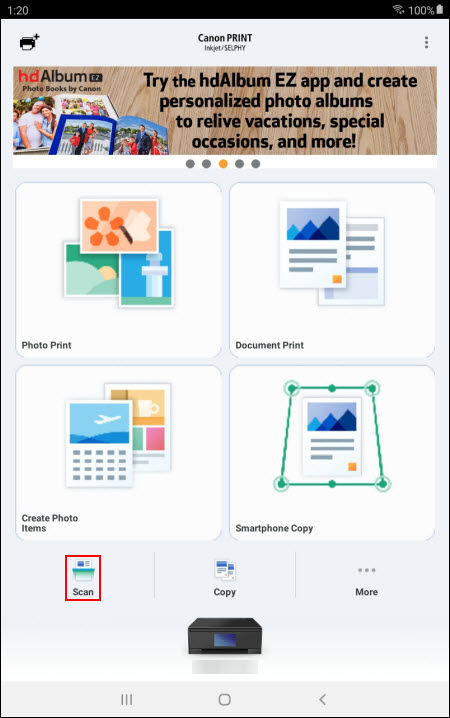
From the main screen, tap Scan.

 If this is your first time scanning, you will be prompted to specify a save location on your Android device. Proceed to the next step after specifying a save location.
-
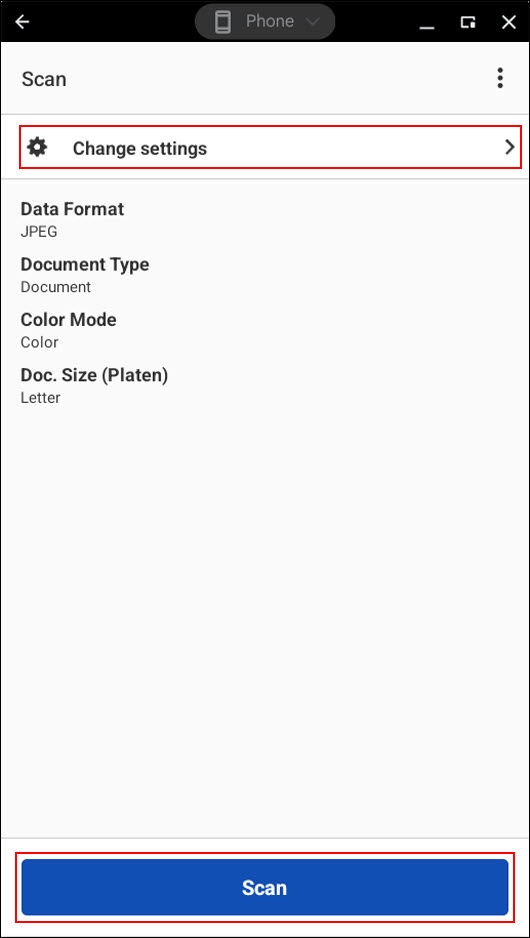
On the next screen, you can tap Change settings to adjust the various settings as needed, such as the data format (JPEG or PDF), document type and size, etc.

Adjust the settings as desired, then tap Scan.
-
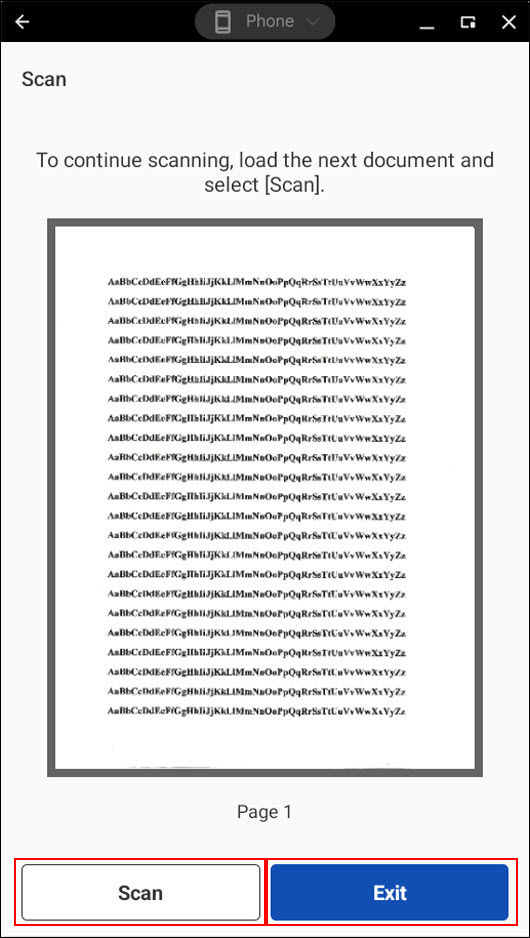
The scan process will begin. When the scan has completed, you may place another item on the scanner and tap Scan or you may tap Exit to proceed.

-
After tapping Exit, the item will be saved to your Android device. Tap OK.

-
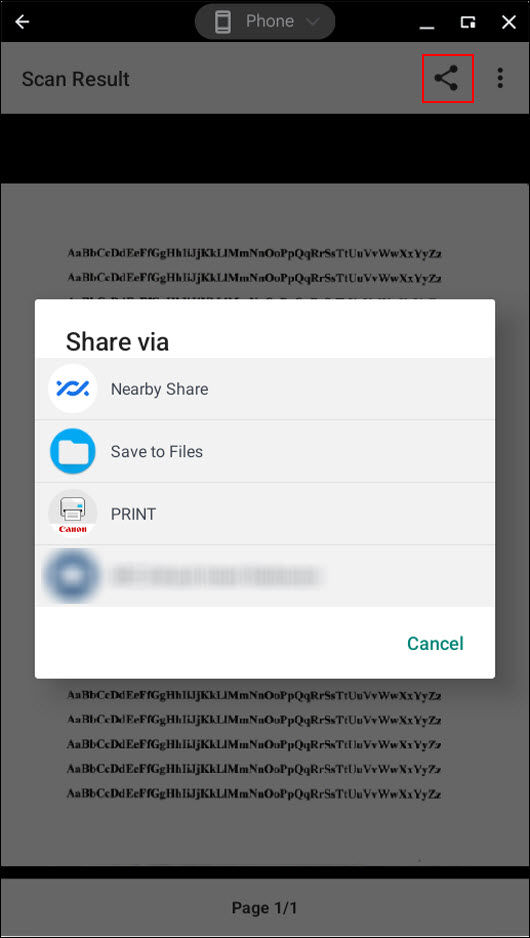
The Scan Result screen will appear and you will see what you scanned in. Tapping the share icon at the upper right (boxed in red) will allow you to share the image via different apps on your Android device.

Tap Close after tapping the menu icon
 to return to the main menu.

If your product issue was not resolved after following the steps above, or if you require additional help, please create or log in to your Canon Account to see your technical support options.
Or if you still need help, visit our Canon Community by clicking the button below to get answers:

____________________________________________________________________________________________


