Before Starting
 Make sure that your photo is placed on the scanner before starting this process.
 The screens may differ depending on the iOS device being used.
To scan photos in Canon PRINT, follow the steps below.
-
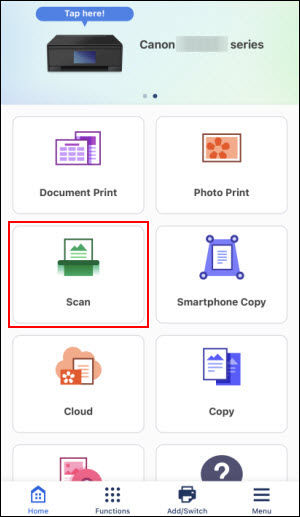
From the main screen, tap Scan.
-
On the next screen, you can tap Change settings to adjust the various settings as needed. If you have previously used the Scan function for scanning documents, tapping Change settings will allow you to toggle back to scanning photos. After adjusting any settings as needed, tap Scan.
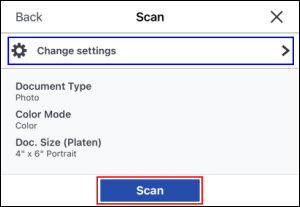
The scan process will begin.

-
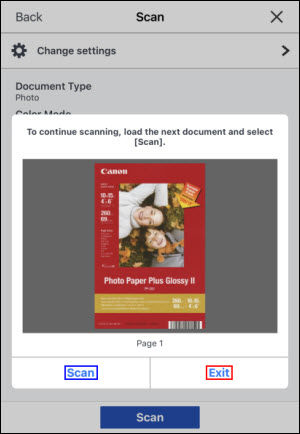
When the scan has completed, you may place another picture on the scanner and tap Scan or you may tap Exit to proceed.
-
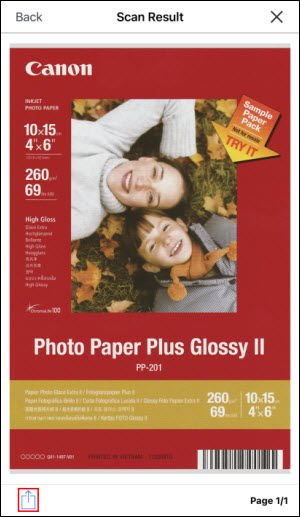
After tapping Exit, tap the share icon.
-
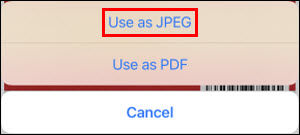
Tap Use as JPEG.
-
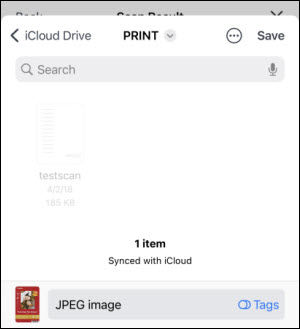
Tap Save Image to save the picture to your iOS device. Tap Save to Files to save to a specific location on your iOS device. This will also allow you to save to your iCloud Drive if desired.
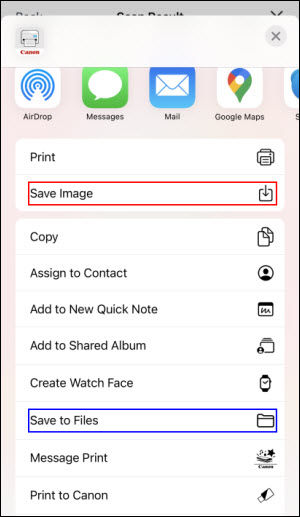
Tap Mail if you wish to email the picture to someone.
-
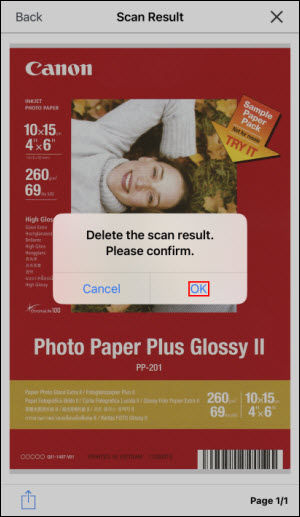
After you have saved the image, tap
 . When prompted, tap OK to return to the main screen.
For support and service options, sign into (or create) your Canon Account from the link below.
My Canon Account


