Follow the steps below to connect your printer to your Windows computer via the Easy Wireless Connect method.
Before you begin
-
To print wirelessly on a Windows computer, the printer must first be connected to the Wireless Network and software drivers and applications installed on the computer.
-
If your device is connected to the internet via a wireless router, then you connect it to a printer in Wireless Direct mode, the current connection between the device and wireless router will be disabled.
-
Based on the device settings, it may switch to a mobile data connection automatically.
-
Mobile data connection charges may apply.
-
Wireless connection restrictions.
Start Easy Wireless Connect
-
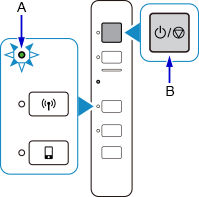
If the Wireless lamp (A) on the printer flashes, press the ON/Stop button (B).
-
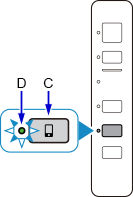
Press and hold the Direct button (C) on the printer until the Direct lamp (D) flashes.
-
Make sure the Wireless lamp flashes.

-
Return to the application screen and proceed with the setup.
Download and install the setup file
- Get the Setup File.
 Read the information carefully. Take note how to run the setup file if setup does not start automatically. Then select the Download button.
-
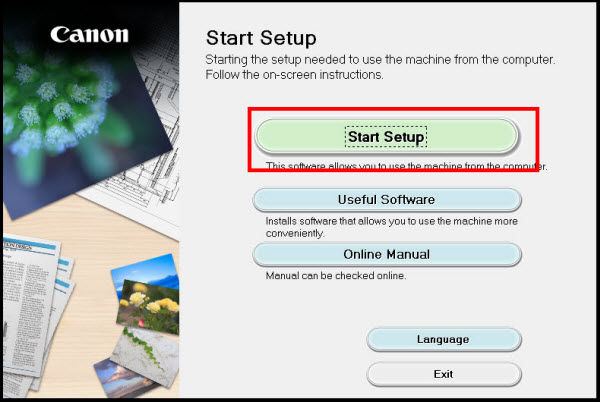
Select Start Setup.
-
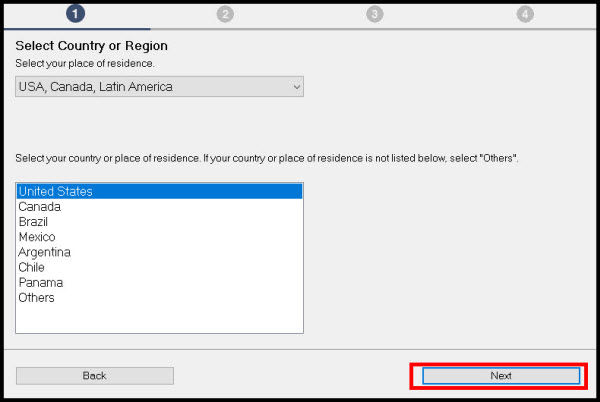
Select the appropriate region, and choose Next.
-
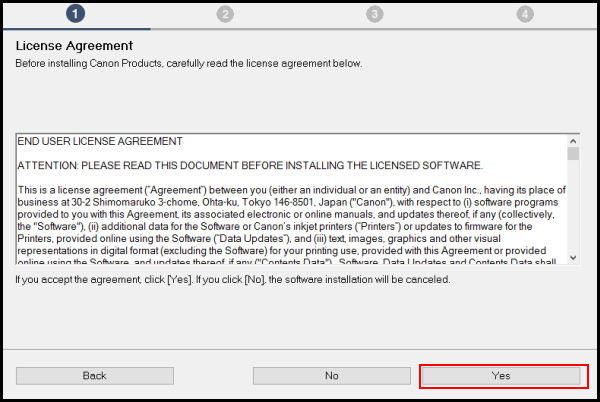
Select Yes on the License Agreement screen.
-
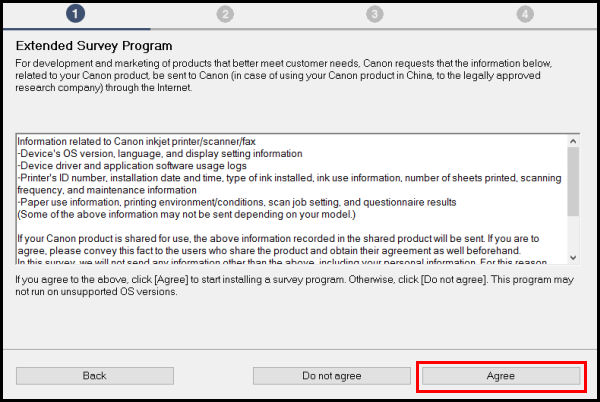
The Extended Survey Program screen appears. You can select Agree or Do not agree. Your choice has no effect on the printer's functionality.
-
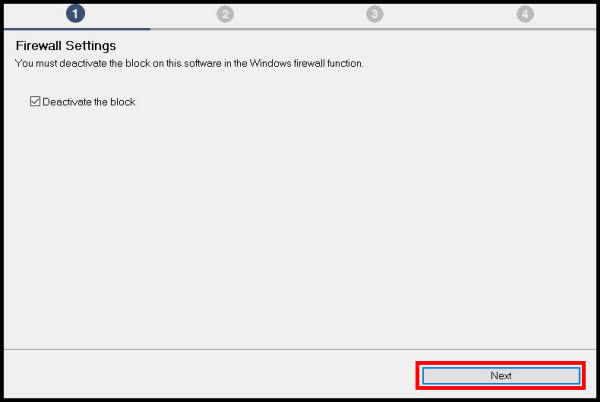
Select Next
-
Select Yes on the Connection Method screen.
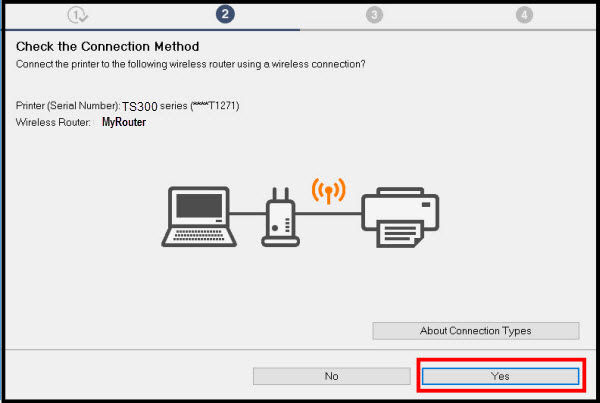
- Setup continues.
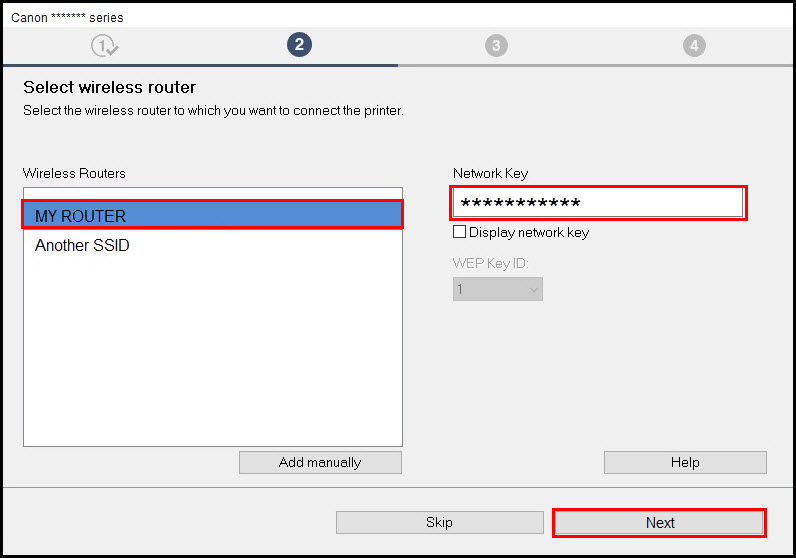
 If the Select wireless router screen appears, select the wireless router you would like to connect to the printer, enter the Network Key or password, and choose Next.
-
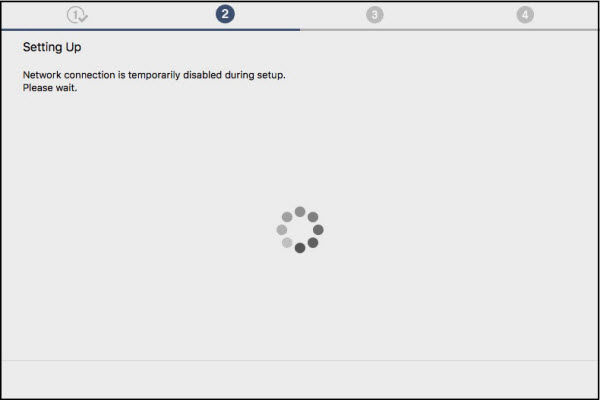
Setup information screen appears.
-
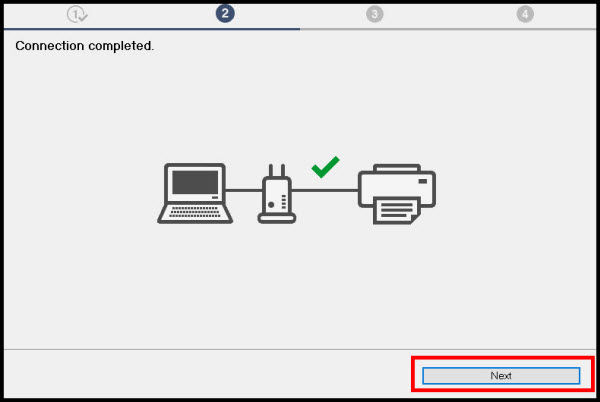
Network Connection is completed. Select Next.
 If your printer is not detected, make sure that the computer has reconnected to the correct network. Also, you may need to temporarily disable any firewall software, or you may need to open blocked ports in the firewall. If your PC is connected to a VPN (Virtual Private Network), temporarily disconnect from the VPN and try the setup again. Also, if you are using a dual-band router, further troubleshooting information can be found here.
-
The Print Head Alignment and Test Print screens appear next. These can be performed or not. If you choose to perform these, carefully follow the on-screen instructions.
-
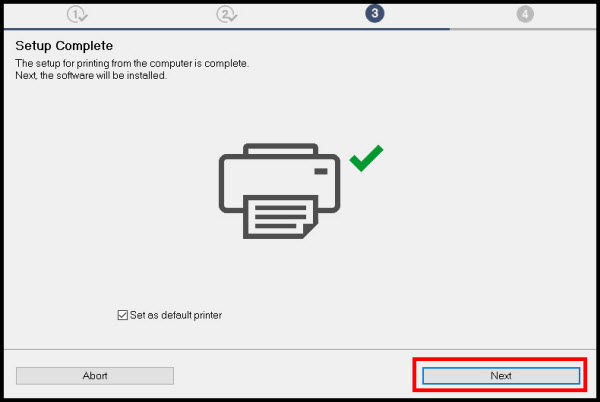
Setup is complete. Choose Next.
-
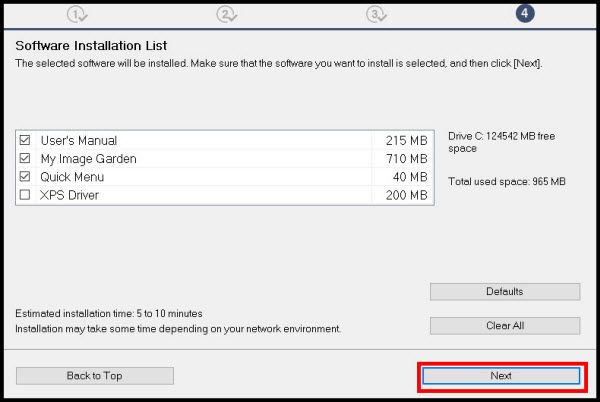
Select any optional application software desired, then choose Next.
-
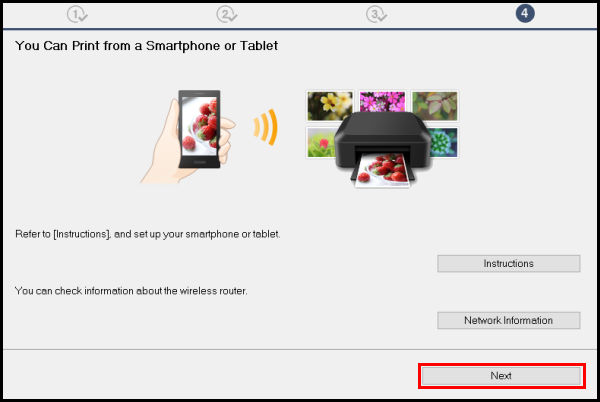
Select Next.
-
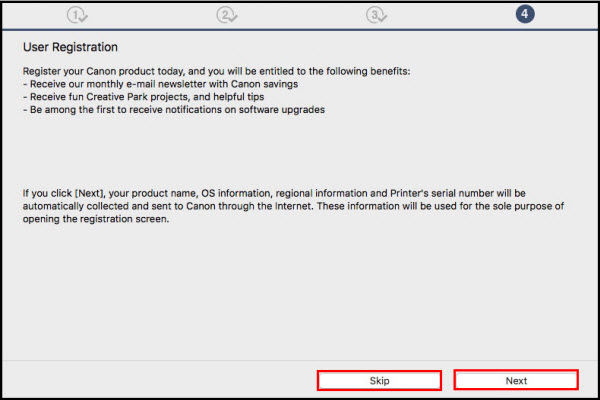
Choose Next to register now or Skip.
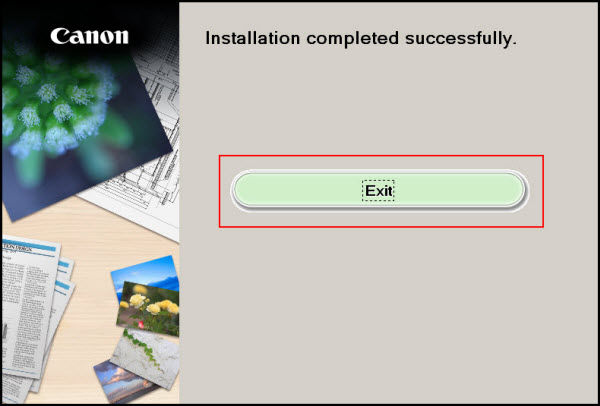
- Installation complete. Choose Exit.
If your product issue was not resolved after following the steps above, or if you require additional help, please create or log in to your Canon Account to see your technical support options.
Or if you still need help, visit our Canon Community by clicking the button below to get answers:

____________________________________________________________________________________________


