You can use the operation panel of your PIXMA TS printer to connect to a wireless network. Follow the steps below to establish a wireless connection using the Manual connect method.
 Note
Note
- For the PIXMA TS5120, use the arrow buttons and the OK button to select the options noted in this article.
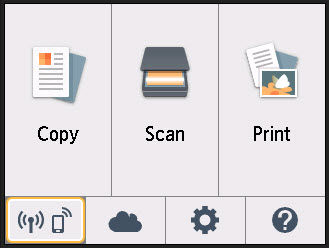
- From the HOME screen, tap the network icon at the lower left.
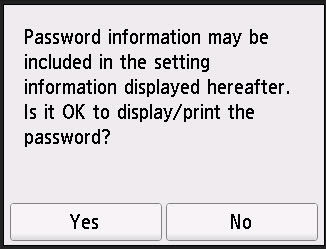
- When you are prompted to display the password, tap either Yes or No.
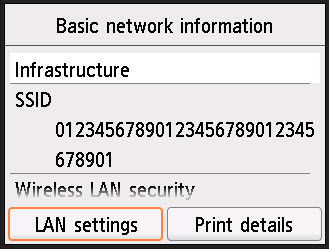
- When the Basic network information screen appears, tap LAN settings.
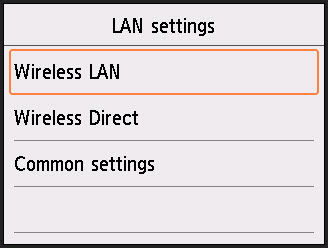
- On the LAN settings screen, tap Wireless LAN.
- Tap Wireless LAN setup.
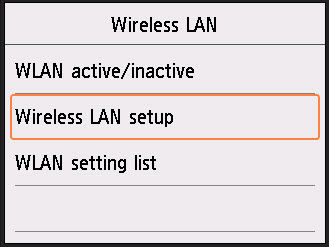
- Tap Manual connect.
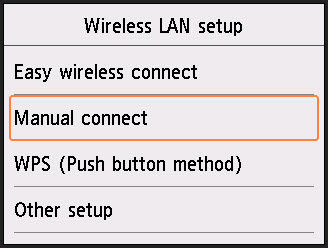
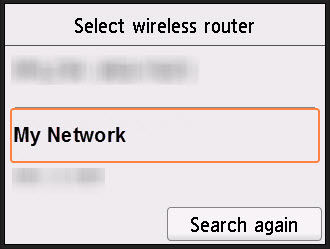
- Select your wireless network from the list. If you scroll through the list of networks and your network is not listed, tap Search again.
- On the Enter passphrase screen, tap Please enter.
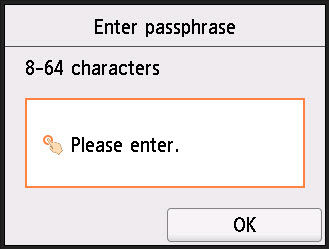
- An on-screen keyboard will appear. Enter your network passphrase by tapping the letters on the screen.
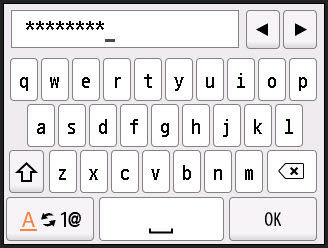
To enter upper case letters, tap the Shift  key.
key.
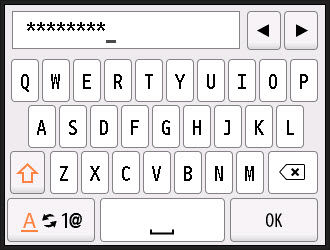
If your network passphrase has numbers and / or symbols, tap the  symbol at the lower left.
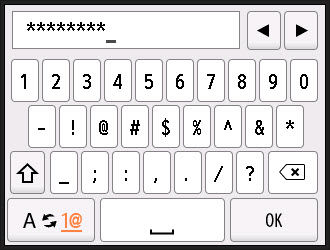
Tapping the Shift  key in this mode will show more symbols.
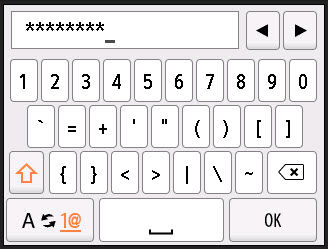
If you need to delete a character that you have entered in, tap the Backspace  key.
key.
After entering your network passphrase, tap OK.
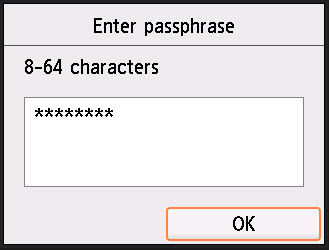
- You will be back at the Enter passphrase screen. Tap OK.
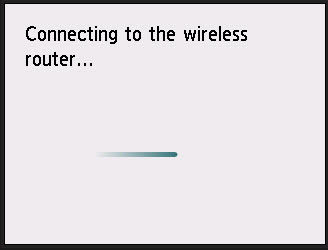
The printer will attempt to connect to the wireless router.
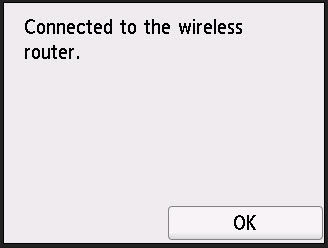
- After the printer has connected to the wireless router, tap OK.
After the printer has been connected to the network, you will need to download the drivers and software available for your printer from our website.
If you wish to use your printer from a mobile device, you can download Canon PRINT Inkjet / SELPHY to your device.
Click here for information on the Android version.
Click here for information on the iOS version.
PIXMA TS / PIXMA TR Support


