Your PIXMA TS5020 can connect wirelessly to a network by manually entering in your network information. Follow the steps below to connect the printer to your network via the Manual connect method.
- From the HOME screen, use the arrows to select the Settings icon. Then, press the OK button.
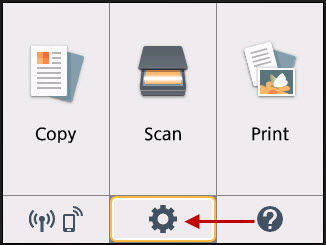
- Settings will be highlighted. Press the OK button.
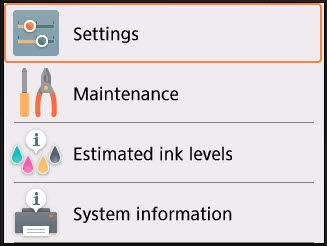
- Device settings will be highlighted. Press the OK button.
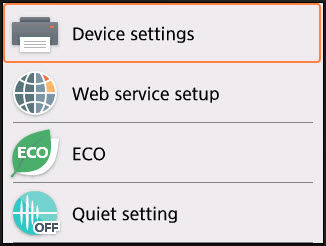
- In the Device settings menu, use the up or down arrows to highlight LAN settings. Then, press the OK button.
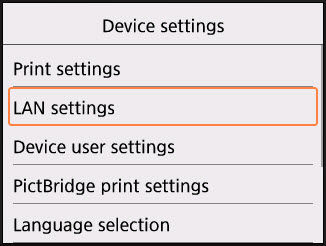
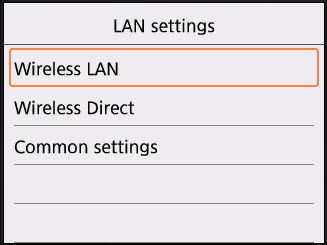
- In the LAN settings menu, Wireless LAN will be highlighted. Press the OK button.
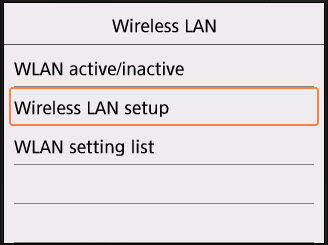
- In the Wireless LAN menu, use the up or down arrows to highlight Wireless LAN setup. Then, press the OK button.
- In the Wireless LAN setup menu, use the up or down arrows to select Manual connect. Then, press the OK button.

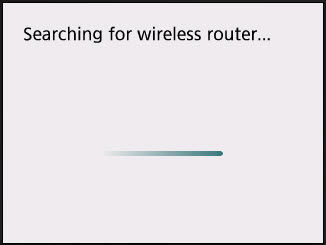
- The printer will search for nearby wireless networks.
A list of wireless networks will appear. Use the up or down arrows to select your network if it is not selected by default. Then, press the OK button.
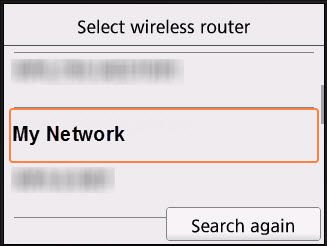
Note: If your network does not appear in the list, use the up or down arrows to highlight Search again. Then, press the OK button. This will make the printer search again for nearby wireless networks.
- If your wireless network has a passphrase on it, the Enter passphrase will appear. Press the OK button.
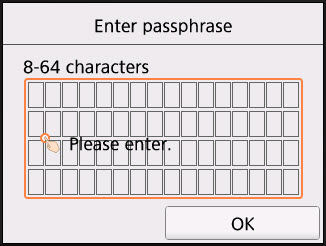
- A keyboard will appear on the screen. Use the arrows and the OK button on the printer to enter your passphrase.

By default, lowercase letters will be displayed. If you have uppercase letters in your passphrase, use the arrows to highlight the shift  icon. Press the OK button and uppercase letters will appear on the screen.
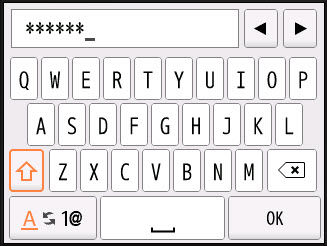
If you have symbols in your passphrase, highlight the symbol at the lower left  and press the OK button. Symbols will then appear on the screen.
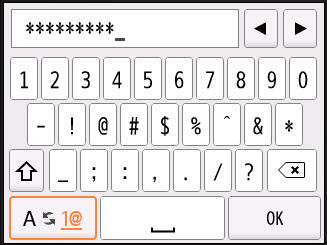
If you are selecting symbols and you highlight the shift  icon and press the OK button, more symbols will appear.
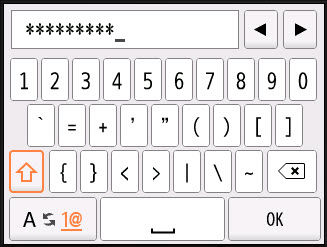
Enter your passphrase as needed. If you need to delete a character, highlight the backspace  icon and press the OK button. If you have a space in your passphrase, highlight the space bar
  and press the OK button.
After entering your passphrase, highlight OK on the on-screen keyboard and press the OK button.
- You will be taken back to the Enter passphrase screen.
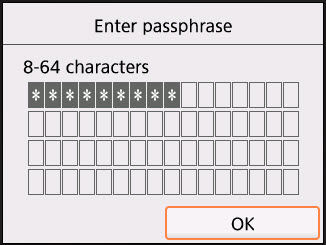
Use the up or down arrows to highlight OK and press the OK button.
- The printer will attempt to connect to the wireless router.
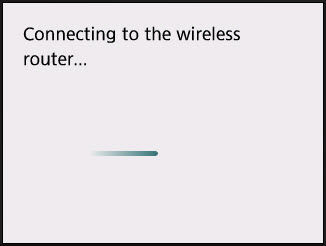
When the printer has connected to the wireless router, press the OK button.
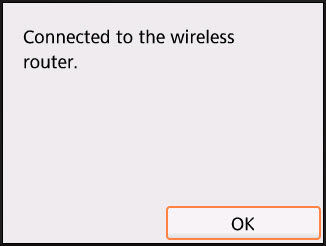
If the printer fails to connect to the wireless router, re-enter your passphrase and try again.
After the printer has connected to the network, set up your computer or mobile device if needed.
Click here to download the Full Driver & Software Package for Windows.
Click here to download the Full Driver & Software Package for macOS.
Click here for information on Canon PRINT Inkjet / SELPHY for iOS and Android.
TS5020 Page


