Wi-Fi Setup - macOS
If your PIXMA TR160 is connected to a wireless network, you can configure your Mac® to work with the printer.
Follow the steps below to configure additional Macs to work with your PIXMA TR160.
Download and run Canon PRINT.
Get Canon PRINT here
After downloading the file, drag the the Canon PRINT icon to the Applications folder.
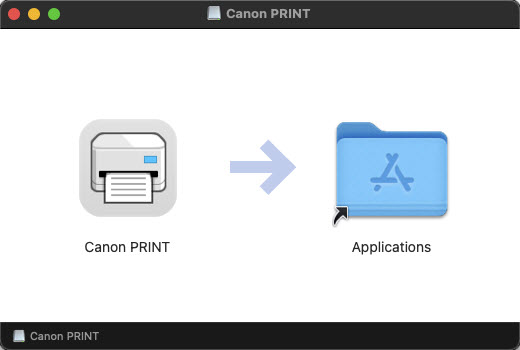
Open the Applications folder on your computer, then open Canon PRINT.
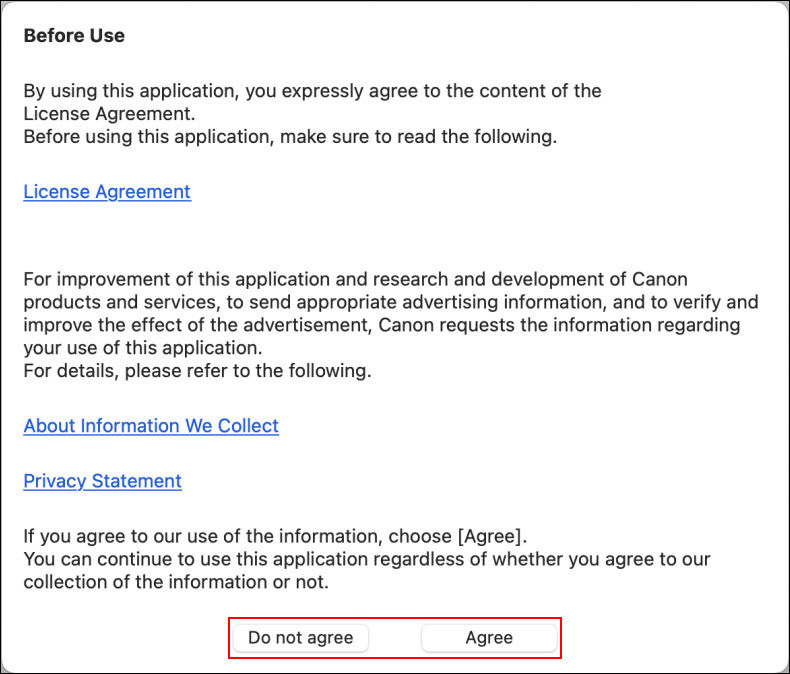
When you first open Canon PRINT, select Do not agree or Agree to continue.
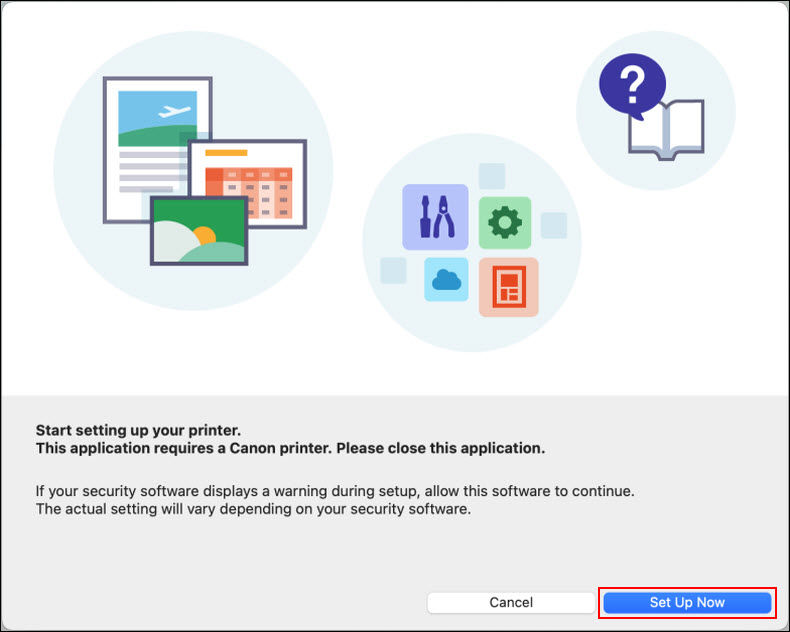
When this screen appears, select Set Up Now.
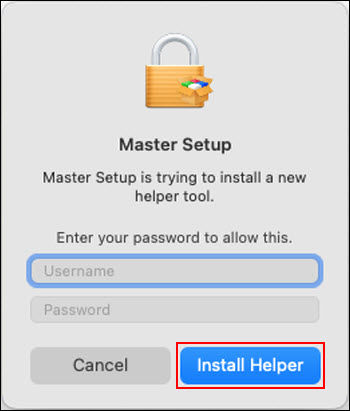
Enter your user name and password in the fields provided then select Install Helper.
-
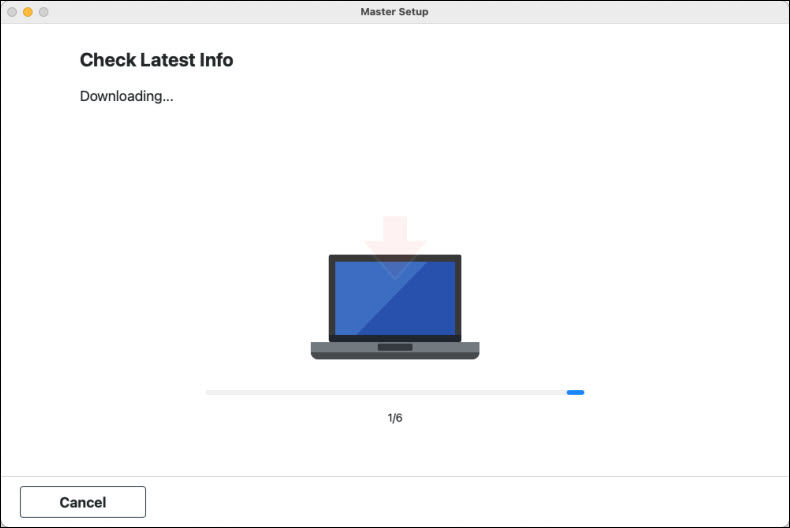
Select Start Setup on the first screen.

The installer will check for the latest information related to your printer.
-
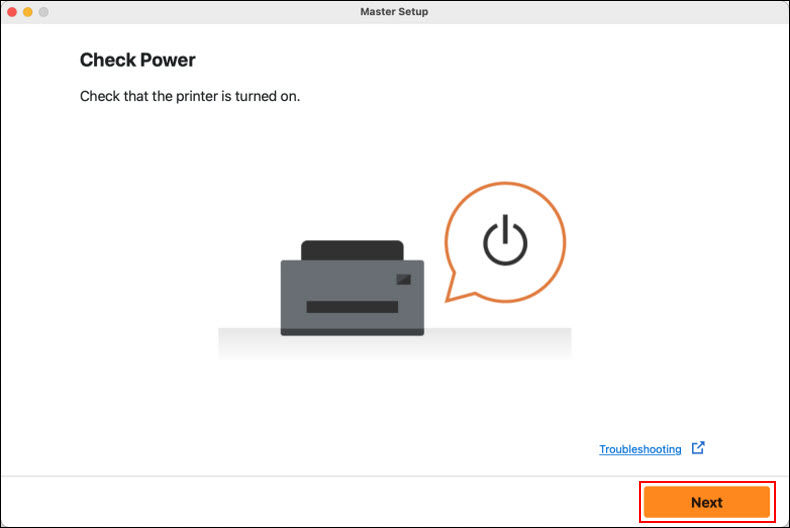
After processing for a few moments, the installer will display the following message. Select Next.
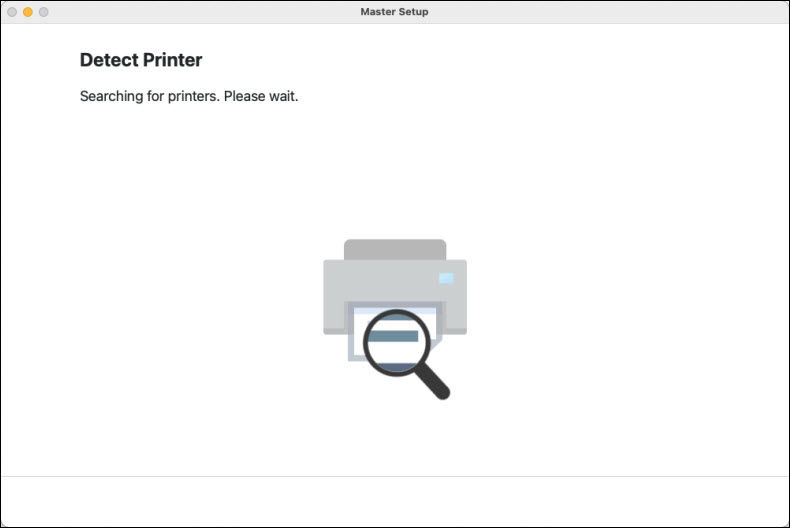
The installer will search for the printer.
-
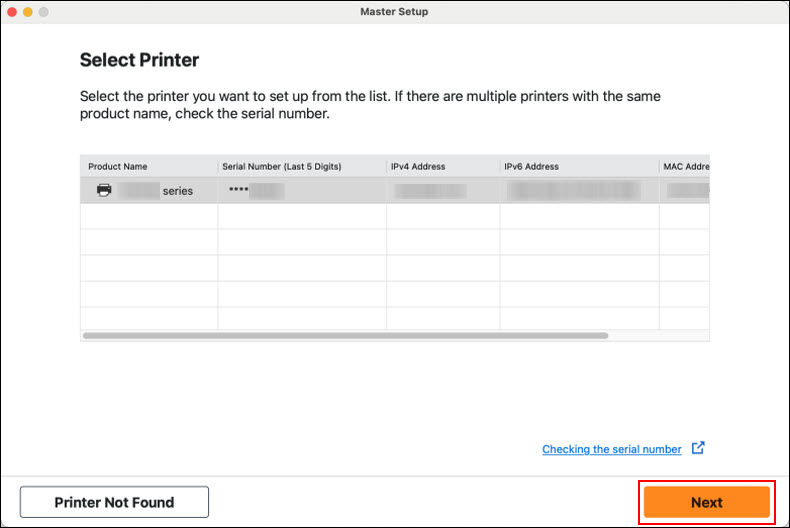
Select your printer from the list, then click Next.
- After a few moments, the following screen will appear. Select Continue.
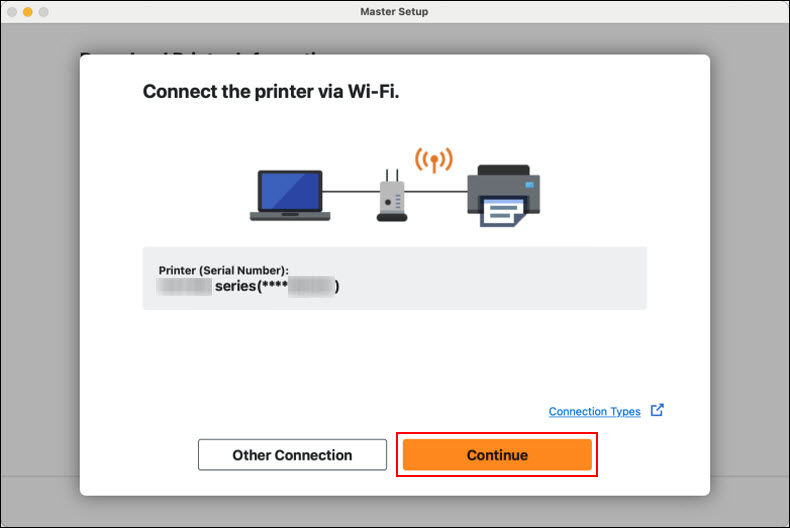
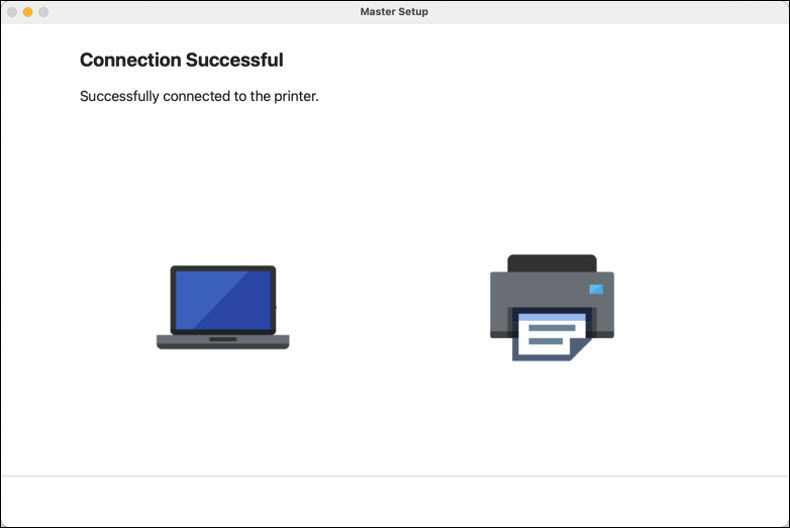
The installer will indicate that the printer is connected to the network.
The installer will download software, then process for a few moments.
-
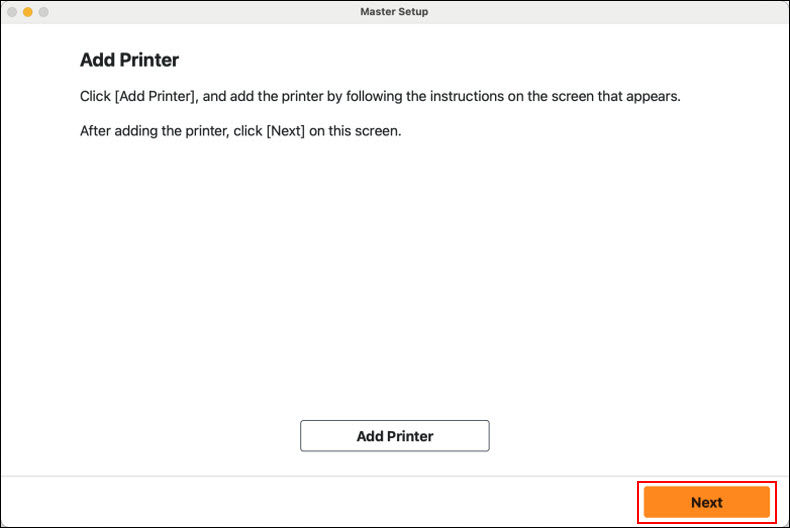
When the Add Printer screen appears, select Add Printer.

-
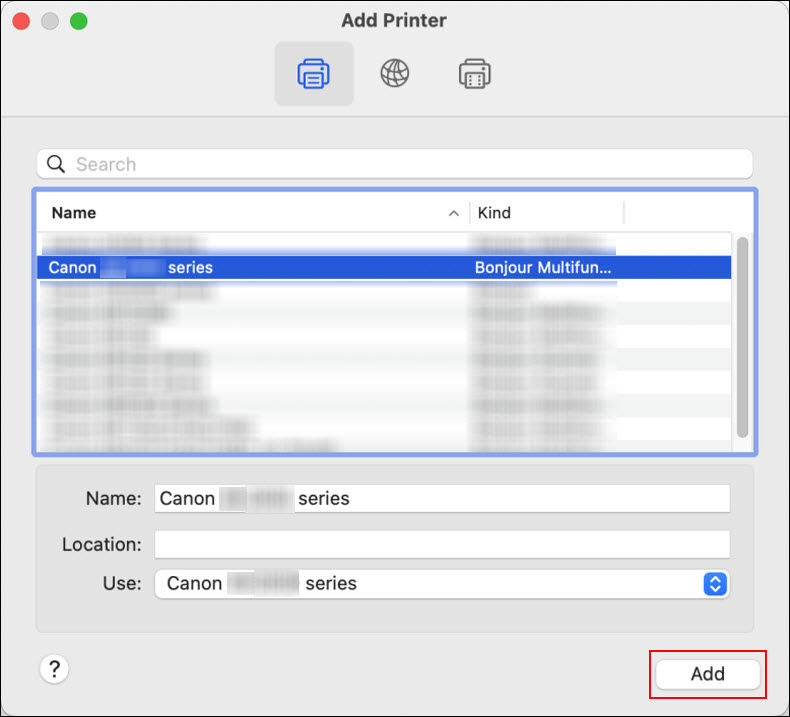
Select your printer from the list. Make sure it says Canon XXXX Series for Use, then click Add.
-
Select Next.
-
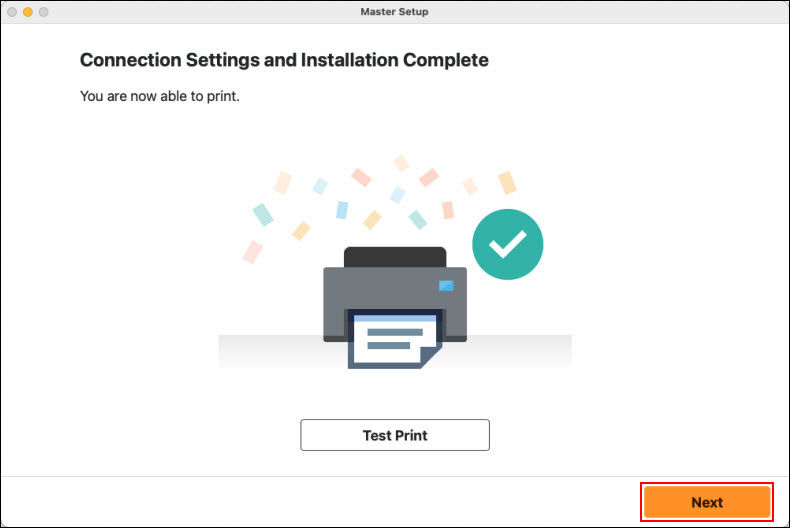
When the following screen appears, select Next.
 If desired, select Test Print to print a test page.
-
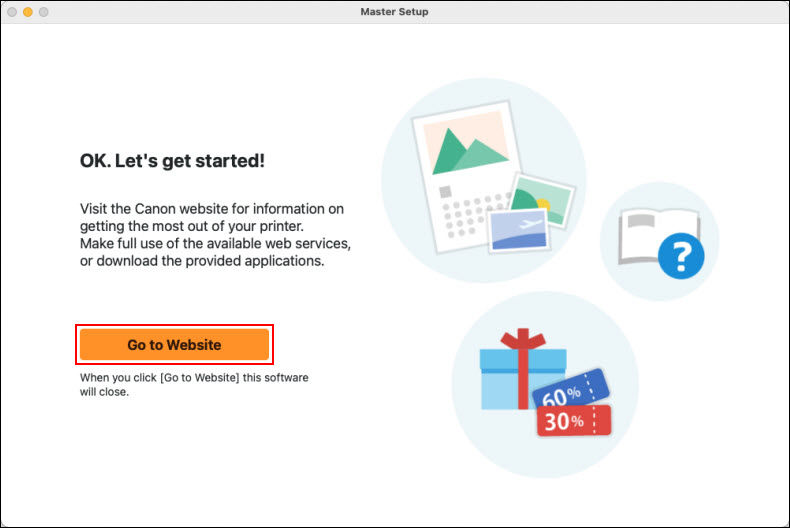
Select Go to Website. The installer will close.
If your product issue was not resolved after following the steps above, or if you require additional help, please create or log in to your Canon Account to see your technical support options.