 Scanning in ScanGear's Advanced Mode
In Advanced Mode, you can specify the color mode, output resolution, image brightness, color tone, etc. when scanning.
This section explains how to scan paper/photographs.
Please open the MP Navigator. Click on the Photos/documents, Use scanner driver, Open scanner driver and Advanced mode.
1. Place the document face-down on the platen, then start ScanGear.
2. Click Advanced Mode.
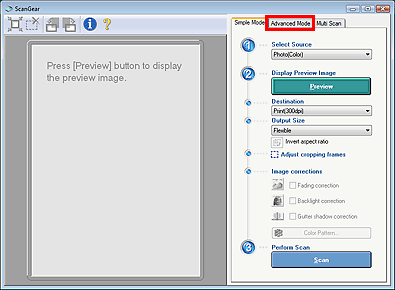
The Advanced Mode tab will be displayed.

Reference
 Settings are not retained when you switch between modes.
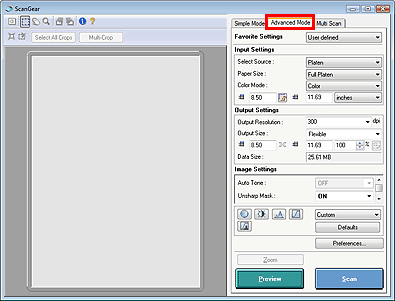
3. Select Platen for Select Source.
4. Set Paper Size and Color Mode.
 Paper Size
Select from Card, L Landscape, L Portrait, 4x6in Landscape, 4x6in Portrait, Hagaki Landscape, Hagaki Portrait, 2L Landscape, 2L Portrait, A5 Landscape, A5 Portrait, B5, A4, Letter and Full Platen.
Color Mode
Select a color mode according to the document type and purpose.
| Color | Select this mode to scan color photographs or to create color images. |
| Color(Documents) | Select this to scan color documents containing photographs and text or tables. |
| Grayscale | Select this mode to scan black and white photographs or to create black and white images. |
| Black and White | Select this mode to scan business cards, text and other documents in black and white. |
5. Click Preview and check the document to be scanned.
Preview image appears in the preview area.

Reference
If you scan without preview, the Prevent show-through of the document function will be active. This function is useful when scanning magazines. However, when scanning photographs, etc., the color tone may differ from the source due to the Prevent show-through of the document function. In that case, use Preview before scanning.
6. Set Output Settings.
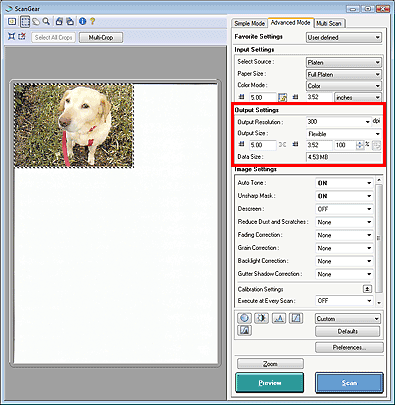
Output Resolution
Select from 75dpi, 150dpi, 300dpi, 600dpi and 1200dpi.
Alternatively, type a value in the 25-19200 dpi range (in 1 dpi increments).
Output Size
Select Flexible to set custom size or select a size for printing or displaying.
| Purpose | Output size options |
|---|
Printing
(Paper size) | Card, L Landscape, L Portrait, 2L Landscape, 2L Portrait, 4x6in Landscape, 4x6in Portrait, Hagaki, A5, B5, A4, Letter, Legal, B4, A3, Add/Delete |
Displaying
(Width and height in pixels) | 128x128 pixels, 640x480 pixels, 800x600 pixels, 1024x768 pixels, 1280x1024 pixels, 1600x1200 pixels, 2048x1536 pixels, 2272x1704 pixels, 2592x1944 pixels |
Reference
Select Add/Delete... to set custom size and save it as a new output size option.
7. Adjust the cropping frame, correct images and adjust colors as required.
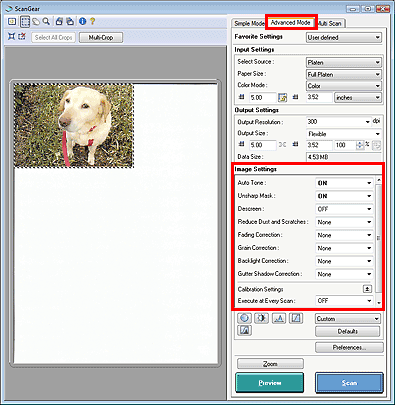
Image Settings items and Color Adjustment buttons:
| Image Settings | Apply the following functions: Auto Tone, Unsharp Mask, Descreen, Reduce Dust and Scratches, Fading Correction, Grain Correction, Backlight Correction and Gutter Shadow Correction.
|
| Color Adjustment Buttons | Adjust the image's overall brightness, color tone, contrast, etc.
|
8. Click Scan.
Scanning starts.
Reference
ScanGear's response after scanning can be specified in Status of ScanGear dialog after scanning on the Scan tab of the Preferences dialog box in Advanced Mode.
 TOP
TOP
