Adding the Printer Model name to the Printer List (Mac OS X)
Instructions to add a Printer Model name to the Printer List in Mac OS X.
Note: After confirming that the cable is connected and the printer is powered on, perform the following:
Click here for Mac OS X 10.4 or older instructions.
1.In the Apple menu, open System Preferences.
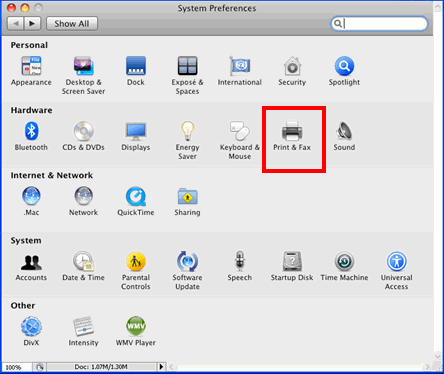
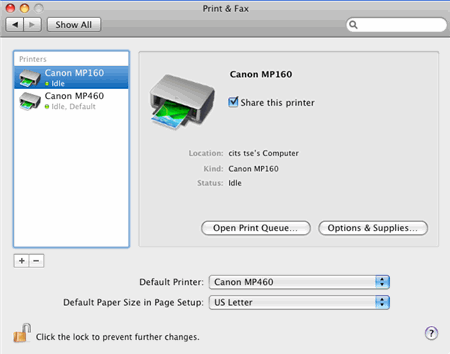
2. Open Print and Fax.
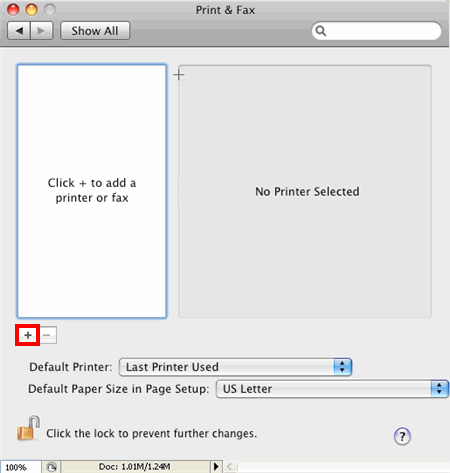
3. To add the printer, click the Plus (+) sign.
4. Select the printer to add, then click 'Add'.
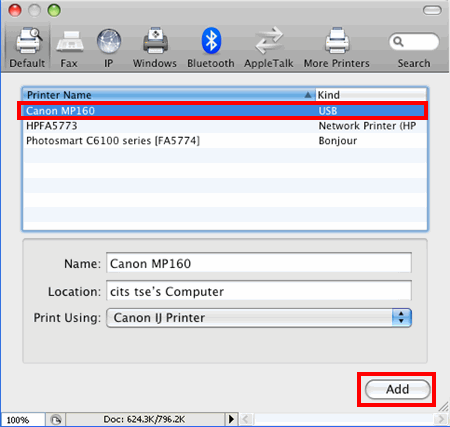
5. The printer is added.
Adding the Printer to the Printer List (Mac OS X ver 10.4.x or older)
- Open Applications, and Utilities, and double-click the 'Printer Setup Utility' icon.
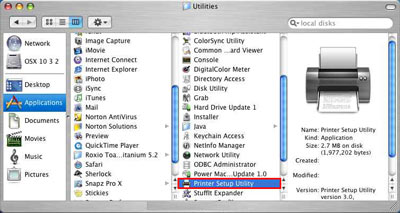
Note: Printer Setup Utility has a different name, depending on the Mac OS X version. In versions prior to Mac OS X 10.3.x, double-click the Print Center icon. The above is an image using Mac OS X Ver. 10.3.x. The display in prior versions appears different. The images are an example using the i80 model.
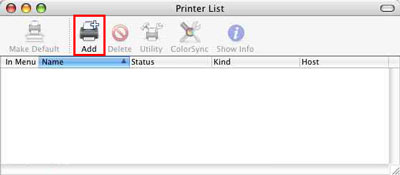
- Click 'Add' on the toolbar.
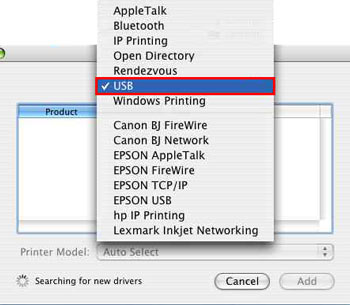
- Select 'USB' from the pop-up menu.
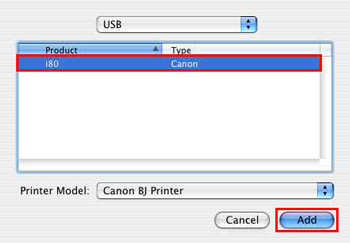
- Select the printer name you are using, and click 'Add' (The printer name you are using is added to the Printer List dialog).
Adding the Printer Model name to the Printer List is completed.
