EOS R3: Quick Start Guide
| Article ID: ART181937 |
| |
Date published: 05/11/2023 |
| |
Date last updated: 08/31/2023 |
Description
Quick Start Guide
Solution
|
Quick Start Guide
-
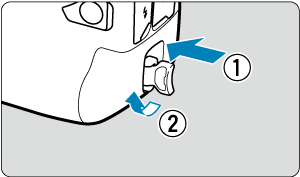
Insert the battery ().
- Upon purchase, charge the battery to start using ().
-
Insert the card ().
- You can insert two cards.
-
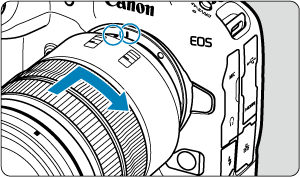
Attach the lens ().
- Align the red mount index on the lens with the red mount index on the camera to attach the lens.
-
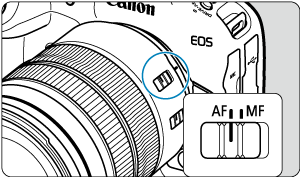
Set the lens's focus mode switch to  (). ().
-
Set the power switch to  (). ().
-
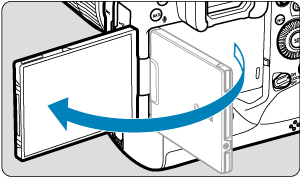
Flip out the screen ().
- When the date/time/zone setting screen is displayed, see Date/Time/Zone.
-
Set the shooting mode to [ ] (). ] ().
- Press the
 button, then turn the button, then turn the  dial to select []. dial to select [].
-
Focus on the subject ().
- A tracking frame [
 ] appears over any face detected. ] appears over any face detected.
- Press the shutter button halfway, and the camera will focus on the subject.
-
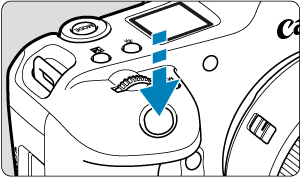
Take the picture ().
- Press the shutter button completely to take the picture.
- By default, the camera shoots in [
 ] mode (). ] mode ().
-
Review the picture.
- The image just captured will be displayed for approx. 2 sec. on the screen.
- To display the image again, press the
 button (). button ().
|
SIMS Doc Id
1677016412397454745