Installing the CanoScan LiDE 70 software from CanoScan setup CD-ROM (Windows & Mac)
| Article ID: ART127222 |
| |
Date published: 05/12/2015 |
| |
Date last updated: 08/14/2015 |
Description
Installing the CanoScan LiDE 70 software from CanoScan setup CD-ROM (Windows & Mac)
Solution
Installing the Software - CanoScan LiDE 70 (Windows & Mac)
 |
- Do NOT connect the scanner to a computer before installing the software. If you connect the scanner and the Found New Hardware Wizard appears, click [Cancel].
- Quit all running applications before installation, including anti-virus software.
- For Windows 2000/XP, log in as an administrator to install the software
|
-
Place the CanoScan Setup Utility CD-ROM in the drive. The CanoScan Setup Utility program starts.
- For Macintosh: Double-click the [Setup] icon. Enter the administrator ID and password on the authentication dialog box.
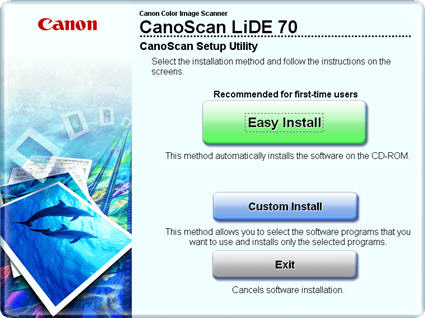
- Click [Easy Install] on the main menu (Fig. 1 below).
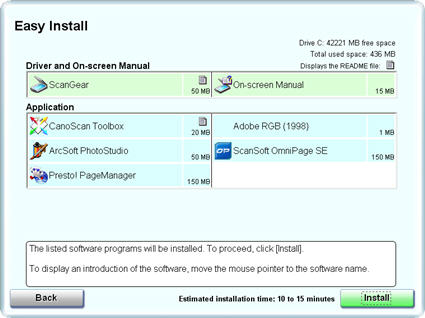
- Click [Install] to start the installation (Fig. 2 below).
Carefully read the on-screen instructions to perform the installation. All the software programs and on-screen manuals will be installed on your computer.
-
When the Information dialog is displayed, click [ok] to restart your computer.
- For Macintosh: Skip this step and go to step 5.
- Follow the on-screen instructions to register your product.
-
When the installation is complete, click [Exit].
- For Macintosh: Click [Restart] to restart your computer.
- After restarting, remove the CD-ROM from the drive and store it in a safe place.
|
Fig. 1
|
 |
|
Fig. 2
|
 |
