Installing and removing the card and battery on the EOS Rebel SL2
Article ID: ART174137
|
Date published: 04/29/2019
|
Date last updated: 04/29/2019
Description
Installing and removing the card and battery on the EOS Rebel SL2
Solution
Load a fully charged Battery Pack LP-E17 into the camera. The camera can use SD, SDHC, or SDXC memory cards (sold separately). UHS-I Speed Class SDHC and SDXC memory cards can also be used. The captured images are recorded onto the card.
Installing the battery and card
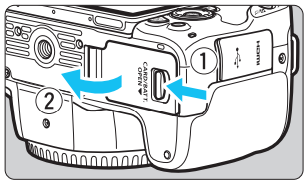
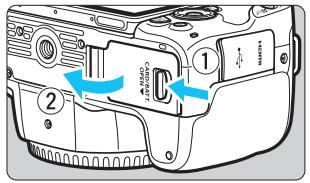
1. Open the cover.
Slide the lever as shown by the arrows and open the cover.
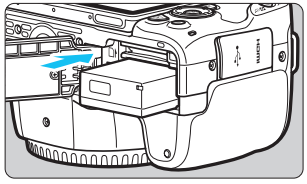
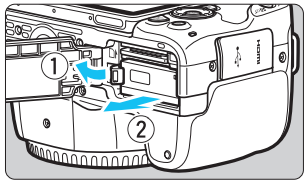
2. Insert the battery.
Insert the end with the battery contacts.
Insert the battery until it locks in place.
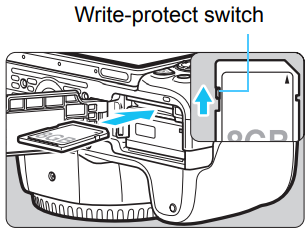
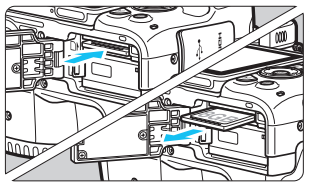
3. Insert the card.
As shown by the illustration, face the card's label side toward the back of the camera and insert it until it clicks in place.
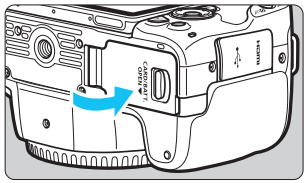
4. Close the cover.
Press the cover until it snaps shut.
When you set the power switch to <ON>, the number of possible shots will be displayed on the LCD monitor.
Removing the battery and card
1. Set the power switch to <OFF>.
2. Open the cover.
Make sure the access lamp is off, then open the cover.
If [Recording...] is displayed, close the cover.
3. Remove the battery.
Press the battery lock lever as shown by the arrow and remove the battery.
To prevent short circuiting of the battery contacts, be sure to attach the provided protective cover to the battery.
4. Remove the card.
Gently push in the card, then let it go to eject it.