You can scan images and documents to a cloud service such as Google Drive using Canon PRINT. Follow the steps below to scan images or documents to a cloud service.
If you have never used the IJ Cloud Printing Center with your printer, you can do it without having a Canon ID.
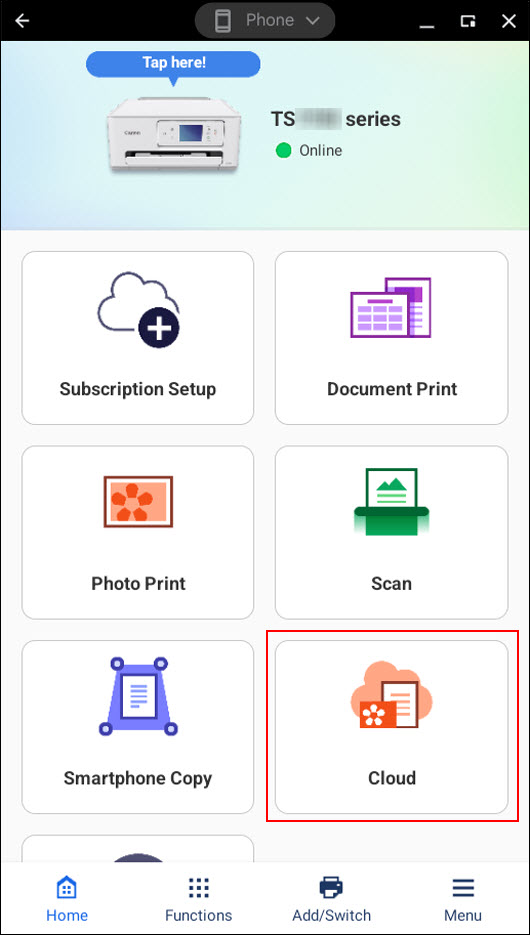
- From the main screen of Canon PRINT, select Cloud.
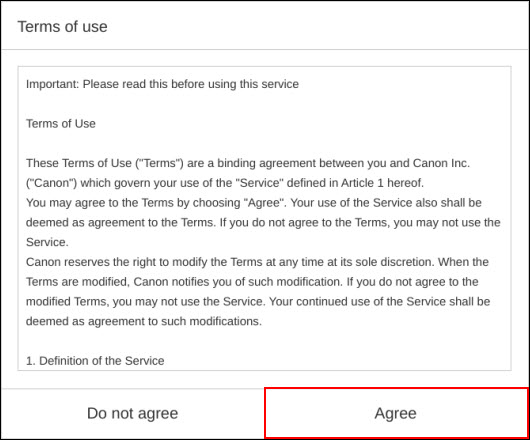
- After a few moments, the Terms of use will appear. Read the Terms, then select Agree to proceed. Selecting Do not agree will cancel this process.
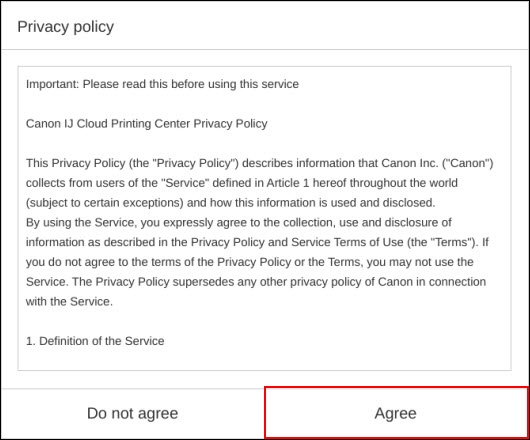
- The Privacy policy will appear. Read this policy, then select Agree to proceed. Selecting Do not agree will cancel this process.
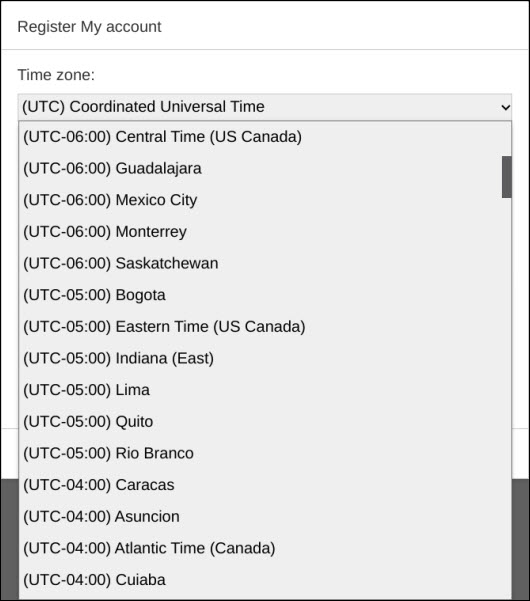
- Select your time zone, then select Done.
- The information registration is complete. Select OK.

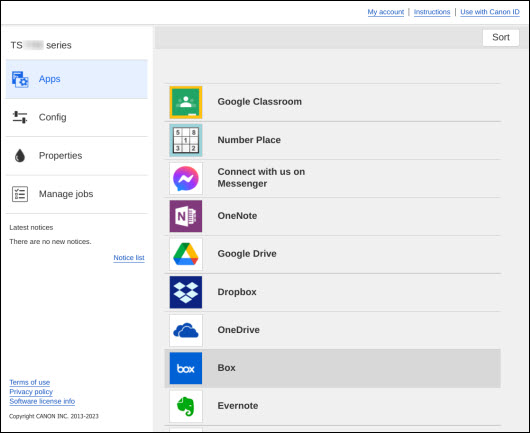
- The main screen of the IJ Cloud Printing Center appears.
Follow these steps to register your printer with the Canon Inkjet Cloud Printing Center.
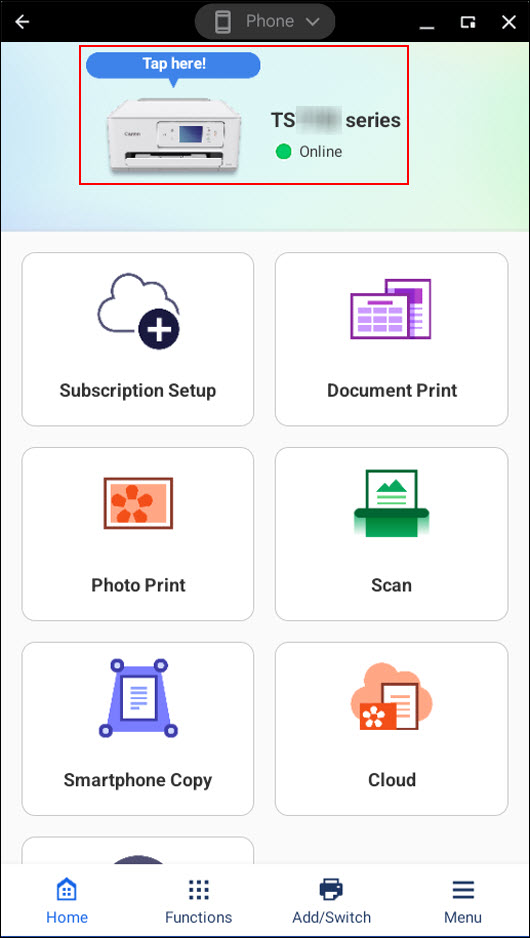
From the main screen of Canon PRINT, select the printer icon.
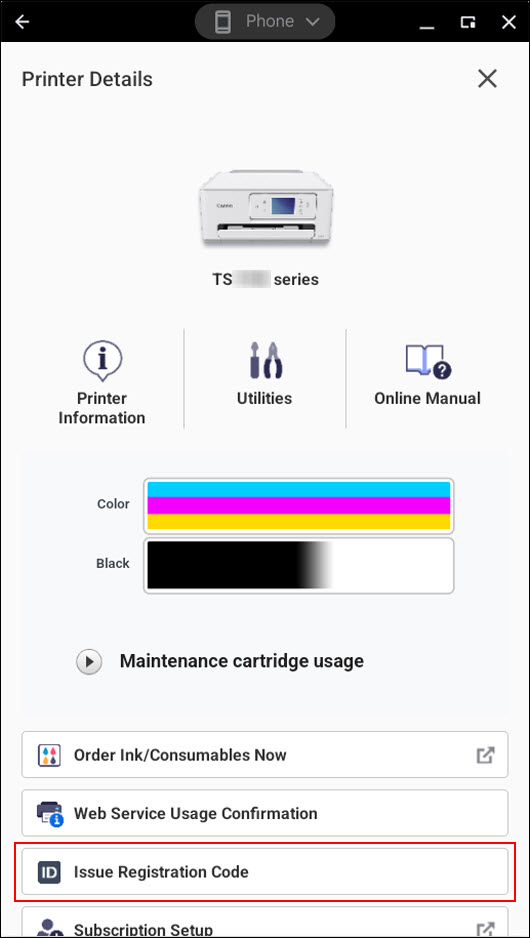
On the Printer Details screen, select Issue Registration Code.
A registration code will appear. Select Copy Registration Code, then Close.

- Select
 to return to the main screen of Canon PRINT.
- Select Cloud.
 If you have previously accessed the IJ Cloud Printing Center, skip to step 9.
- After a few moments, the Terms of use will appear. Read the Terms, then select Agree to proceed. Repeat this process for the Privacy policy.
Selecting Do not agree will cancel this process.
- Select your time zone, then select Done.
- The information registration is complete. Select OK.

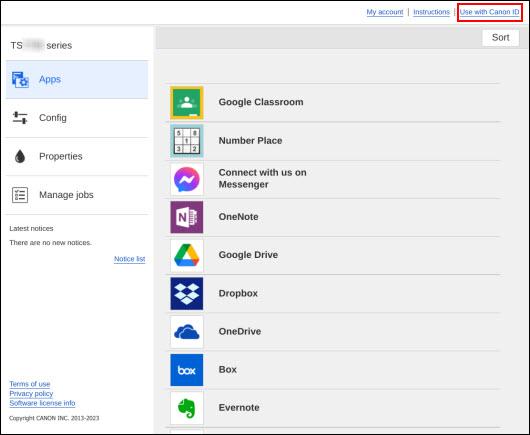
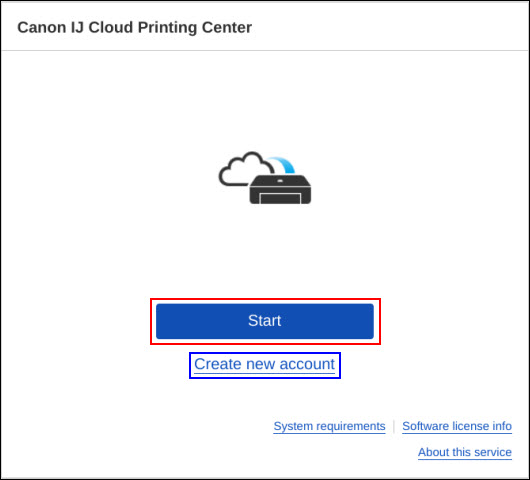
- Select Use with Canon ID.
- If you don't have a Canon ID, select Create new account and follow all on-screen instructions. If you already have a Canon ID, select Start and follow on-screen instructions to sign in.
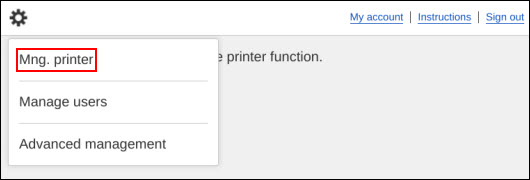
- Select the gear icon, then select Mng. printer.
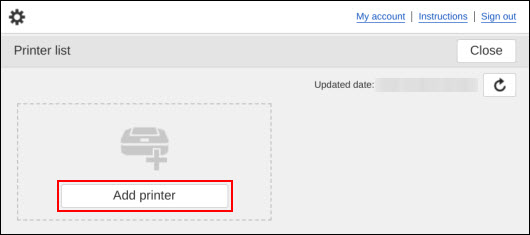
- Select Add printer.
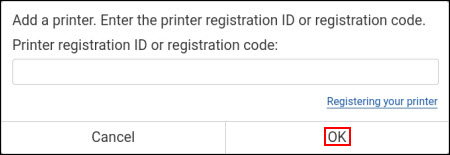
- Paste the registration code you copied in step 3, then select OK.
The printer is then registered. Select the pencil icon to rename the printer if desired. Otherwise, select Close.
You will be returned to the main screen of the IJ Cloud Printing Center.
Follow the steps below to use your ChromeOS device to sign into Google Drive through the Canon Inkjet Cloud Printing Center.
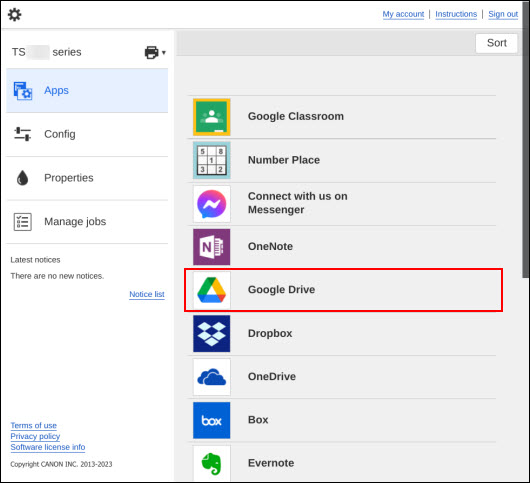
- From the main screen of Canon PRINT, select Cloud.
- Select Google Drive.
- Read the message shown and select Agree to continue. If you select Disagree, you will return to the main menu of the IJ Cloud Printing Center.

- You will come to a login screen. Select your account if it is listed, or select Use another account to use an account different from the one(s) listed on the screen. If you want to log in with a different account, provide the requested information in order to continue.
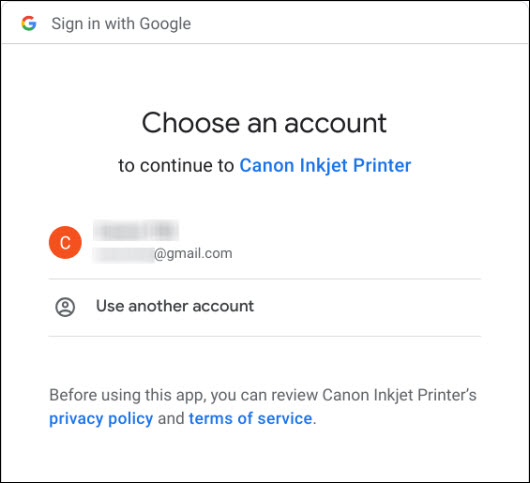
You may also be asked to allow Canon Inkjet Printer to access your Google Account. Select Allow or the appropriate affirmative response to proceed if necessary.

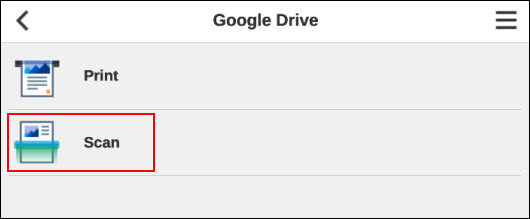
- After you have signed in, select Scan.
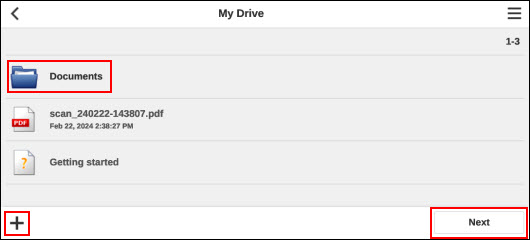
- Select a folder where you would like to scan something to if desired. Otherwise, select Next. If you want to create a folder to save your scanned image to, select the plus sign.
- You can select the source for your scans as well as the orientation.
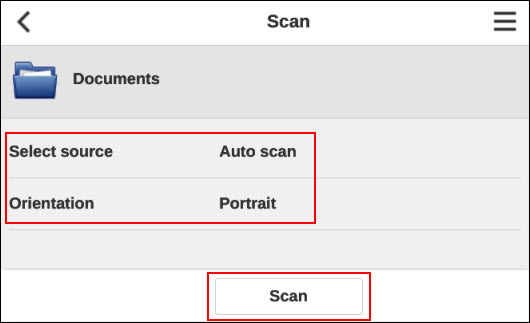
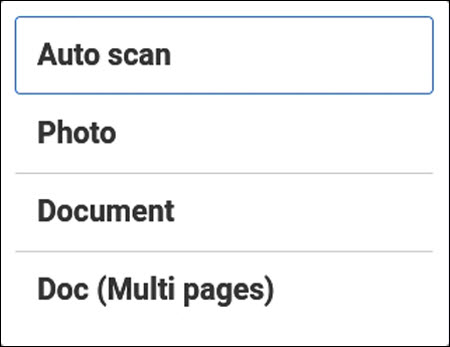
Selecting Select source will show:
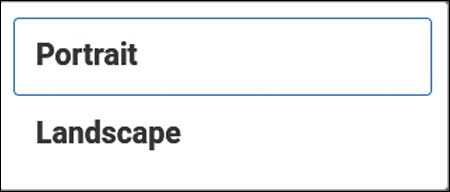
Selecting Orientation will show:
Set any options as desired and then select Scan.
- When asked to start scanning, select OK.
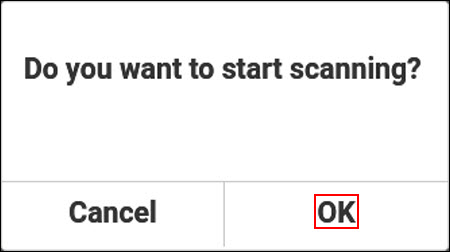
The scanning process will begin.

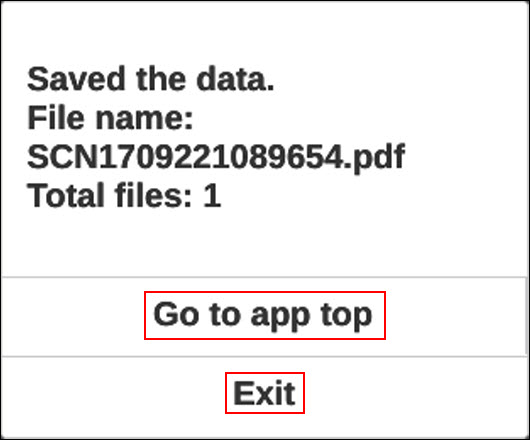
- After the scan has been completed, a file will be saved. Select Go to app top to go back to the main menu of Google Drive. Select Exit to return to the main menu of the IJ Cloud Printing Center.
At any time when scanning to Google Drive, select the menu icon  and Exit if you want to leave.
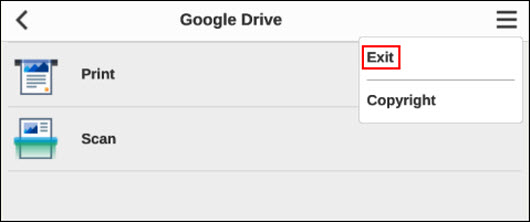
When you select Exit, you will be prompted to pick from one of two options.
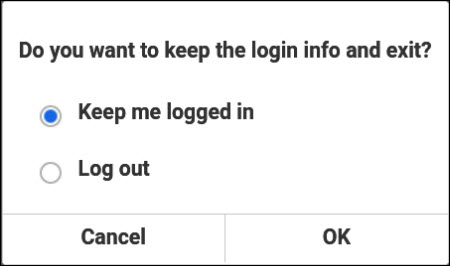
Keep me logged in will return you to the IJ Cloud Printing Center. However, you will remain logged into Google Drive (or the cloud service you specified).
Log out will sign you out of Google Drive (or the cloud service you specified) and return you to the IJ Cloud Printing Center.
