If you want to use your PIXMA MG4220 wirelessly with a Mac®, you can download the latest driver from our website and install it. Follow the directions below to obtain this driver and set it up to use your printer wirelessly.
-
Go to the PIXMA MG4220 support page.
-
Click Select to the right of the CUPS Printer Driver. Then, click Download. If you're asked to run or save the file, save it to your computer.
Do the same for the Scanner Driver.
 The location of the saved file may vary depending on which web browser you use.
-
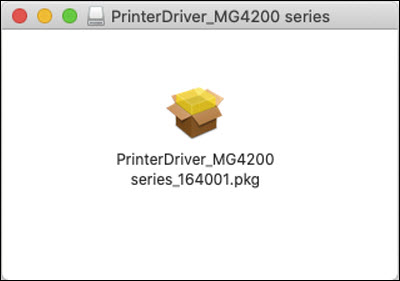
After the file has been saved, open it, then double-click the .pkg (package) file.
-
Follow all on-screen instructions to proceed through the installation. Click any appropriate affirmative option to proceed (Next, Continue, Agree, etc.). If you're asked to provide your computer password during the installation process, enter it when prompted.
The installation may take several minutes to complete.
-
Install the scanner driver after you have finished installing the CUPS printer driver.
-
Click the Apple menu, select System Preferences, then Print & Fax / Print & Scan / Printers & Scanners (the name will vary depending on what version of macOS® you're using).
-
Below the printer list, click +.
-
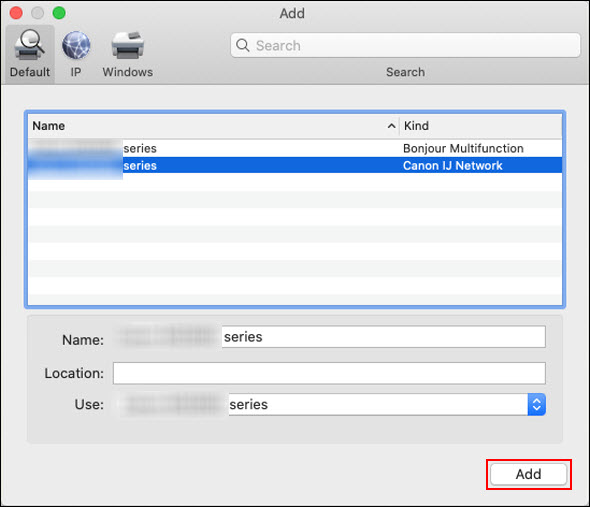
In the Add window, select the listing for your printer with Canon IJ Network listed for Kind. Make sure that your printer is displayed in the Use: pop-up menu. Then, click Add.
-
Close the Print & Fax / Print & Scan / Printers & Scanners window.
Your printer is now ready for use wirelessly from your Mac.
If your product issue was not resolved after following the steps above, or if you require additional help, please create or log in to your Canon Account to see your technical support options.
Or if you still need help, visit our Canon Community by clicking the button below to get answers:

____________________________________________________________________________________________
