Follow the procedure below when replacing the air filter.
1 Turn off the projector power and remove the power plug.
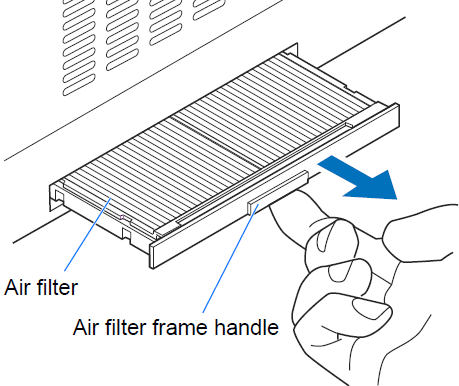
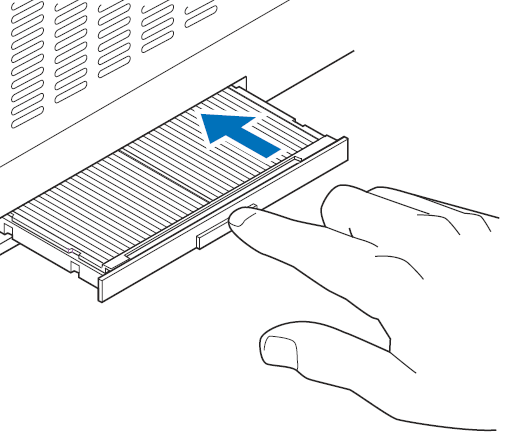
2 Place your finger on the notch under the filter unit on the side of the projector and pull the filter unit out
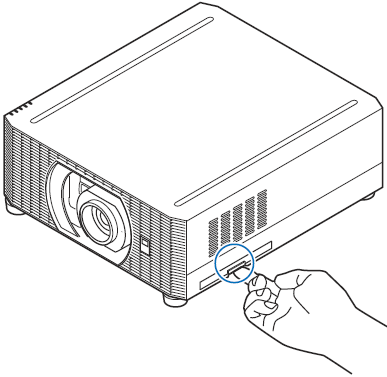 |
 |
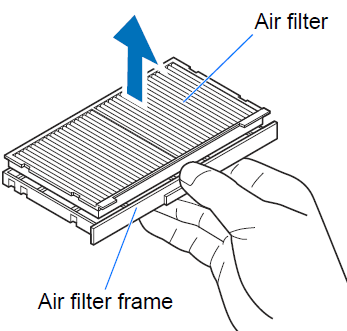
| 3 Press up on the air filter from below and remove it from the air filter frame. |
 |
| 4 Install a new air filter in the air filter frame. |
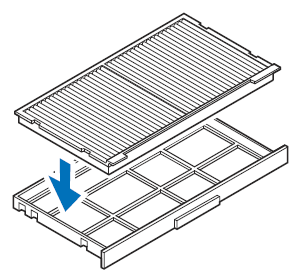 |
| 5 Securely insert the frame holding the air filter, all the way into the projector. |
 |
• After air filter replacement, reset [Air filter counter]
• Handle the air filter carefully. If damaged, the air filter will not work properly.
• To purchase an air filter (part no: RS-FL05), contact the Canon Customer Support Center.
