Follow the steps below if you need to uninstall then reinstall the printer drivers for your Mac
®.
Uninstall the printer driver
-
In the Apple menu, open System Preferences and select Print & Fax.
 Depending on your version of Mac OS X®, the option may say Print & Scan or Printers & Scanners.
-
From the Printers list, highlight the printer you want to delete.
-
Select the minus sign (-) sign, then OK on the confirmation message.
-
Double-click the hard disk icon (in these folders: Library > Printers > Canon > BJPrinter). Put the BJ Printer folder into the Trash.
-
Double-click the Receipts folder in the Library folder, and put the .pkg file for the printer into the Trash.
-
Browse to the HD > Library > CFMSupport folder and drag BJExtDDI.cfm to the Trash.
-
From the Finder menu, select Empty Trash.
-
From the Apple menu, select Restart.
Reinstall the printer driver
Follow the steps below to re-install the printer drivers:
-
Turn on your Mac and your printer and insert the Setup Software & User's Guide CD-ROM.
-
If you don't have an optical drive or the disc that came with your printer:
-
Go to Canon Support.
-
Type the name of your product in the search box.
-
When the product appears, select Go > then Drivers & Downloads > then scroll down Select the driver(s) for your product > then Download.
-
Open each file after it downloads.
-
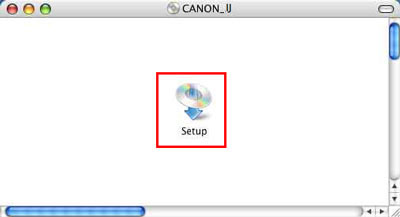
If the installation does not begin automatically, there will simply be a Setup Icon as shown below. Double-click the icon and follow the on-screen instructions.
Uninstall the printer driver in 10.3.x:
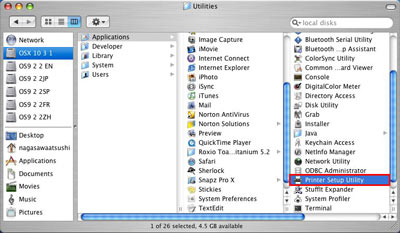
Open Applications, and Utilities, and double-click the Printer Setup Utility icon.
Printer Setup Utility has a different name, depending on the Mac OS X version. In versions prior to Mac OS X 10.3.x, double-click the Print Center icon. The image below show Mac OS X Ver. 10.3.x. The display in prior versions appears differently.
From the
Printer List window, select
all printers and
Delete.
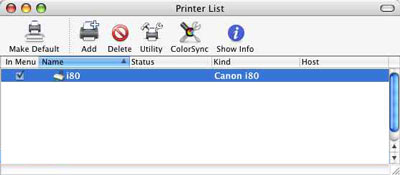
Return to Step 5 of the instructions above.
