Untitled Document
How to load paper in the auto sheet feeder
When loading paper
1. Open the paper support.

2. Press the <On/Off> button to turn the printer on.
3. Fan the paper and align all four corners.
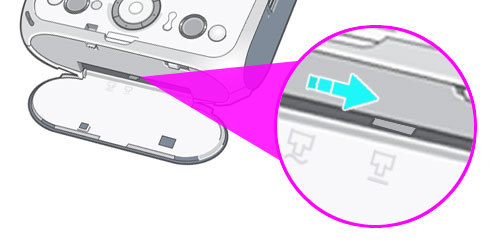
4. Confirm that the paper thickness lever is set to the right.
5. When loading paper, follow the instruction below with care.
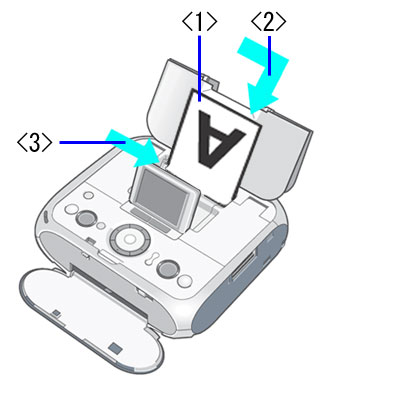
< 1 > Load paper with the print side facing up.
< 2 > Align paper with the right edge of the auto sheet feeder and insert paper all the way in.
< 3 > Move the paper guide to the left edge of paper.
Loading paper direction
| Paper Type |
Loading Direction |
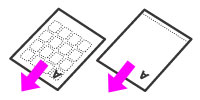
| 4" x 6", 5" x 7", 4" x 8", Credit Card sized paper |
Set paper with the print side facing up and the short-side down. |
| Canon Photo Stickers |
Set paper with the print side facing up and the short-side with the less margin down. |
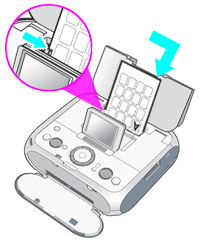
Canon Photo Stickers
