If you get a printer connection error or if you've changed your router or Internet service provider, you may need to verify and correctly set the SSID / network name on the printer.
Check the network name on the printer
-
Make sure your printer is powered on.
-
Press the Setup  button on the printer.
-
Use the right/left arrow buttons 
 to do the following:
-
Select Device settings, then press the OK button.
-
Select LAN settings, then press the OK button.
-
Select Print LAN details, then press the OK button.
-
Confirm that the printer is connected to the correct network name.
Check the network name on the computer
- Click on the appropriate network icon from the system tray (at the bottom right of your screen).
|
Windows XP: 
|
Windows Vista: 
|
Windows 7 / 8 / 8.1: 
|
Windows 10: 
|
-
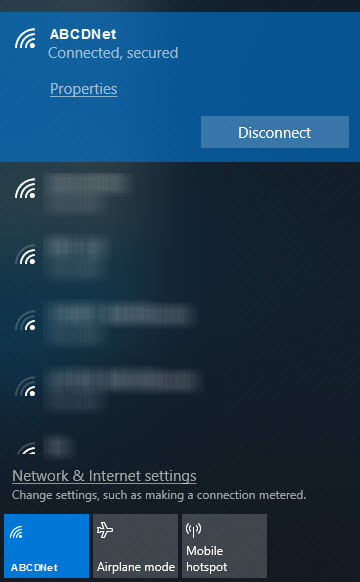
Make note of the network name. For instance, it's ABCDNet in the example below.
 Your display may look different from this one, depending on your operating system.
-
Compare this network name with the one you saw in the printer settings. If it's different, connect your computer to the same network as that of the printer.
