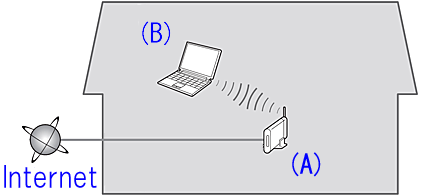
Before connecting this printer to the network, confirm the following two items, (A) and (B).
(A) Wireless router (supporting IEEE802.11b/g/n)
Your wireless router is the device that connects the network devices in your home (computer, printer, and so on) to the Internet and allows communication between those devices on your home network. A wireless router is necessary for the procedure described here. To use your printer over a wireless connection, your wireless router must already be set up.
(B) The computer to be used with the printer must be connected to the network.
In order to confirm whether the computer to be used with the printer is connected to the network, try to browse the Internet website from the computer.
For information regarding your wireless router's setup method and functionality, refer to its instruction manual or contact its manufacturer.
Regarding the setup method of the computer, refer to the instruction manual for the computer you are using, or contact its manufacturer.
Prepare for the Cableless setup
Before Starting Wireless Connection Setup:
Make sure that the printer is turned on.
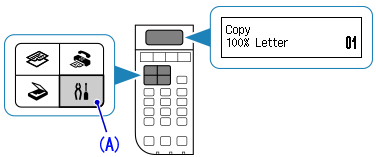
Press the [ Setup ] button (A) on the printer.
Use the or button (B) to select [ Wireless LAN setup ].
Press the [ OK ] button.
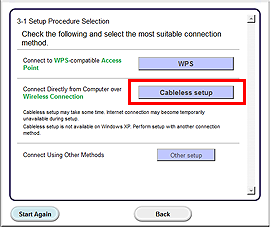
Select [ Other setup ].
Press the [ OK ] button.
Select [ Cableless setup ].
Press the [ OK ] button.
Now, the printer is ready to connect to a wireless network.
The connection between the printer and the wireless router is not yet complete. To complete the connection, a software installation is necessary.
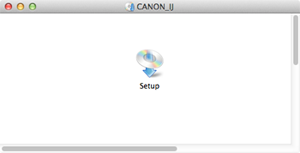
Proceed with the software installation.
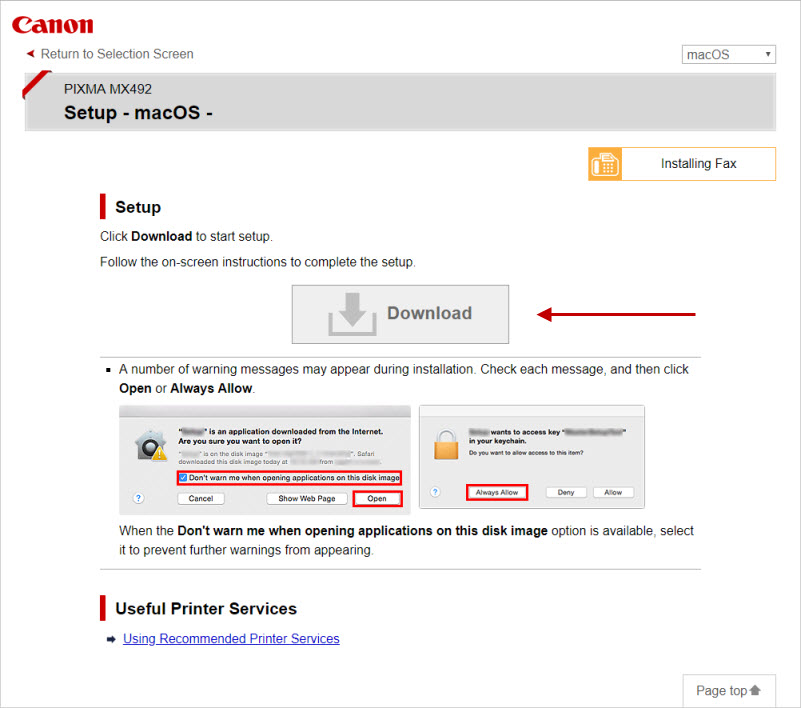
The instructions for setting up your printer on macOS® versions 10.7.5 through 10.13.6 are below.
For macOS versions later than 10.13.6, the Full Driver & Software Package that can be downloaded is not compatible. You will either need to use a Windows PC to complete the cableless setup, or an iOS® or Android™ device with the Canon PRINT Inkjet / SELPHY app. Then, you will need to add the printer to your printer list.
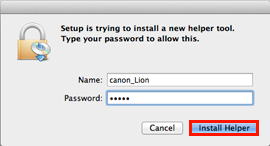
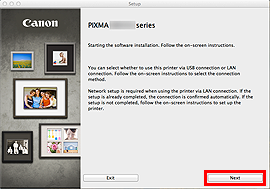
In the subsequent screen, enter the administrator name and password. Then click [ Install Helper ].
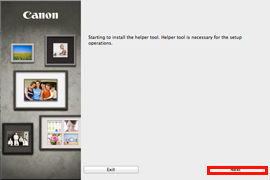
Click [ Next ].
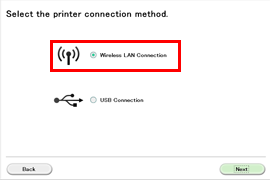
Click [ Wireless LAN Connection ].
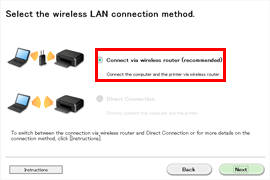
Click [ Connect via wireless router (recommended) ].
Click [ Next ].
Click [ Cableless setup ].
Click [ Next ].
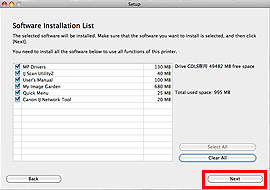
Follow any on-screen instructions to proceed with the software installation.
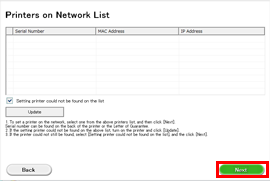
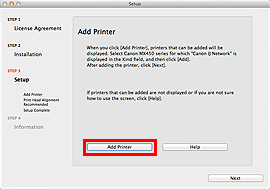
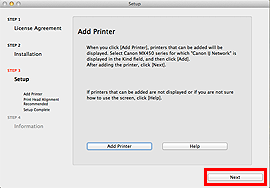
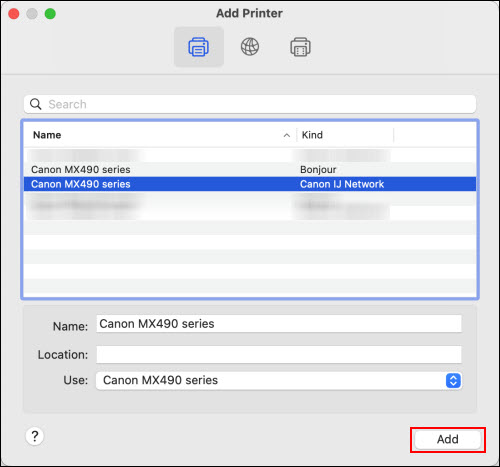
Click [ Add Printer ].
The alphanumeric characters after "Canon xxx series" is the machines Bonjour service name or MAC address.
If the machine is not detected, make sure of the following.
The machine is turned on.
The firewall function of any security software is turned off.
The computer is connected to the wireless router.
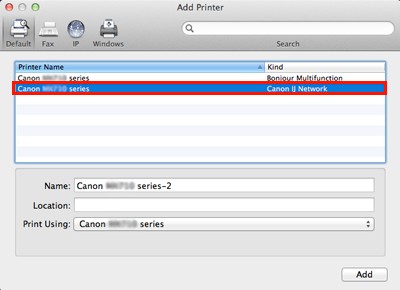
Select [ Canon xxx series Canon IJ Network ] and click [ Add ].
If you will be installing the Canon printer driver on Mac OS X and using the printer through a network connection, you can select [ Bonjour ] or [ Canon IJ Network ] in the [Add Printer] dialog.
If [ Bonjour ] is selected, remaining ink level messages may differ from those indicated by [ Canon IJ Network ].
Canon recommends you to use [Canon IJ Network] for printing.
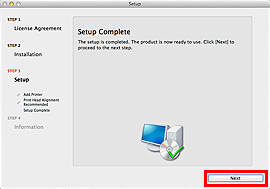
Click [ Next ].
Click [ Next ].
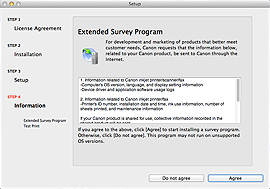
If the Extended Survey Program screen appears:
If you'd like to participate in the Extended Survey Program, click [ Agree ].
If you click [ Do not agree ], the Extended Survey Program will not be installed.
(This has no effect on the machine's functionality.)
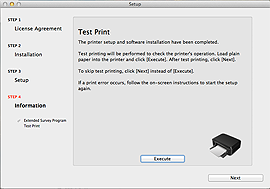
When the Test Print window is displayed
Test printing will be performed to check the printer's operation.
Load plain paper into the printer and click [ Execute ].
After test printing, click [ Next ].
To skip test printing, click [ Next ] instead of [ Execute ].
Click [ Exit ] to complete the installation.
Wireless LAN setup using "Cableless Setup" is now complete.
macOS 10.14 - 12.6.1
If your Mac runs macOS 10.14 through 12.6.1, you will need to have the printer already connected to the network, as the Full Driver & Software Package available for download is not compatible with these later versions of macOS. Follow the steps below to add the printer to the printer list.
Click the Apple menu and go into System Preferences.
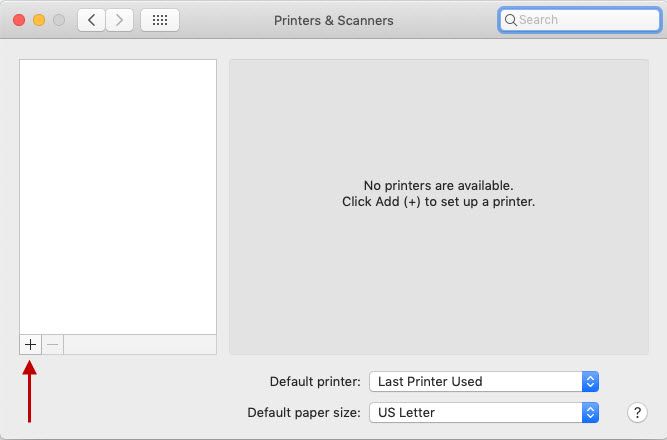
Click Print & Fax / Print & Scan / Printers & Scanners (the name will depend on which version of macOS you are running).
Click the + towards the lower left.
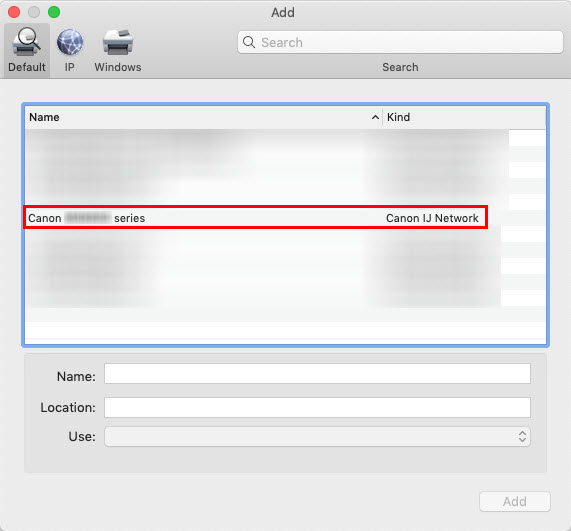
The Add window will appear. After a few moments, a listing for your printer will appear. The Kind will be Canon IJ Network.
Click this listing.
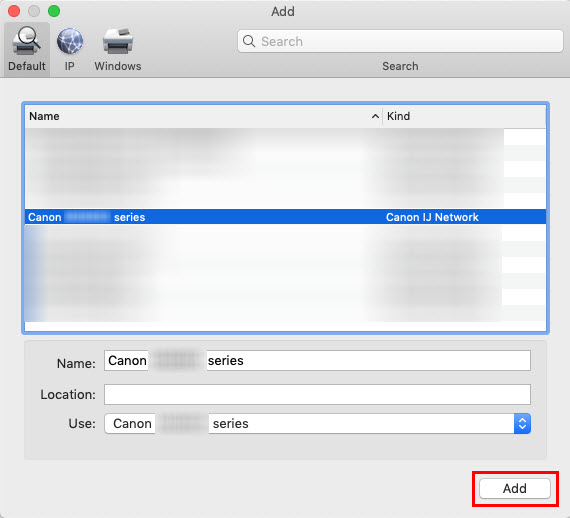
After clicking this listing, make sure that the name of the printer shows for Use:. Then, click Add.
The printer is ready for use with your Mac.
macOS 13
If your Mac runs macOS 13, you will need to have the printer already connected to the network, as the Full Driver & Software Package available for download is not compatible with macOS 13. Follow the steps below to add the printer to the printer list.
Click the Apple menu and go into System Settings.
Click Printers & Scanners (you may need to scroll down on the left side of the window).
Click Add Printer, Scanner, or Fax....
The Add window will appear. After a few moments, a listing for your printer will appear. The Kind will be Canon IJ Network. Click this listing.
After clicking this listing, make sure that the name of the printer shows for Use:. Then, click Add.
The printer is ready for use with your Mac.
If your product issue was not resolved after following the steps above, or if you require additional help, please create or log in to your Canon Account to see your technical support options.
Or if you still need help, visit our Canon Community by clicking the button below to get answers:


 For information regarding your wireless router's setup method and functionality, refer to its instruction manual or contact its manufacturer.
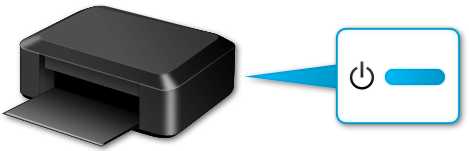
 or
or  button (B) to select [ Wireless LAN setup ].
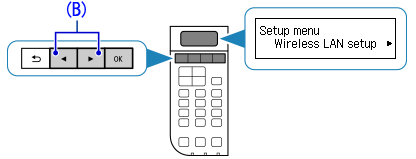


 Quit all applications before installation.