How to include the date when printing using Easy-PhotoPrint v2.x
It is possible to print images and include the date the image was taken.
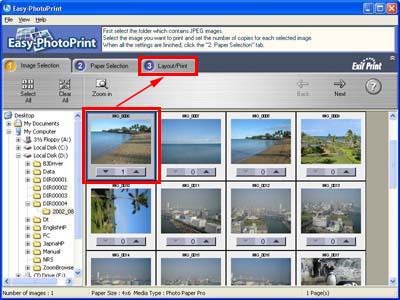
1. Select the image(s), and click the 'Layout/Print' tab.
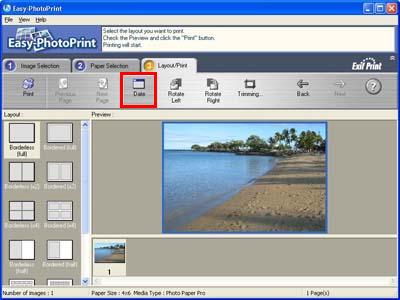
2. In the Layout/Print sheet, click 'Date' to overlay the date onto the image.
3. Select 'Preference' in the File menu, and select the print position, size, and color.
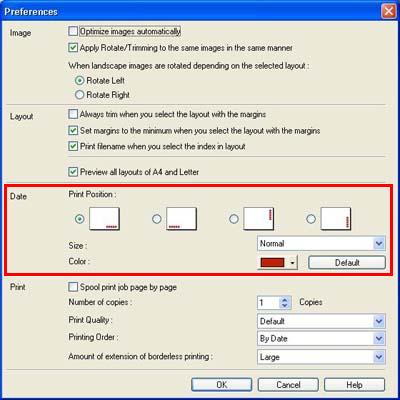
- In the Date section, select the Print Position from the 4 patterns displayed.
- Select the text size to be used in displaying the date, from Normal. Small, or Very Small.
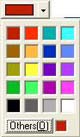
- Select a color from the pallet. (The default color is red.)
4. The procedure for including the date is completed.
5. In the Layout/Print sheet, click 'Print'
