➤
Home
Articles
FAQs
Ask a Question
Search
Models related to this article
EOS Rebel T5i
Languages
This article is available in the following languages:
English United States
Español España
Home
Articles
Articles Detail
Installing and removing the card on the EOS Rebel T5i
Article ID: ART174178
|
Date published: 04/30/2019
|
Date last updated: 04/30/2019
Description
Installing and removing the card on the EOS Rebel T5i
Solution
The captured images are recorded onto the card (sold separately).
Installing the card
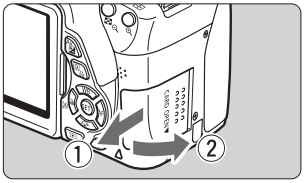
1. Open the cover.
Slide the cover as shown by the arrows to open it.
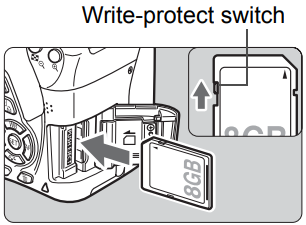
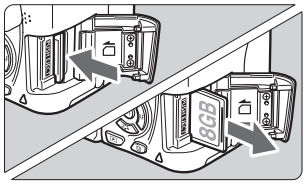
2. Insert the card.
As shown by the illustration, face the card's label side toward you and insert it until it clicks in place.
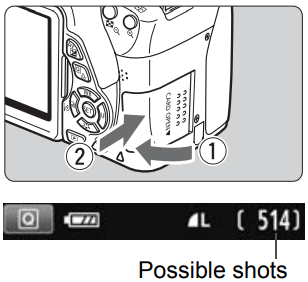
3. Close the cover.
Close the cover and slide it in the direction shown by the arrows until it snaps shut.
When you set the power switch to <
ON
>, the number of remaining shots will be displayed on the LCD monitor.
Removing the card
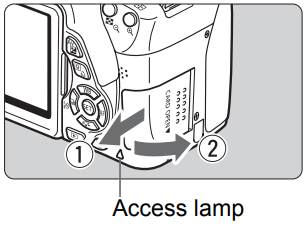
1. Open the cover.
Set the power switch to <
OFF
>.
Make sure the access lamp is off, then open the cover.
If [
Recording...
] is displayed, close the cover..
2. Remove the card.
Gently push in the card, then let go to eject it.
Pull the card straight out, then close the cover.
Rate this Article
Was this article helpful?
Yes, This document is helpful
No, This document needs a clearer explanation
Please provide your comments
Rate Article