Follow the steps below to replace empty ink cartridges or resolve an ink cartridge error message.
-
Turn the printer ON.
-
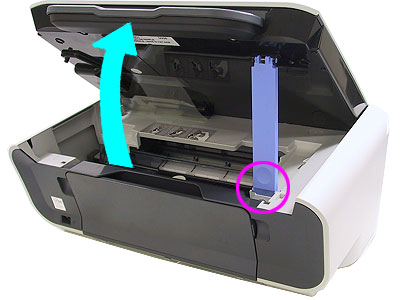
Open the printer cover (scanning unit). The ink cartridge holder moves to the replacement position.
 Make sure the cover is in the fixed position before you release your hands.
- Press down on the semi-circular tab to release the cartridge then gently remove it. Remove the second cartridge if necessary(see image slide show below).
 Handle the ink cartridges carefully to avoid staining your clothes or the work area.

- Take the new cartridge out of the package, then gently remove the orange protective tape. Pull the tape in the direction of the arrow as shown.
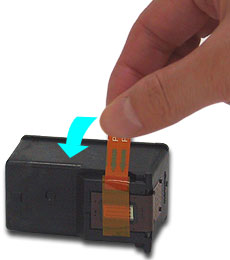
Don't try to reattach the tape after you remove it.
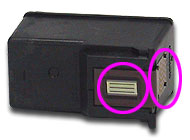
Be careful not to touch the gold electrical contacts or the print head nozzles.
-
Insert the ink cartridge into the holder. The black cartridge (B) goes on the left and the color cartridge (C) goes on the right.
The printer won't print unless both cartridges are installed. The capacities (Standard or High) don't need to match.
-
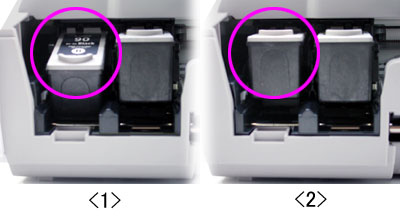
Push up on the front of the cartridge until you hear a click to indicate that it's locked in place (see image slide show below).
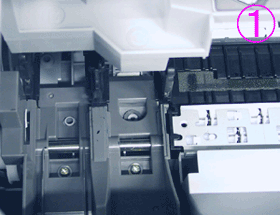
- Confirm that the ink cartridges are aligned and correctly seated.
<1> The ink cartridge is not installed properly.
<2> The ink cartridge is installed properly.
-
Fold the scanning unit support and close the cover.
-
The printer will perform some resetting functions. Wait a few minutes until the process completes.
