Load Paper in a SELPHY CP900 Cassette
| Article ID: ART152949 |
| |
Date published: 05/22/2015 |
| |
Date last updated: 02/21/2020 |
Description
Learn how to load paper into the cassette of a SELPHY CP900 printer .
Solution
Prepare the paper
-
Make sure to use genuine Canon brand Color Ink Cassette / Paper Sets made for SELPHY CP series printers.
 Don't use regular printer paper, postcards, or paper meant for SELPHY ES series printers.
-
If a protective sheet came with the paper, remove it before you load the cassette.
-
Count the sheets to make sure you have no more than 18 in the cassette. (If you load more than 18 sheets it may damage the printer or cause malfunction.)
-
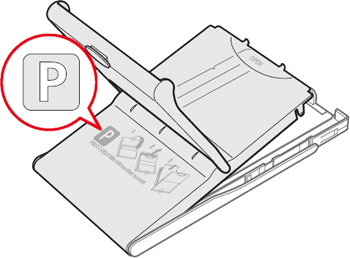
Make sure the ink cassette matches the paper size (P) shown on the outside of the cassette (POSTCARD (4x6in), CARD SIZE, etc.).
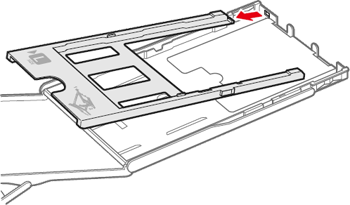
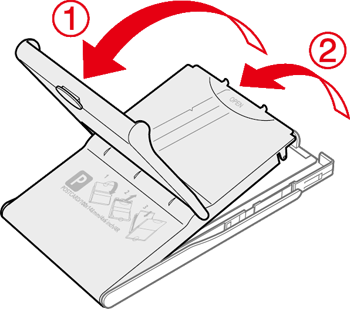
Load the paper
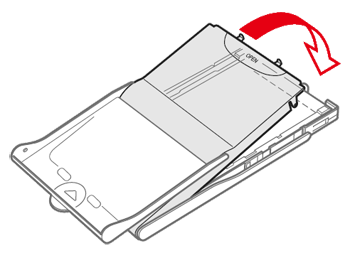
- Open the two layers of lids as shown below: First open (1), then open (2).
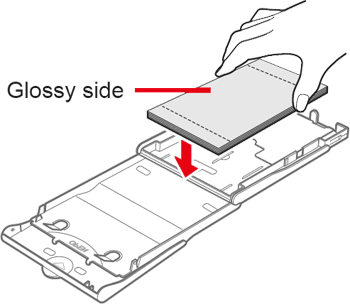
- Place the paper into the paper cassette with the glossy side up.
Don't touch the glossy side of the paper with your fingers, as it may cause poor print quality.
- Close the inner lid until it clicks into place. Leave the outer lid open during printing.
Good to know