Uninstall and Reinstall the Printer Driver (Mac OS X)
Follow the steps below to uninstall the printer driver:
- Open Applications, and Utilities, and double-click the 'Printer Setup Utility' icon.
**Leopard (10.5.x) users click here.
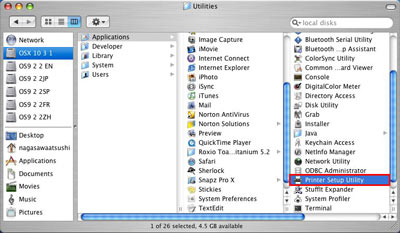
Note: Printer Setup Utility has a different name, depending on the Mac OS X version. In versions prior to Mac OS X 10.3.x, double-click the Print Center icon. The above is an image using Mac OS X Ver. 10.3.x. The display in prior versions appears different. The images are an example using the MF4270 model.
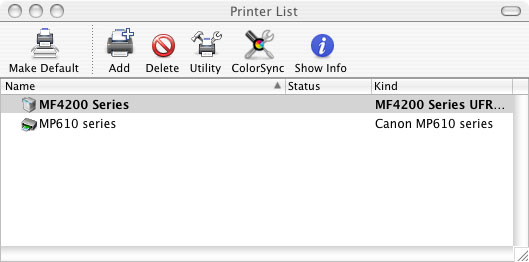
- From the Printer List window, select all printer and click 'Delete'.
- Double-click the hard disk icon where the printer driver was installed, the Library folder, the Printers folder, the Canon folder, and then put the UFR2 and CUPS/FAX folders into the Trash.
- Double-click the Receipts folder in the Library folder, and put '.pkg' file for the printer into the Trash.
- From the Finder menu, select 'Empty Trash'.
- From the Apple menu, select 'Restart'.
Follow the steps below to reinstall the printer driver:
- Turn on your Mac and your printer and insert the Setup Software & User's Guide CD-ROM.
Note: Log on as an Administrator.
- Double-click the downloaded file icon, then UFR II Installer file.*
- Then follow the on-screen instructions.
* For the Fax click the MacOSX folder, then click the file FAX Installer.
Deleting the Printer from the Printer List (Mac OS X ver 10.5.x)
1.In the Apple menu, open System Preferences.
2. Open Print and Fax.
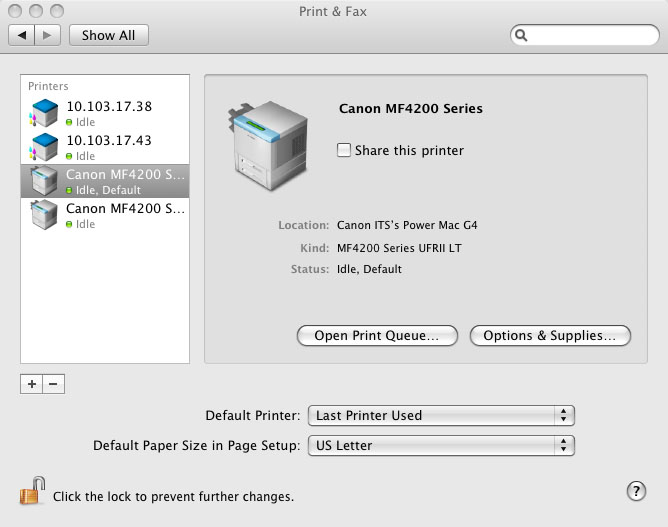
3. Be sure that the printer to be deleted is highlighted in the Printers section.

4. Click the Minus (-) sign, then click 'OK' on the confirmation message. The printer is deleted.
5. Return to Step 3 of uninstall instructions , above .
