The screens you see below will only appear if you use the Setup CD that came with your printer. A USB cable is required for this setup method.
 If you don't have the CD, you can get download instructions for performing a wireless setup using a downloaded driver.
PRO-100 Wi-Fi® setup screens
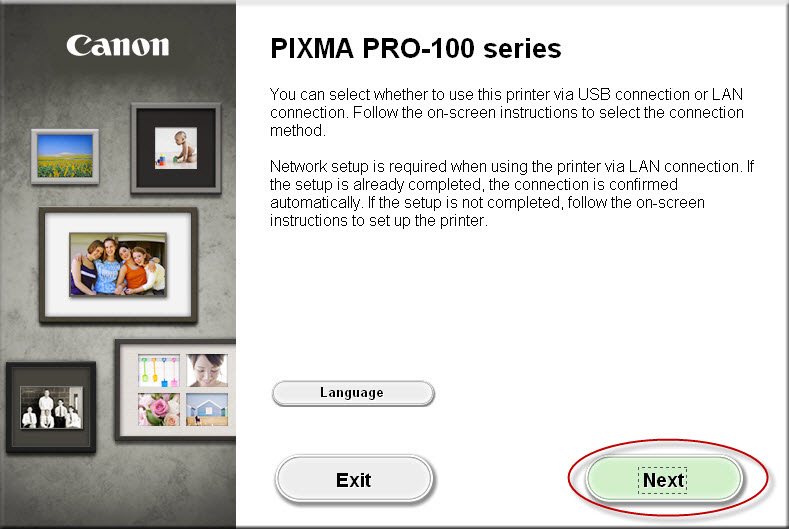
When installing the printer for use on a wireless network, you'll see these screens. Follow the onscreen prompts to complete the setup.
- Initial setup screen. Select Next to continue.
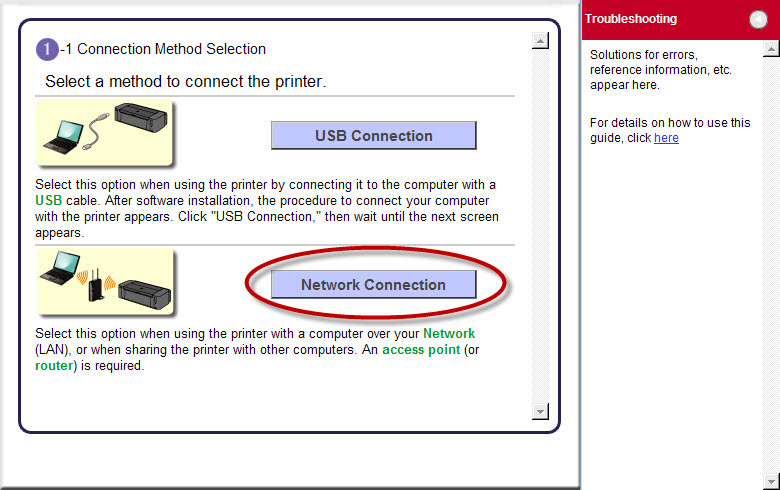
- Select Network Connection to set up the printer for use over a Wi-Fi® network.
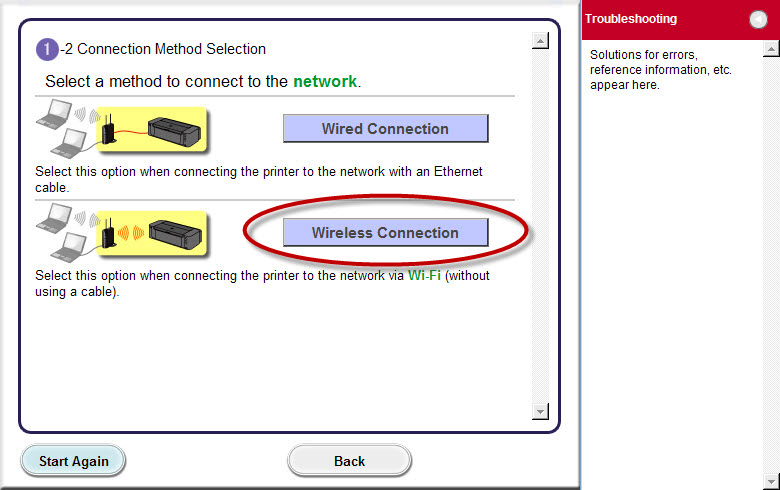
- Select Wireless Connection to set up the printer for use on a wireless network.
- Make sure your printer is turned ON, then select Next to continue.
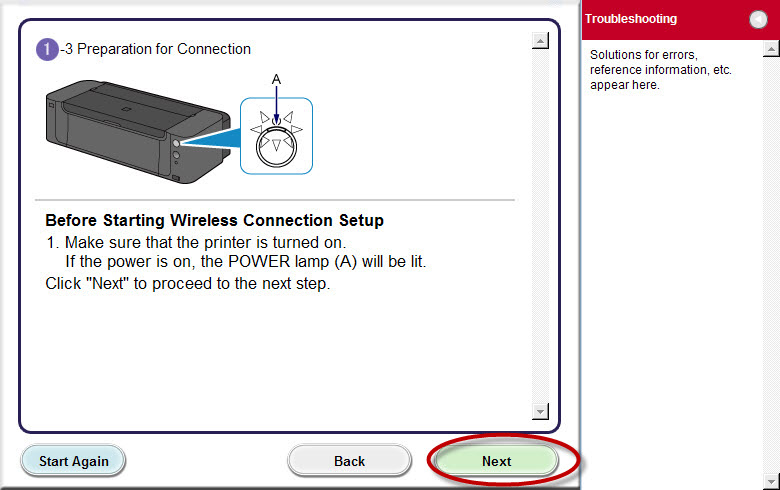
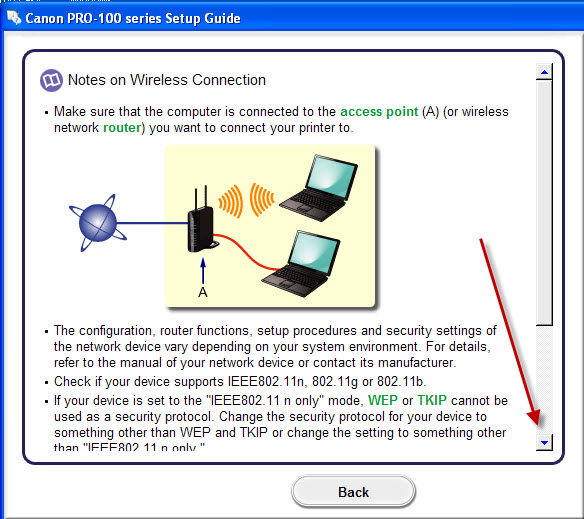
- To get more information on wireless connections (see the screen below this one), select the Click here link.
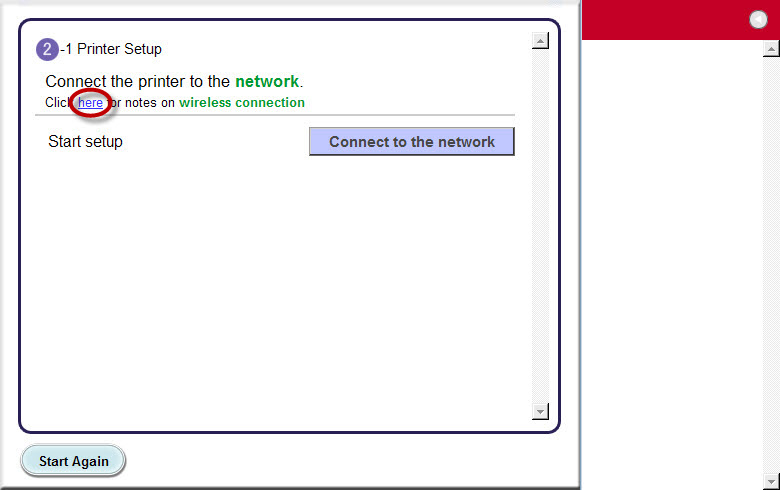
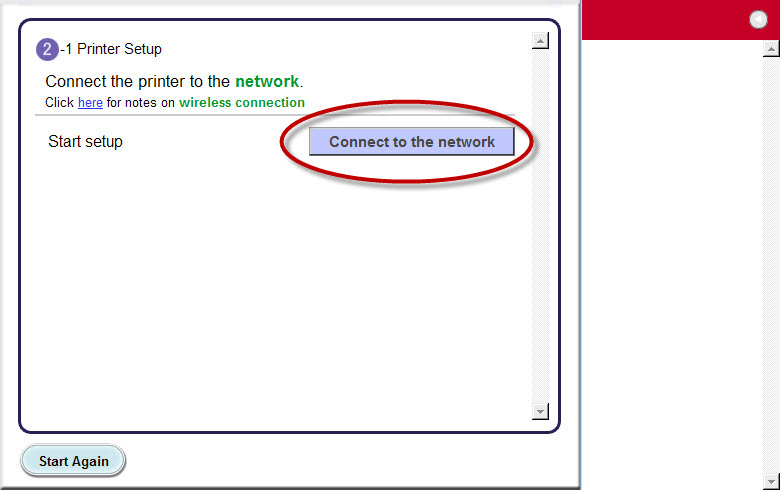
- Select Connect to the network to continue.
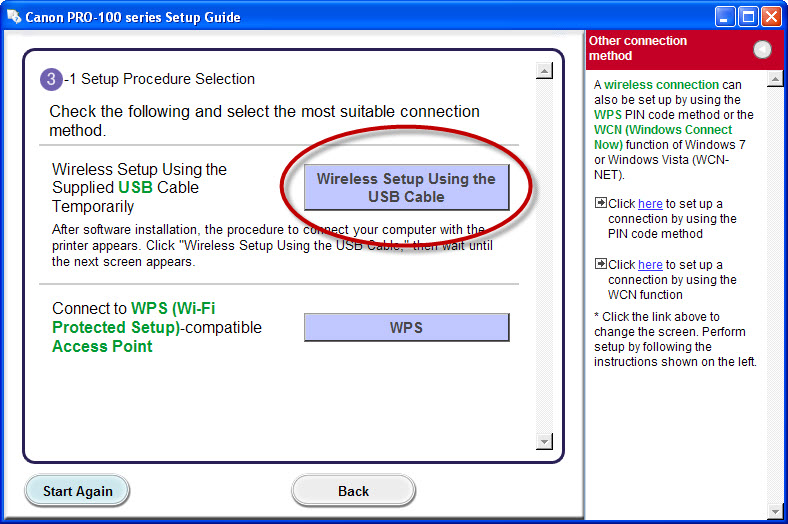
- Select Wireless Setup Using the USB Cable.
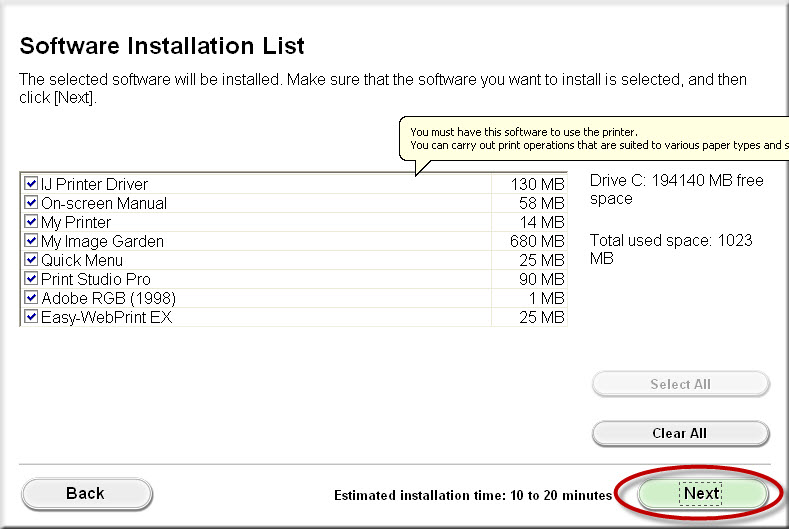
- Select any optional software you want to download (click on the check box to select, click again to remove), then select the Next button.
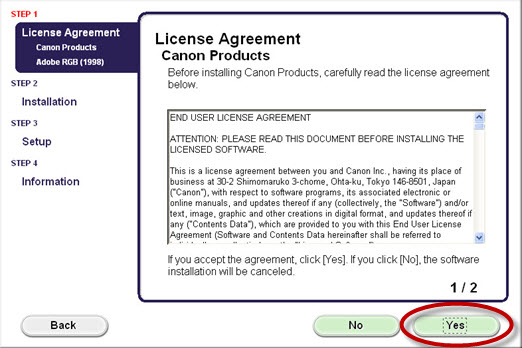
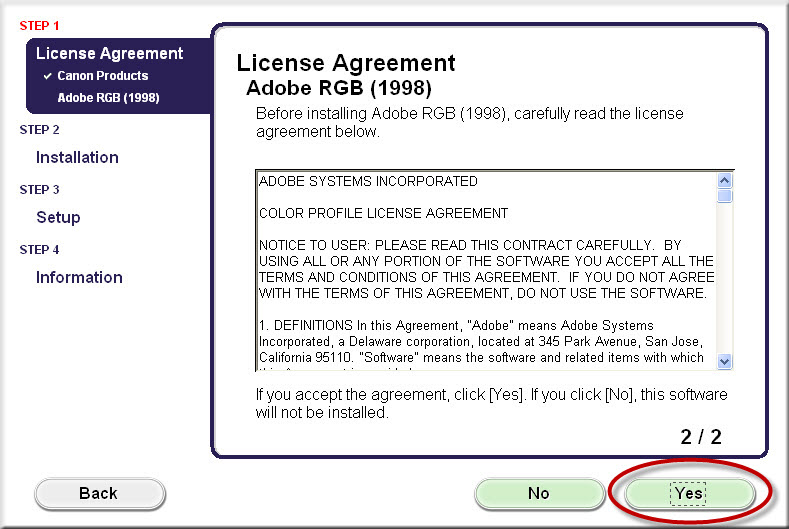
- To continue, select Yes on the License Agreement screen.
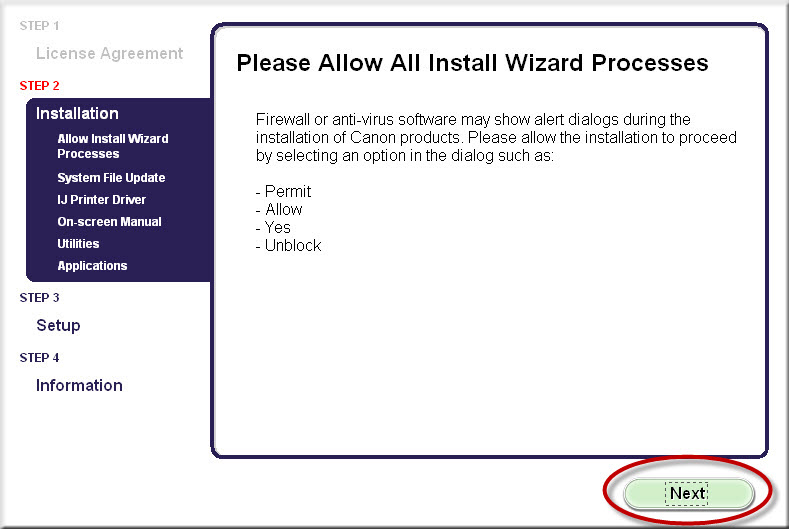
- The Install Wizard will start when you select Allow.
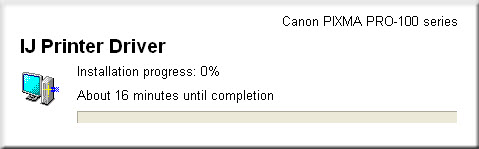
You'll see the install progress screen. Wait for the process to finish.
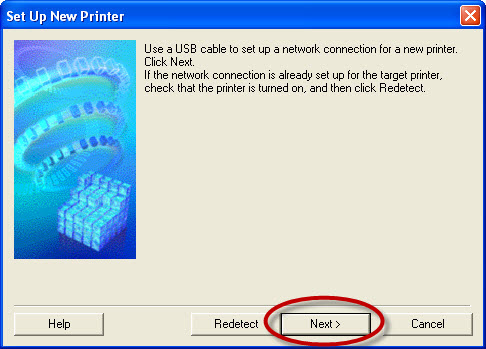
- On the Set Up New Printer screen, select Next.
- Connect the USB Cable to the printer and your computer.

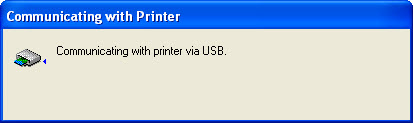
You'll see some status screens.
- Confirm the Access Point by selecting Yes.

You'll see more status screens.

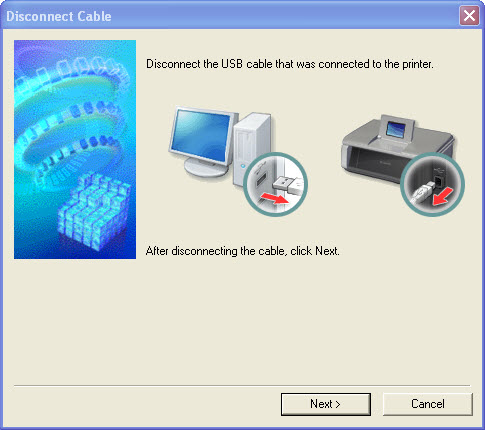
- Disconnect the USB cable, the select Next.
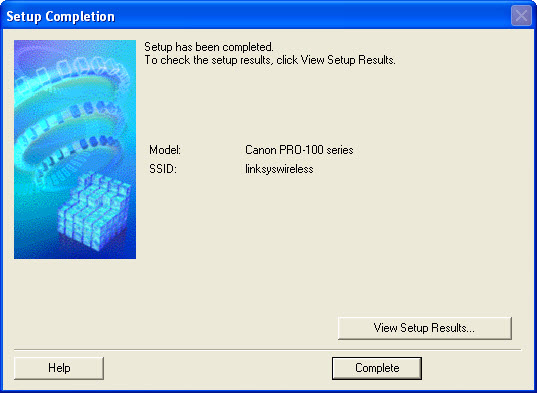
- Setup is complete. Choose View Setup Results or Complete.