This section explains the recording basics. Before you begin recording, make a test recording first to check if the camcorder operates correctly. Record for approximately 6 minutes at 50 Mbps
. Should the camcorder fail to operate correctly, refer to Troubleshooting (A162).For details on recording audio, refer to
Recording Audio.Operating modes: 
Preparing to Record
1 Attach the monitor unit, handle unit, grip unit, etc. as necessary to build the desired configuration
.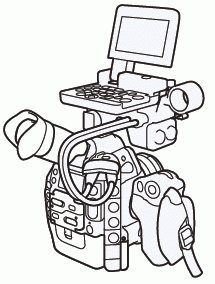
2 Attach a charged battery pack to the camcorder.
3 Insert a CF card into a CF card slot.
• Insert another CF card into the other CF card slot to use relay recording
or double slot recording.4 Attach a lens
NOTESThe camcorder can add a user memo to a clip as you record. It can be used to store information such as the clip name, camera operator and filming location. However, you must set the user memo before recording.
Recording
1 Set the
Q switch to CAMERA.
2 Press the START/STOP button to begin recording.
Recording starts. The tally lamp illuminates and the recording indicator [ÜREC] appears at the top of the screen.
You can use the START/STOP button on the back of the camcorder, the front of the camcorder (next to the lens mount), the grip unit or the monitor unit.
3 Press the START/STOP button to pause the recording.
* “Clip” refers to one movie unit from the point you press the START/STOP button to start recording until you press again to pause the recording. You can also include custom picture settings
and metadata with the clip.
