 Your SELPHY CP1200 printer connects wirelessly to computers with these Windows operating systems:
-
Windows 10
-
Windows 8.1
-
Windows 8
-
Windows 7 SP1
There are two steps to set up wireless printing on the SELPHY:
- Set up a wireless connection on your printer.
- Download and install the printer driver on your computer.
1. Set up a wireless connection on your printer
-
Connect the printer to your wireless network (router).
-
Verify your connection. When connected, you will see the screen below.

2. Download and install the printer driver on your computer
-
Get the printer driver from the SELPHY CP1200 support page.
-
Choose Select to the right of the listing for the SELPHY CP1200 printer driver.
-
Select Download. If prompted to Run or Save the file, save it to your computer.
-
From the location where you saved the download, double-click on cp1200-110-9l.exe to launch the installer for the driver.
-
Follow the instructions to complete installation.
-
If the User Account Control window appears, follow the on-screen instructions.
-
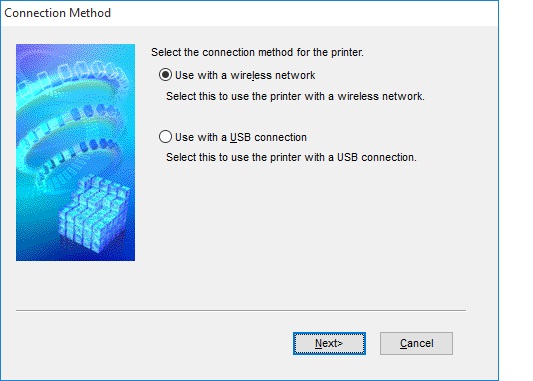
Choose the connection method.
- When the following screen appears, select Use with a wireless network, then select Next.
-
Choose Canon SELPHY CP1200, then select Next.
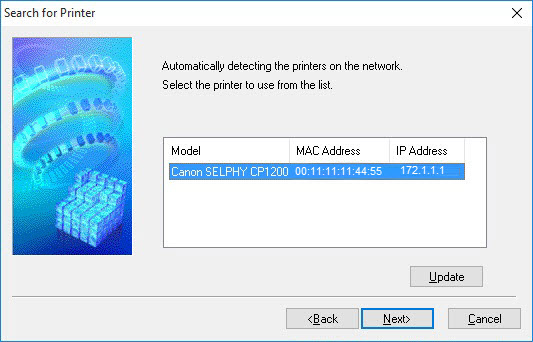
The printer driver is now installed. You are ready to print.
Printing in progress can't be canceled from the SELPHY printer by using the Back button  . You will need to cancel a print job from your computer
