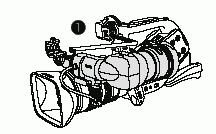
Attaching and Detaching the Color Viewfinder Unit
Attaching the Color Viewfinder Unit
- Slide the viewfinder unit onto the bracket and tighten the locking screw.
- Connect the viewfinder cable to the upper socket of the camcorder body.
Align the mark on the cable with the mark on the camcorder.
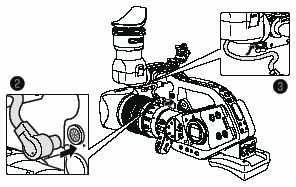
- Hook the viewfinder cable onto the cable clamp.
Detaching the Viewfinder Unit
- Detach the viewfinder cable.
- Loosen the locking screw and slide the viewfinder unit off the bracket.
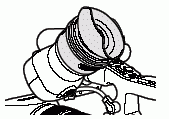
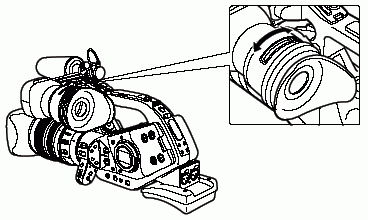
Detaching and Attaching the Eye Cup
You can change the position of the eye cup for use with either the left or right eye. Detach and reattach the eye cup for use with the left eye.
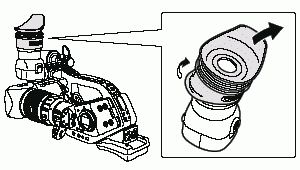
Detaching the Eye Cup
Detach the eye cup as shown in the illustration.
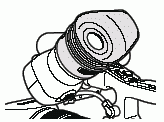
Attaching the Eye Cup
Align the hole for the dioptric adjustment lever with the lever, and pull the eye cup into position.
|
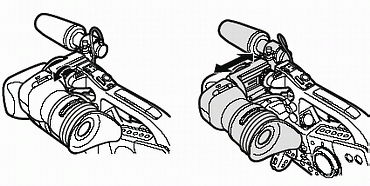
Right eye use
|
Left eye use
|
|
|
|
Adjusting the Position of the Viewfinder
The viewfinder position can be changed (right/left, forward/backward).
|
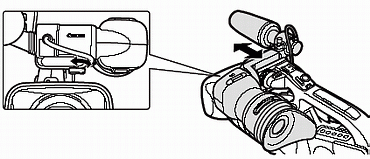
Right/Left Adjustment
Loosen the locking screw, move the viewfinder to the right/left and tighten the screw.
|
|
|
|
Forward/Backward Adjustment
Loosen the locking lever, move the viewfinder forward/backward and tighten the lever.
|
|
|
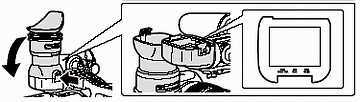
Using the Viewfinder as LCD Panel
You can use the viewfinder as LCD panel by opening the eyepiece adapter.
Press the lock release button and open the eyepiece adapter.
 Make sure to close the eyepiece adapter when you are not using the viewfinder as LCD panel.
Dioptric Adjustment
Turn on the camcorder and adjust the dioptric adjustment lever.
Prevent direct sunlight getting in the viewfinder. The viewfinder LCD may become damaged due to concentration of the light by the lens. Pay special attention when mounting the camcorder on a tripod, or during transportation.
Adjusting the Viewfinder Image
You can adjust the brightness, contrast, color and sharpness of the viewfinder. These adjustments will not affect the picture of your recording.
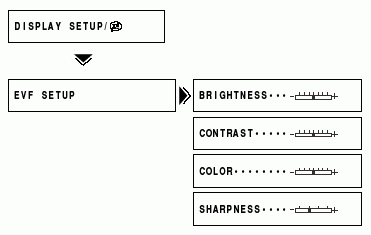
- Press the <MENU> button to open the menu.
- Turn the <SET> dial to select [DISPLAY SETUP/
 ] and press the <SET> dial.
- Turn the <SET> dial to select [EVF SETUP] and press the <SET> dial.
- Turn the <SET> dial to select [BRIGHTNESS], [CONTRAST], [COLOR], or [SHARPNESS] and press the <SET> dial.
- Turn the <SET> dial up or down to adjust the setting and press the <SET> dial.
- Press the <MENU> button to close the menu.
 (XL H1 only) The viewfinder can be set to display in Black and White mode via a [CUSTOM KEY] setting. When in Black and White mode the display icons will still be displayed in color. (XL H1 only) The viewfinder can be set to display in Black and White mode via a [CUSTOM KEY] setting. When in Black and White mode the display icons will still be displayed in color. |
