Saving After Checking Scan Results in IJ Scan Utility (Windows) - MX490 / MX492
| Article ID: ART162199 |
| |
Date published: 09/17/2015 |
| |
Date last updated: 04/15/2019 |
Description
This article provides information on checking scan results before saving with the IJ Scan Utility on a Windows PC.
Solution
You can check the scan results, then save the images to a computer.
 Important
- You cannot check the scan results before saving when scanned using Auto scan or the operation panel.
 Note
Note
- The screens for scanning photos are used as examples in the following descriptions.
-
Start IJ Scan Utility.
-
Click Settings....
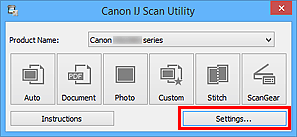
The Settings dialog box appears.
-
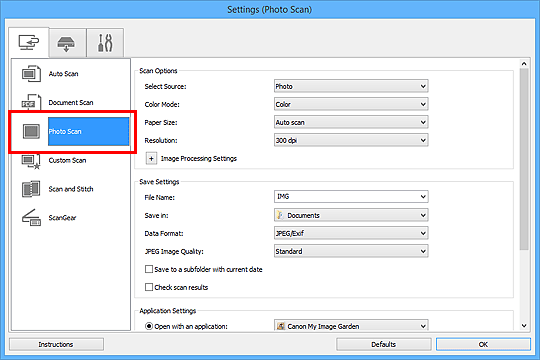
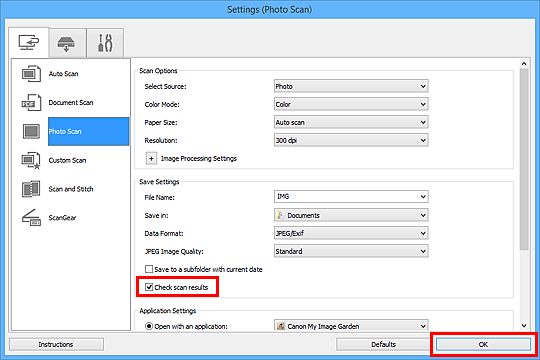
Click Photo Scan.
-
Select the Check scan results checkbox, then click OK.
The IJ Scan Utility main screen appears.
Note
-
Click Photo.

Scanning starts.
When scanning is completed, the Save Settings dialog box appears.
Note
- Click Cancel to cancel the scan.
-
Change the image order or file save options as required.
You can change the image order or file save options in the Save Settings dialog box.
Note
-
Click OK.
Scanned images are saved according to the settings.
MX490 / MX492 Page
