If you lost your CD or if you do not have an optical drive in your computer, follow the steps below to connect your printer to a wired network.
 Before starting this process, enable the wired LAN port on your printer. To do this, press and hold the RESUME/CANCEL button until the POWER lamp flashes 11 times. Then, release the RESUME/CANCEL button.
Downloading the Drivers and Software
-
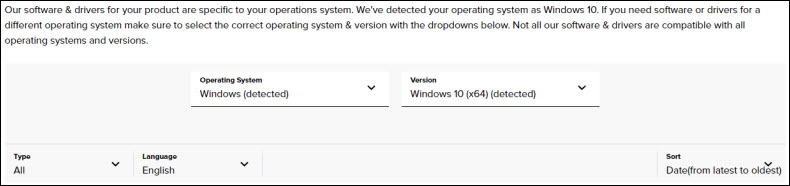
Click here to access the PRO-100 Drivers & Downloads page.
-
Your computer's operating system will be detected and will appear in the drop down menu. If it does not, select it.
-
Scroll down until you see the printer driver. When you see it, select the Download button to the right.

If you are using a Mac, you will also need to go to the Software tab and download the IJ Network Tool.
The instructions for a Windows setup are below.
 macOS instructions can be found here.
Windows
After downloading the printer driver, open the file to begin the setup procedure. If you are asked if you want to allow the installer to make changes to your computer, click Yes.

-
Select Next.

-
Select your Place of Residence and click Next.

-
Read the License Agreement and click Yes to begin the installation.

-
After the printer driver has been installed, the following screen will appear. Select Use the printer with wired LAN connection and click Next.

-
The program will prompt you to turn on the printer. Make sure it is powered on and click OK.
-
The program will then search for your printer on the network. If it is found, the installation will continue. Follow all on-screen instructions to complete the installation. If it is not found, a window will appear that will instruct you to use a USB cable to set up the connection. If this window appears, temporarily disable any firewall software on your computer and click Redetect. Follow any remaining on-screen instructions to finish the installation.
Before installing the printer driver on your computer, set the printer to use wired LAN functionality by pressing and holding the RESUME / CANCEL button until the POWER lamp flashes 11 times. Release the button.
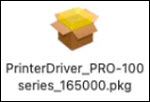
After downloading the latest printer driver, open the file to mount a disk image on the desktop. Open the disk image and then open the .pkg file to begin installing the printer driver. If you are asked to continue to install a file that was downloaded from the internet, click on the option that allows you to proceed (Yes, Continue, etc.).
-
Click Continue.

-
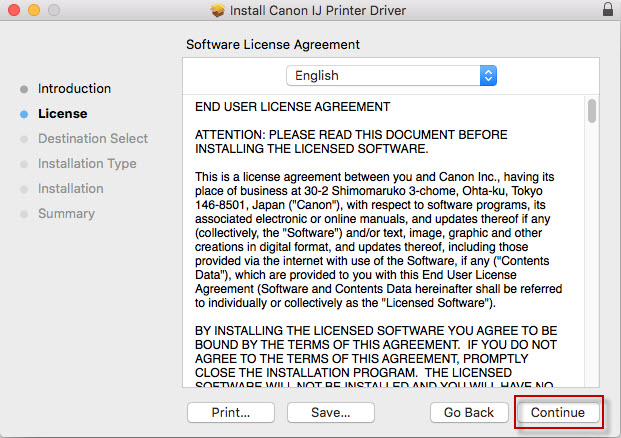
Read the license agreement. Click Continue to proceed.
-
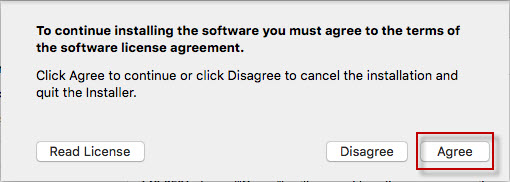
A window will drop down asking you to agree or disagree with the license agreement. Click Agree to continue.
-
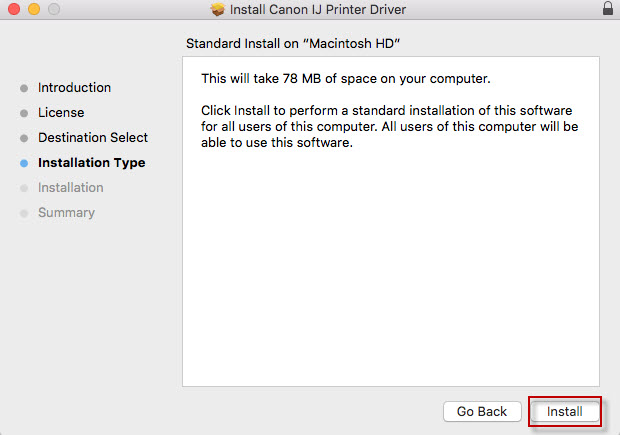
Click Install.
-
You will be prompted to enter the password for your computer user account to proceed. Enter the password and click Install Software to install the driver.

-
The driver will be installed. After the installation has finished, close the installer program.
-
Repeat steps 1-6 after downloading the IJ Network Tool.
-
After installing the IJ Network Tool, click on the Apple menu and go to System Preferences.
-
Click Print & Fax / Print & Scan / Printers & Scanners depending on your version of the Mac OS installed on your computer.
-
When the printer list appears, click the + sign to add a printer.

-
In the Add window, wait for your printer to appear as a Canon IJ Network device. Click the listing for your printer. In the Use drop down menu, select PRO-100 Series and click Add.
The printer is now ready for use.
If your product issue was not resolved after following the steps above, or if you require additional help, please create or log in to your Canon Account to see your technical support options.
Or if you still need help, visit our Canon Community by clicking the button below to get answers:

____________________________________________________________________________________________
