Your PIXMA MP495 can be connected to a wireless network via the WPS PIN code method. Follow the instructions below to connect your printer to the network using this method.
-
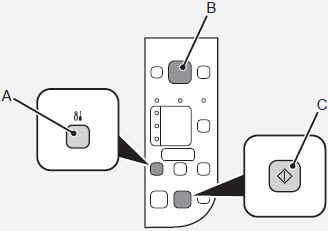
Press the Maintenance button (A) 11 times.
-
When the LED (B) lights up as shown, press the Color button (C).

The Network Configuration Page including the PIN code will be printed.
-
You will need to access your wireless router's internal settings to enter the PIN code shown on the Network Configuration Page. Please refer to your wireless router's documentation for instructions on accessing these settings.
-
When the wireless router is ready, press the Maintenance button 12 times.
-
When the LED lights up as shown, press the Color button.

 If a timeout error (E > 2 > 2) flashes in the LED, press the Color button, then perform step 2 again. As for the PIN code, use the same number as that in the Network Configuration Page printed in step 2.
-
Make sure that 1 appears in the LED.
Software Installation:
To use the machine by connecting it to a computer, drivers must be installed. Additional software can be installed if desired. Installation time will vary depending on the speed of your computer.
Quit all running applications before installation.
-
Log on as the administrator (or a member of the Administrators group).
-
Do not switch users during the installation process.
-
Internet connection may be required during the installation. Connection fees may apply. Consult the internet service provider.
-
It may be necessary to restart your computer during the installation process.
- If the firewall function of your security software is turned on, a warning message may appear that Canon software is attempting to access the network. If such a warning message appears, set the security software to always allow access.
-
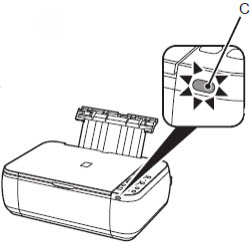
Make sure that the machine is turned on and that the Wi-Fi lamp (C) lights blue.
-
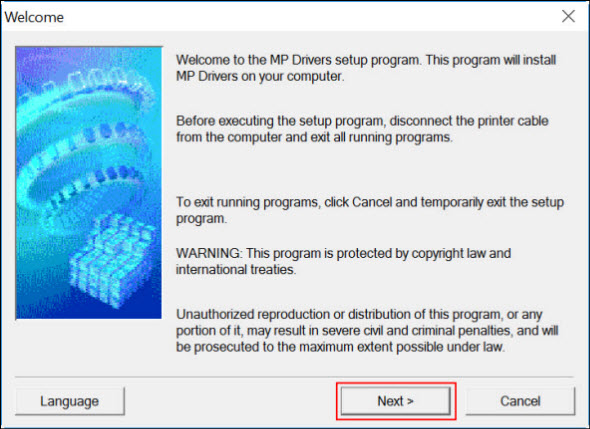
Download the MP Drivers for your printer from the Canon USA website. When the file has finished downloading, run it. If you are asked to grant permission to continue, select Yes or the appropriate affirmative option.
-
Select Next.
-
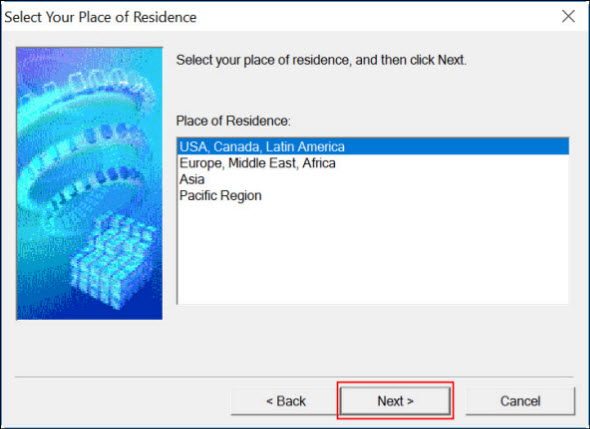
Specify your place of residence, then select Next.
-
Read the license agreement and select Yes. If you select No, the installation will not proceed.
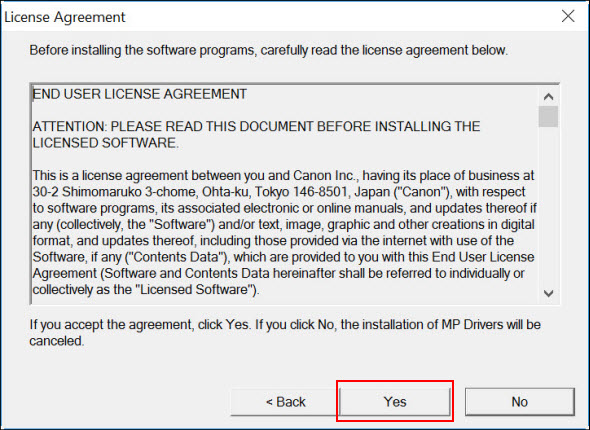
The drivers will be installed. This may take several minutes.
-
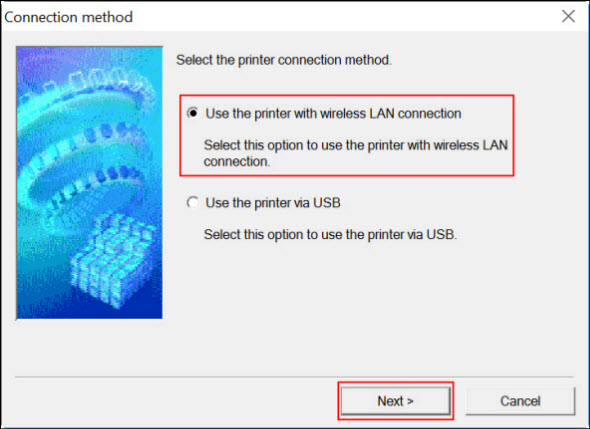
At the Connection method screen, choose Use the printer with wireless LAN connection and select Next.
-
The computer will search for your printer on the network. When the printer has been found, make sure it's highlighted and select Next.
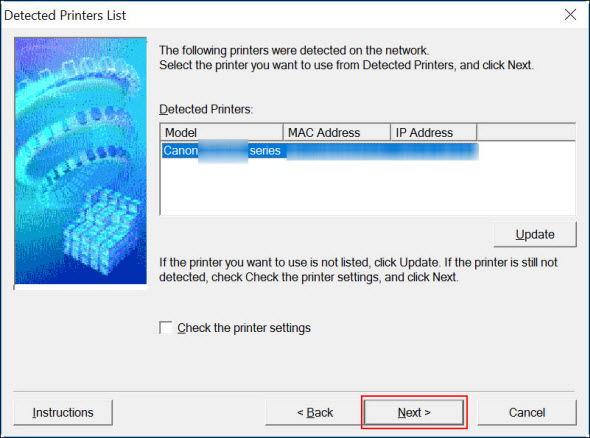
 If your printer is not detected, make sure that any firewall or other security software is not blocking ports used by the printer for network communication. Please refer to the documentaiton for your firewall or other security software for information.
-
The drivers will continue installing. When the installation has finished, select Complete.
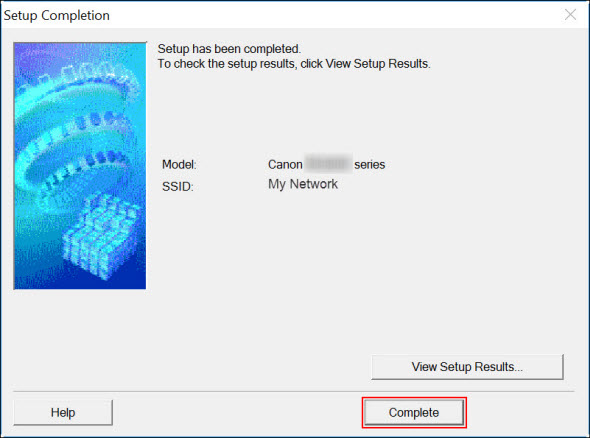
Your printer is now ready for use from your Windows PC.
If desired, you can also download and install additional software for your printer from the Canon USA website, such as MP Navigator EX (for scanning) and Easy-PhotoPrint EX (for printing images.
If your product issue was not resolved after following the steps above, or if you require additional help, please create or log in to your Canon Account to see your technical support options.
Or if you still need help, visit our Canon Community by clicking the button below to get answers:

____________________________________________________________________________________________

