If you use a certain combination of settings when printing on a Mac, you may notice that the settings that you use will only work for the current item that you are about to print. If you go to another program and print something else, you will have to specify your settings again. To save some time, create a preset. This will allow you to use settings that you prefer to use without having to toggle them every time you want to print. Follow the steps below to create a preset.
- When you have something open that you want to print, click the File menu and then click Print....
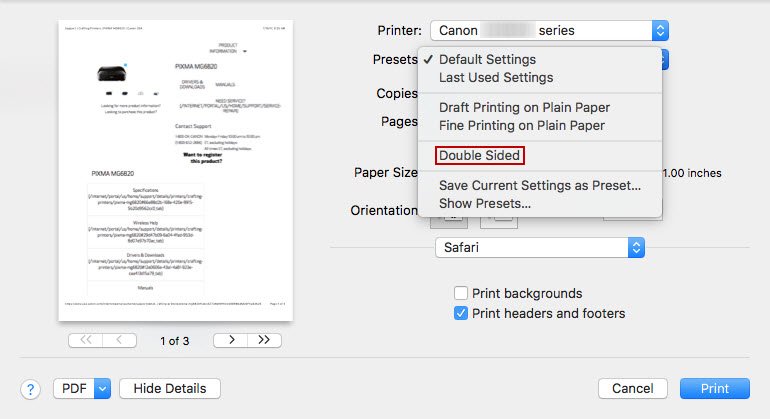
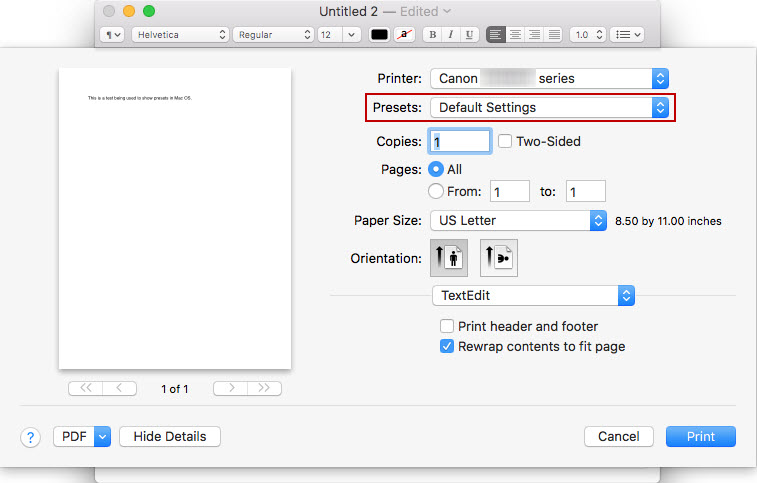
- When the Print dialog appears, you'll notice that Default Settings will be the current preset.
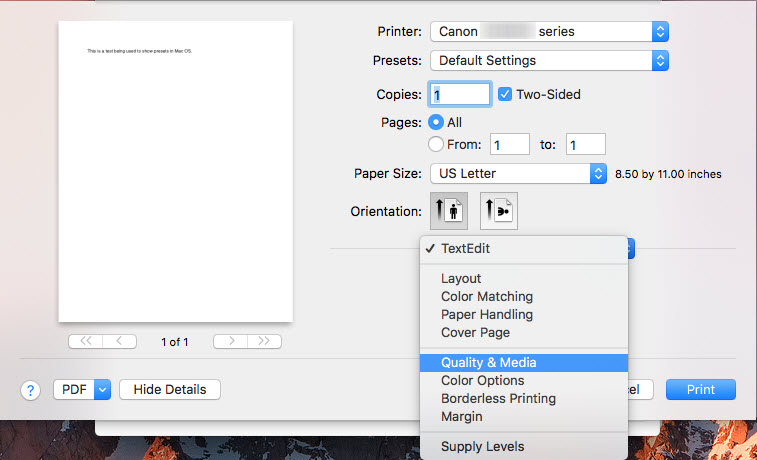
- For this example, the Two-Sided option will be selected. Then, the print quailty will be changed to Draft in the Quality & Media area. However, you can make any adjustments as desired.
- After making any settings adjustments, click the Presets drop down menu. Click Save Current Settings as Preset....
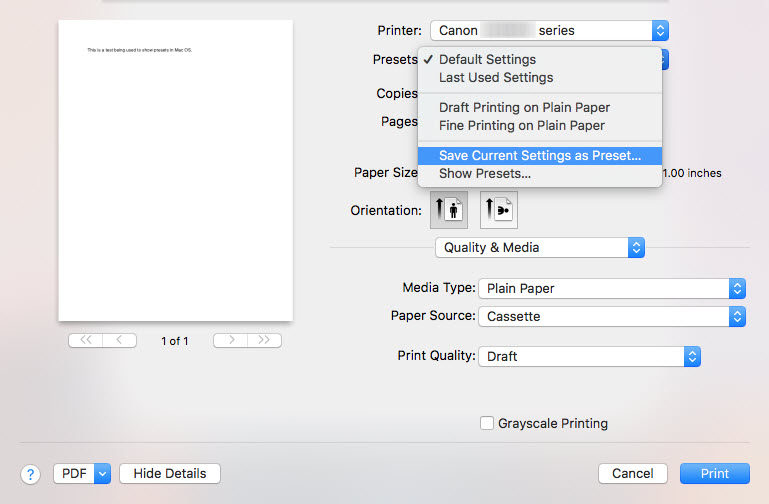
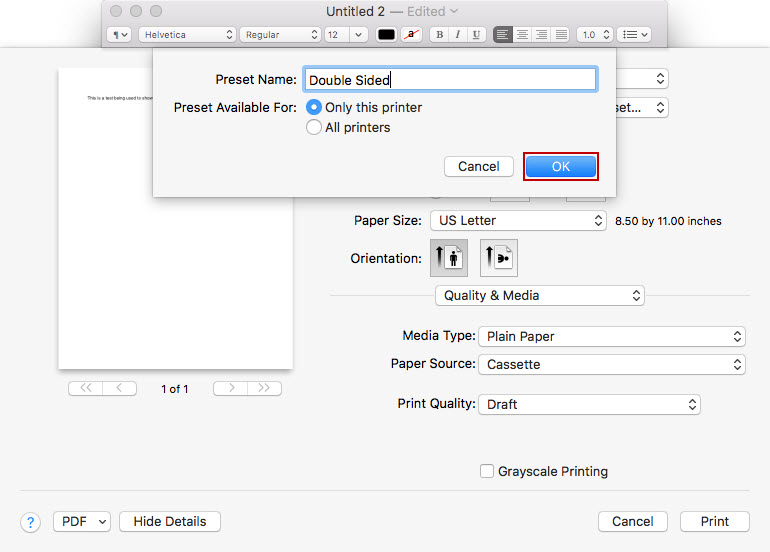
- Specify a name. After typing in the name for your preset, specify if you want this preset to be available for only the current printer, or for all printers installed on your computer.
- The preset will be saved. When you print something else and want to use the preset you saved, click the Presets drop down menu and select the preset you created.