Enter characters
ex. Print the following plates.

Plate being used: 8mm plate
-
Press [Set Lines].
|
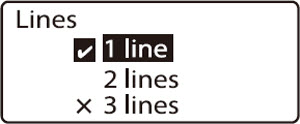
A check mark indicates the number of lines that is currently selected.
|
-
Press  or or  to select 2 lines, then press [Enter]. to select 2 lines, then press [Enter].
 An "x" appears next to the number of lines that are not available. An "x" appears next to the number of lines that are not available.
|

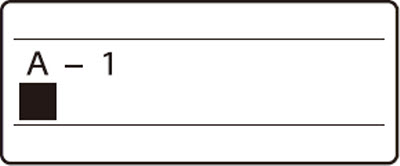
The input display now has two lines.
|
-
Enter A-1.
|

|
-
Press either or  . .
If you press [Enter] instead of or , a new page is created.
|
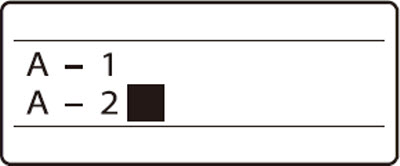
The cursor moves to the second line.
|
-
Enter A-2.
|
|
-
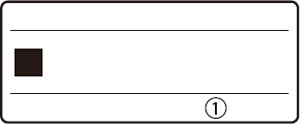
Press [Enter].
|

Indicates that another page precedes the currently displayed page.
|
-
Since the second plate has just one line, press [Set Lines] to change the Line setting for the second plate.
|

A check mark indicates the number of lines that is currently selected.
|
-
Press or to select 1 line and press [Enter].
|
The input display now has one line.
|
-
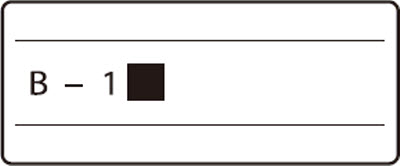
Enter B-1.
|
|
-
Press [Enter].
|

|
-
Press [Set Lines].
|
A check mark indicates the number of lines that is currently selected.
|
-
Press or to select 2 lines, then press [Enter].
|
The input display now has two lines.
|
-
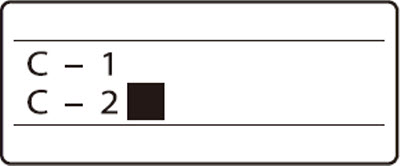
Enter C-1.
|

|
-
Press either or .
If you press [Enter] instead of or , a new page is created.
|

The cursor moves to the second line.
|
-
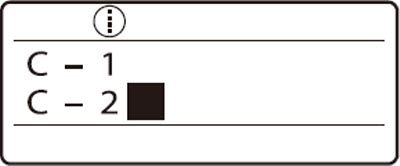
Enter C-2.
|
|
-
Press [Set Cut].
|

|
-
Press or to select Half cut, then press [Enter].
|

|
-
Press or to select Off, then press [Enter].
|

|
-
Press or to select Dotted, then press [Enter].
|
|
-
Press [Func].
|

|
-
Press or to select to select CenterLine, then press [Enter].
|

|
-
Press or to select On, then press [Enter].
|
|
Proceed to print.
If your product issue was not resolved after following the steps above, or if you require additional help, please create or log in to your Canon Account to see your technical support options.
Or if you still need help, visit our Canon Community by clicking the button below to get answers:

____________________________________________________________________________________________
