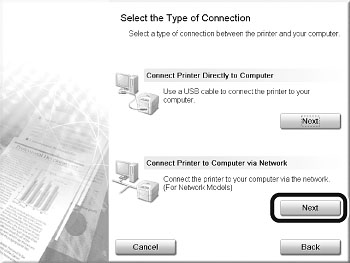
Installing the Software using Network connection (MF6595cx/MF6595/MF6590/MF6540 Only)
| Article ID: ART102615 |
| |
Date published: 05/11/2015 |
| |
Date last updated: 08/15/2015 |
Solution
Before Installation
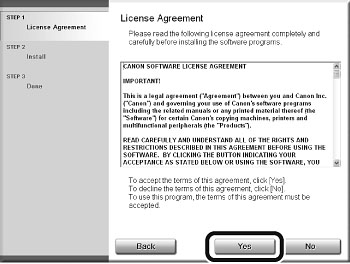
- For Windows 2000/XP/Server 2003/Vista, logon as Administrator to install the software.
- On the screen shown at each step, click on the circled button to proceed.
- Make sure the machine is turned on. See Connect the Power Cord and Turn On the Machine.
- Make sure the network cable is connected to the machine. See Connect the Machine to a Network.
- Make sure an IP address is assigned to the machine. See TCP/IP Setting (MF6595cx/MF6595/MF6590/MF6540 Only).
Installation Procedure
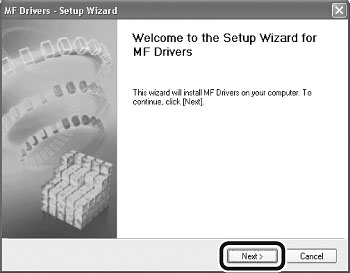
1

2
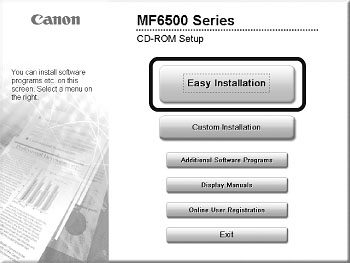
If the MF6500 Series CD-ROM Setup screen is not displayed, click [start] on the Windows task bar -> [My Computer].
- Windows Vista: click [start] on the Windows task bar -> [Computer].
- Windows 2000: double-click [My Computer] on the Windows desktop.
Open the CD-ROM icon, then doubleclick[MInst] ([MInst.exe]).
The [Additional Software Programs] button is not displayed on Windows 64-bit version.
3
While installing the software on a computer running Windows Server 2003, the display in this step does not appear.
4
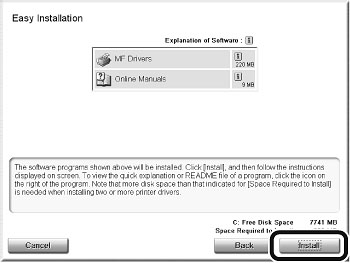
5
6
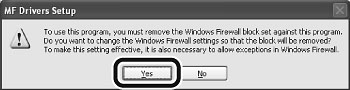
note:
If the firewall is applied to the operating system, the dialog box below appears. Click [Yes] and continue the installation.
7
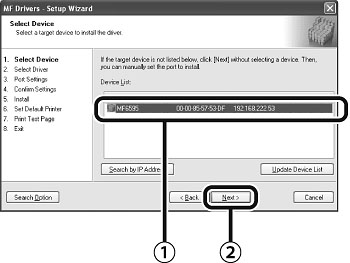
1 Select your machine on the list. Make sure that the machine name is highlighted.
2 Click [Next>].
note:
If you do not select the machine name and click [Next>], the screen for selecting the machine is displayed before the screen in step 8 is displayed. Select your machine from [Target Device], then click [Next>].
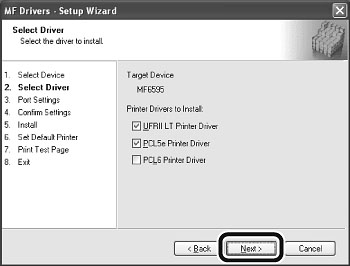
8

Select [Printer] and [FAX (for Supported Models)].
note:
In any of the following conditions, select [Canon Driver Information Assist Service] to install the DIAS service.
1. If you want to get device information via a print server as a shared network printer
2. When your computer is connected to a local printer by USB cable or Centronics cable
3. If you want to get device information in the Auto Create Printer environment, using Terminal Service
9
10
Repeat this step for each driver that you have selected.
note:
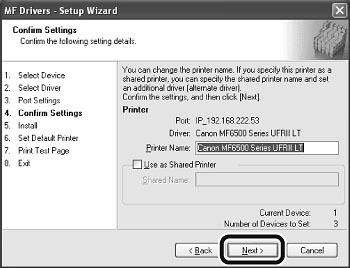
When you share the printer with Windows 2000/XP/Server 2003/Vista, select [Use as Sheared Printer]. If necessary, you can change the name of shared printer. If you want to set the operating system on which driver will run, click [Drivers to add] (only available for Windows 64-bit version) to install an alternate driver so that a client PC can install the driver via a network.
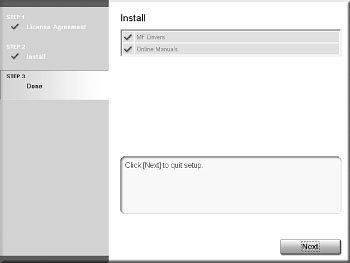
11
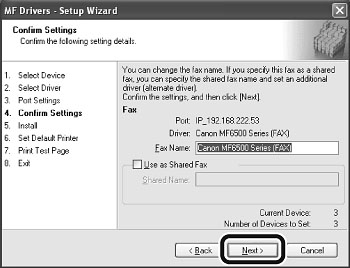
12

13
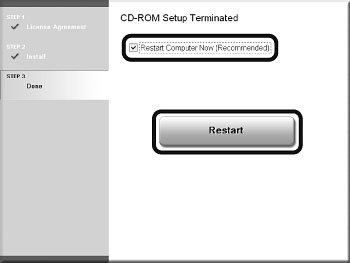
14
15

A printer test page is printed out from the machine.
note:
If you select the [Fax:Canon MF6500 Series (FAX)], [Fax Sending Settings] screen appears. Specify the necessary information such as name, telephone number, etc., then send the test page. If you want to cancel the operation, press [Cancel] on this screen.
16
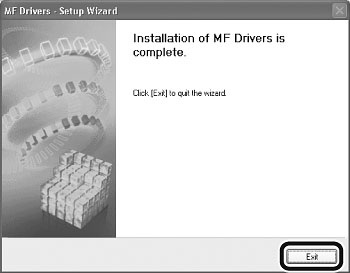
17
18
19
You have now completed installation.
Checking the Installation
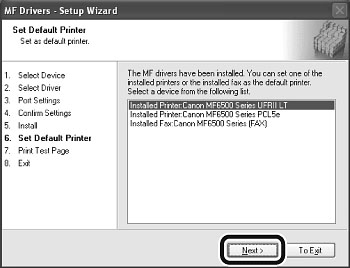
Check if the driver is installed successfully and if this machine has been set as default printer.
note:
If the name of your machine is selected on the [printer] screen from an application, it is set as default printer.
1 Open the [Printers and Faxes] folder (Windows 2000: the [Printers] dialog box).
- Windows XP/Server2003: Click [start] on the Windows task bar -> select [Printers and Faxes].
- Windows Vista: Click [start] on the Windows task bar -> select [Control Panel] -> [Hardware and Sound] -> double-click [Printer].
- Windows 2000: [Start] -> [Settings] -> [Control Panel] -> double-click [Printers].
Make sure the corresponding printer driver icon is displayed.
2 Set as default printer.
Click the printer icon of this machine. Click [Set as Default Printer] from the [File] menu.
