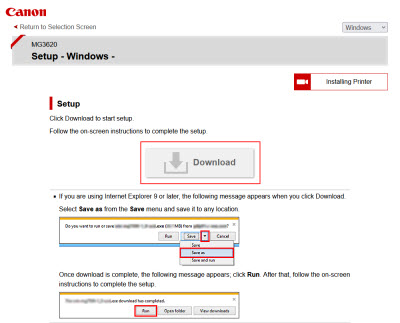
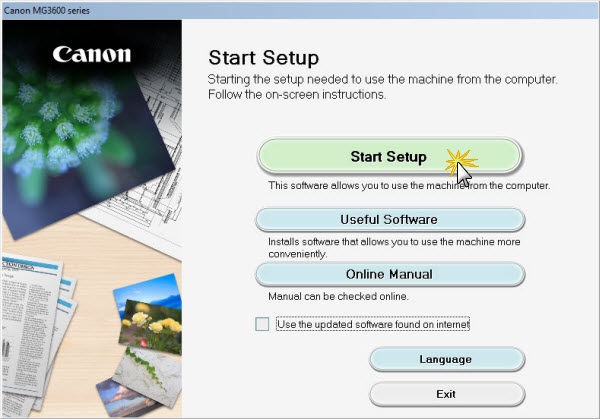
Follow the steps below to set up your printer.
-
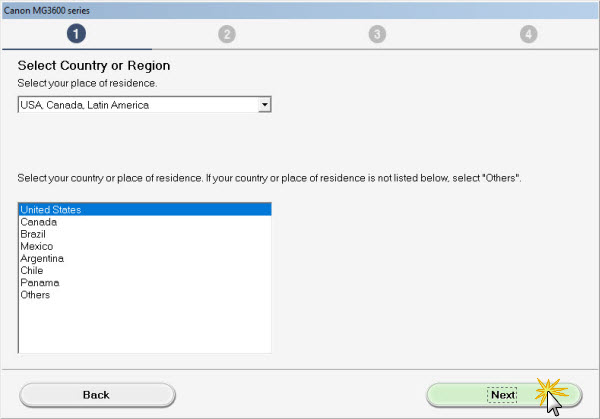
Select your place of residence and choose Next.
-
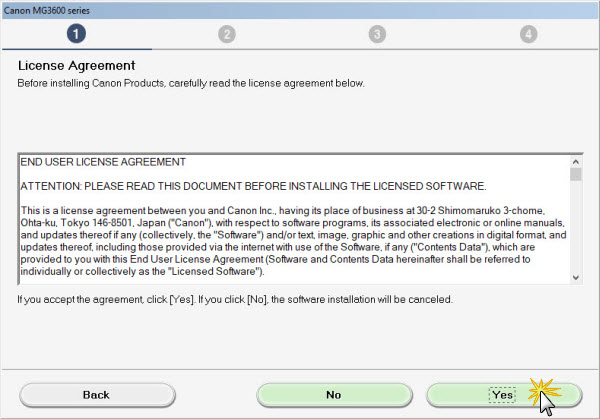
Review the License Agreement. Select Yes to proceed.
-
The Extended Survey Program window will be displayed. Review information and choose Agree or Do not agree. Participation is not required and does not affect the functionality of the printer.

-
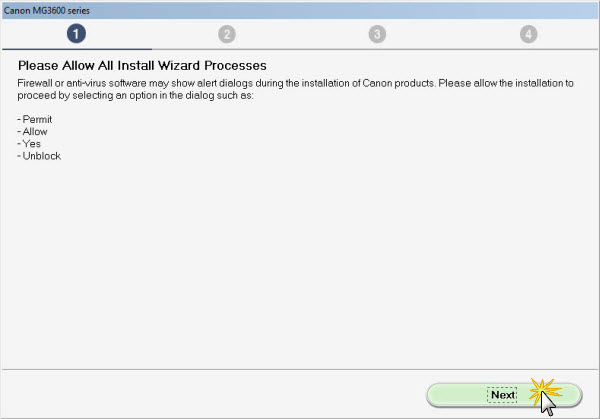
When the Please Allow All Install Wizard Processes message appears, select Next.
-
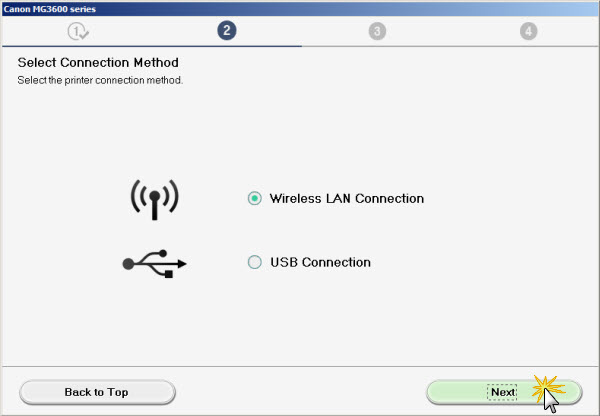
On the Select Connection Method screen, select Wireless LAN Connection and choose Next.
-
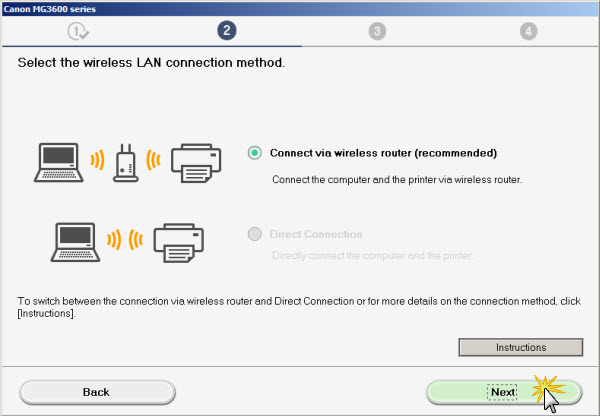
On the Select the wireless LAN connection method screen, select Connect via wireless router (recommended) and choose Next.
-
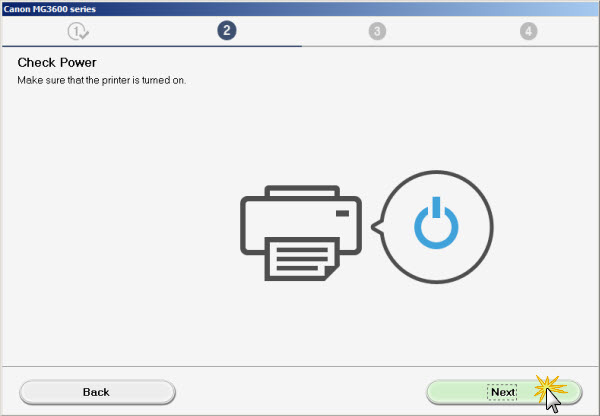
Make sure that the printer is powered on and then select Next.
-
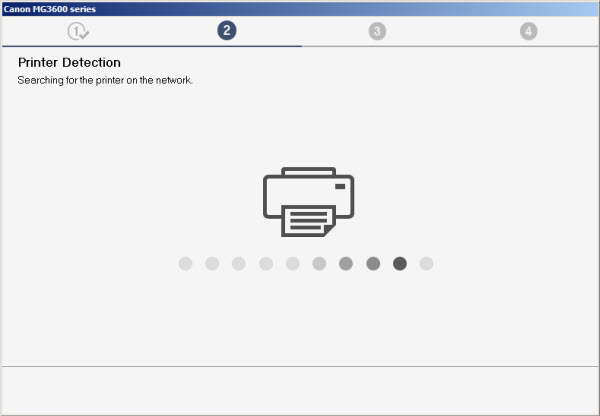
The computer will search for the printer on the network.
-
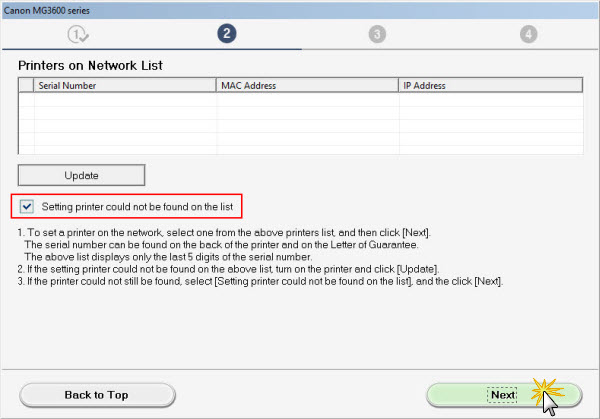
When the Printers on Network List appears, it will be empty. Make sure that the Setting printer could not be found on the list box is check marked, then choose Next.
-
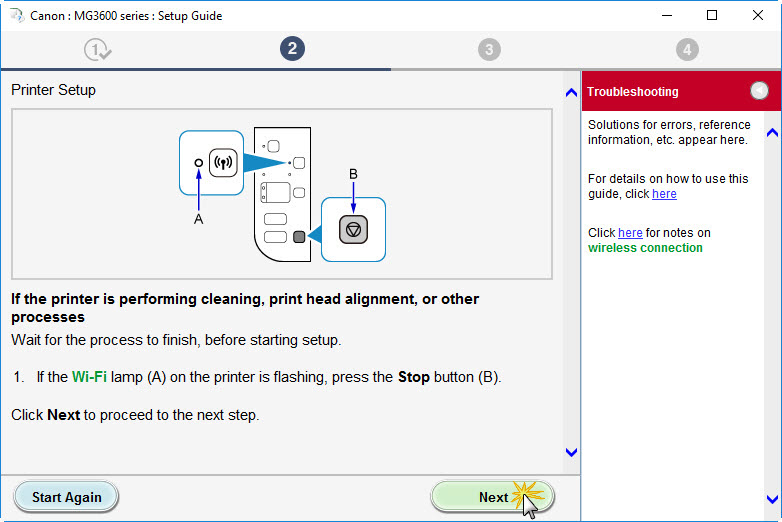
When the Setup Guide appears, follow the instructions shown and select Next.
-
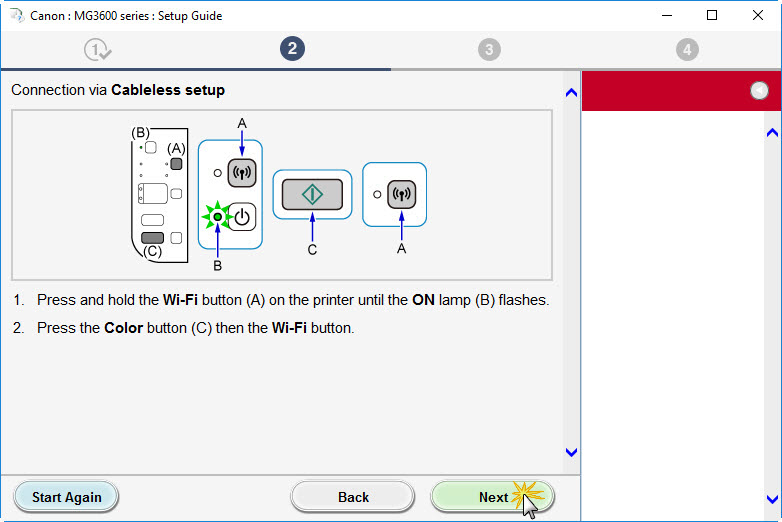
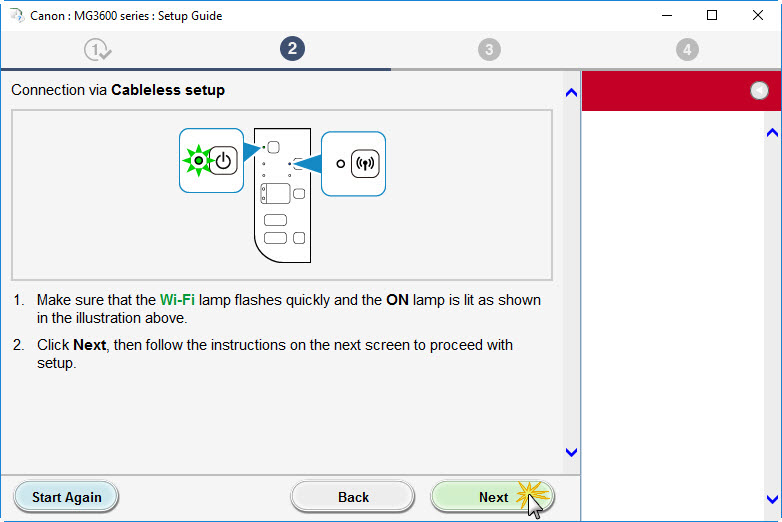
The Setup Guide will provide instructions for Cableless setup. Follow the instructions shown and select Next.
-
Make sure that the Wi-Fi lamp on the printer flashes quickly, as shown in the Setup Guide. Select Next to proceed.
-
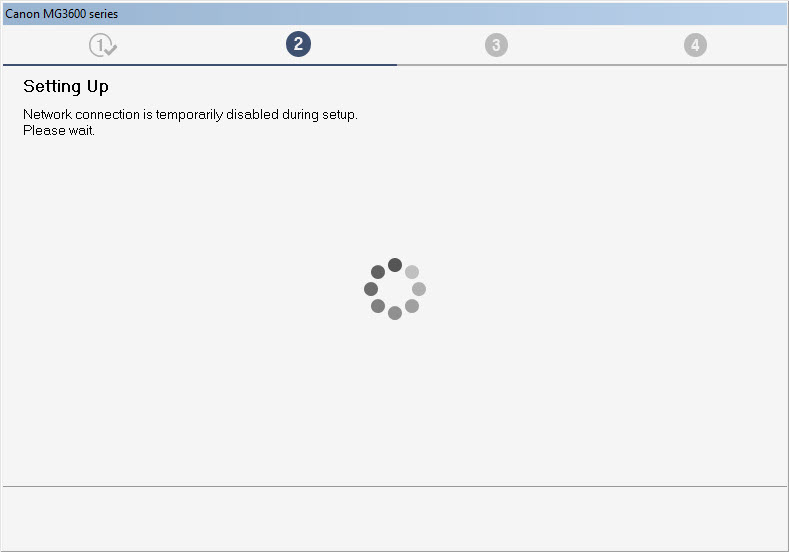
The computer's network connection will be temporarily disabled in this portion of the setup.
-
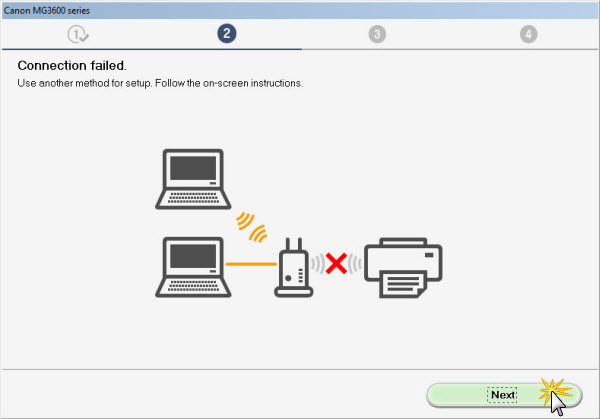
In most instances, the connection would be established and the installation procedure would continue. However, if the Cableless setup process fails, the screen below will appear. Select Next.
-
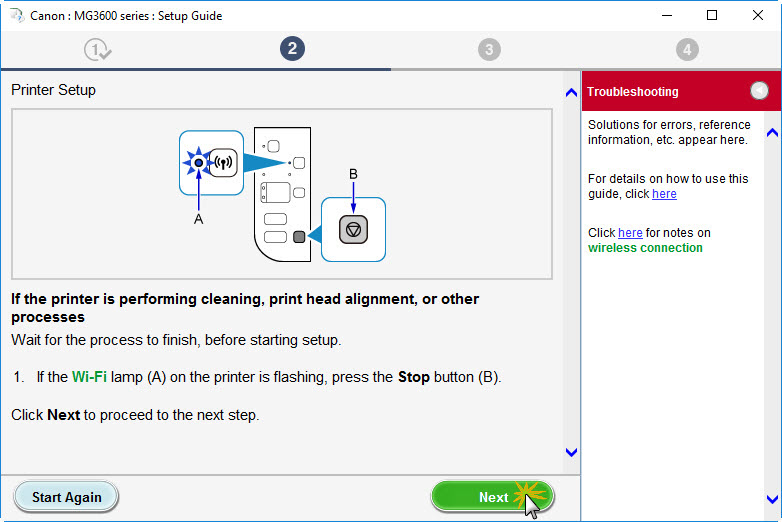
The Setup Guide will appear. Press the Stop button if the Wi-Fi lamp on the printer flashes. Select Next.
-
If the alarm lamp is on and the Wi-Fi lamp still flashes, press either the Color or Black Start button on the printer.
-
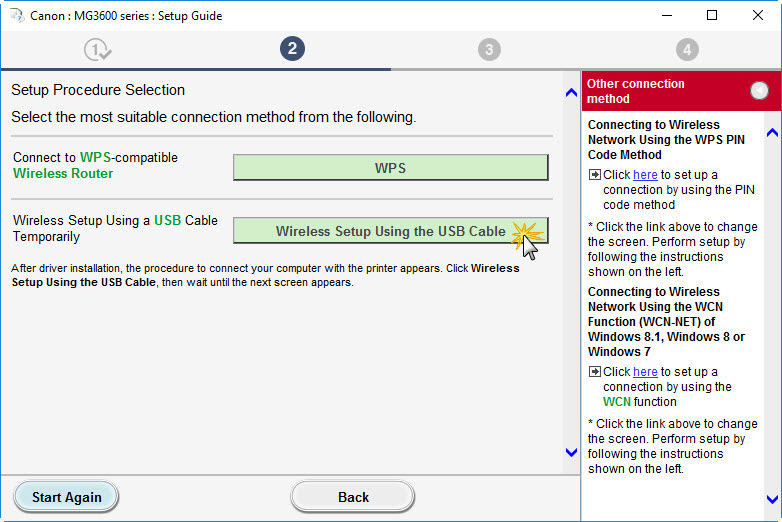
Select Wireless Setup Using the USB Cable.
-
The MP Drivers will be installed.

-
After the MP Drivers are installed, the setup program will search for printers on the network.
-
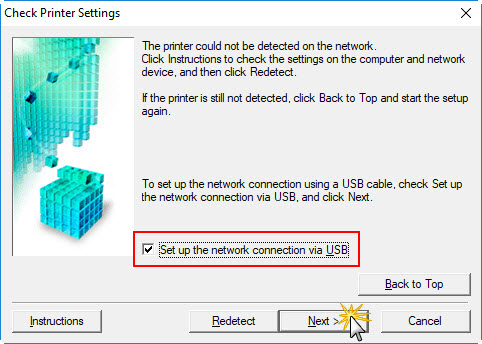
Since the printer is not on the network, the Check Printer Settings screen will appear. Place a check in the box for Set up the network connection via USB, and then select Next.
-
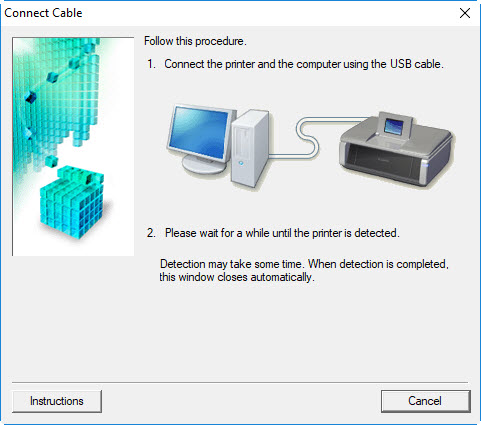
The Connect Cable screen will appear. At this time, connect the printer to your computer with the USB cable.
-
The computer will detect the printer as a USB device. When this part of the process has finished, this window will close automatically.
-
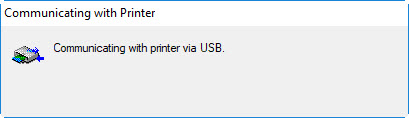
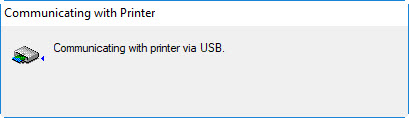
The computer will communicate with the printer via USB.
-
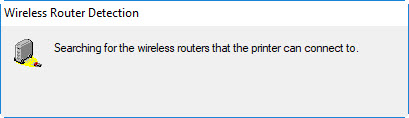
The computer will search for nearby wireless networks.
-
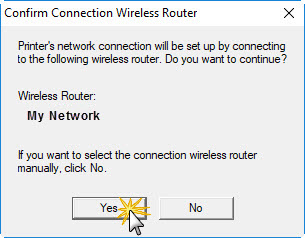
The Confirm Connection Wireless Router window will appear. In this window, confirm that the name of your wireless network is shown, and then select Yes.
-
The computer will communicate with the printer via USB.
-
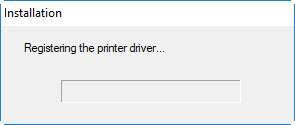
The installer will proceed to register the drivers in your computer.
-
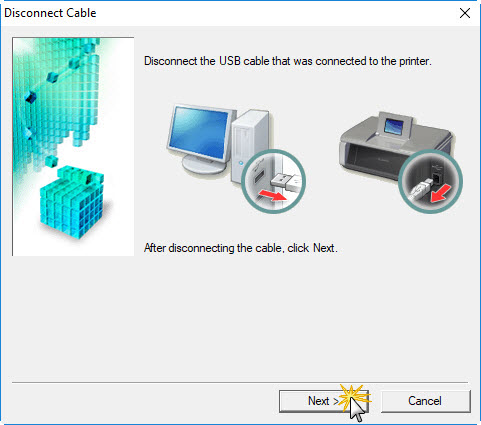
Disconnect the USB cable and then choose Next.
-
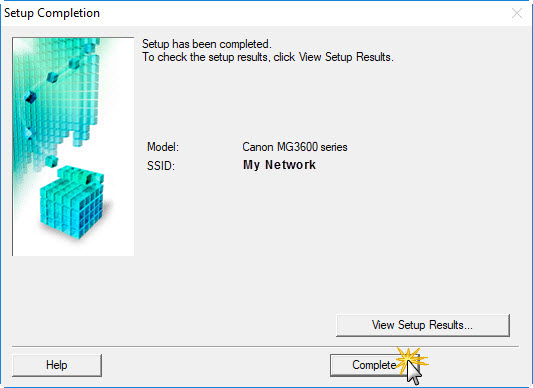
On the Setup Completion screen, select Complete.
-
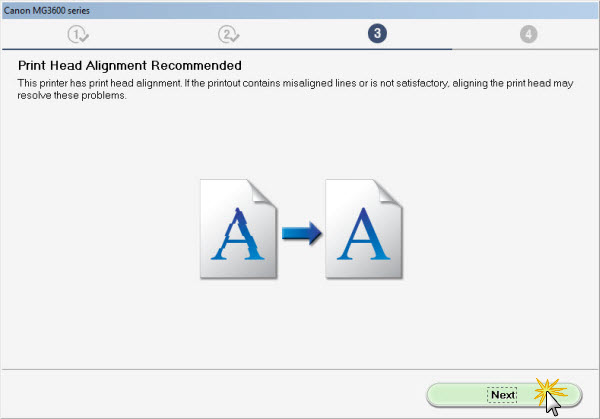
On the Print Head Alignment Recommended screen, select Next.
-
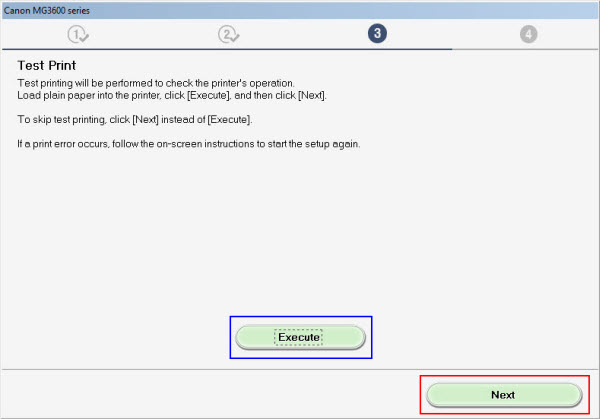
If you'd like to print an optional test page, select Execute. Select Next to proceed and skip the test print.
-
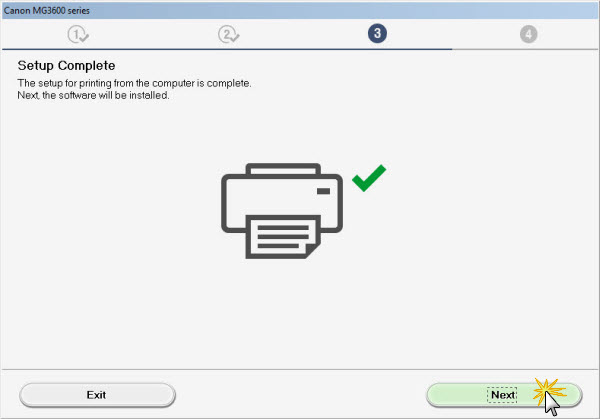
The printer setup has been completed. Select Next to proceed to the software installation.
-
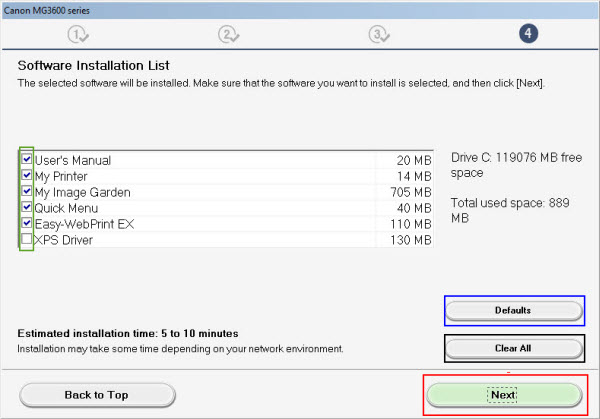
The Software Installation List will appear.

 You can