|
|
Printer Sharing (MP760)
| Article ID: ART159927 |
| |
Date published: 06/09/2015 |
| |
Date last updated: 08/18/2015 |
Description
Printer Sharing (MP760).
Solution
Printer Sharing
Several computers connected to a network can share a printer connected to one of the computers. To share the printer, set up the printer as a shared printer on the print server or host (the computer connected to the printer) and install the printer driver on each client or remote system (computers other than the server).
It is not necessary that the operating system is the same on each of the computers. The installation method and limitations will vary, depending on the combination of the operating systems.
- Sharing and printing with the printer is not possible when using a combination of the Microsoft-printer driver supplied with Windows and the Canon-printer driver. Use the Canon-printer driver on the server (host) and each client (remote system).
- On the print server and each client, according to each OS, install the printer driver supplied with the printer.
- When a client prints to a shared printer and an error occurs, error messages are displayed on the client and server. However, the status message is displayed only on the client.
Setting up the printer on the print server:
When using the printer on a network, set up the printer for sharing via the print server.
- Install the printer driver in the print server.
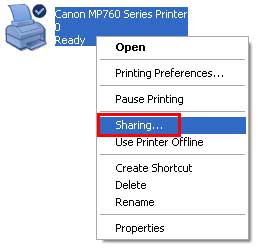
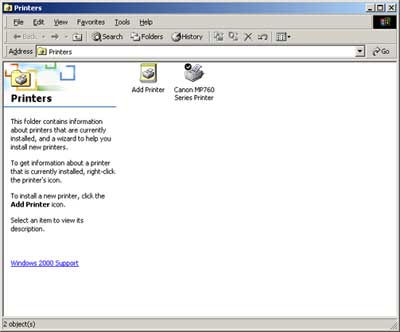
- Open the Printers folder.
- Right-click the icon of the printer to be shared, and click 'Sharing'.
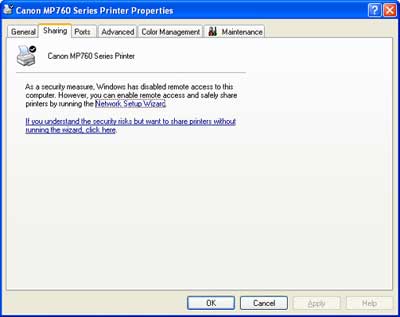
- On the Sharing tab, click 'Share this Printer' or 'Shared as', and if necessary, in Share name or Shared as, enter a name for the shared printer, and then click 'OK'.
When Windows 98/ME is used as the print server, select 'Control Panel', 'Network', and then 'File and Print Sharing', and confirm that 'I want to be able to allow others to print to my printers' is checked.
1. Installing the printer driver on a client system
After setting up the printer on the print server, install the printer driver on the client system(s). How to install the printer driver varies depending on the client OS. It is not possible to install the printer driver on a client system that has an older version of the MultiPASS Suite installed. Remove the old version before installing the new printer driver.
2. When a client system is Windows XP:
- Set the Setup CD-ROM in the computer.
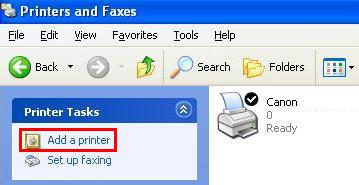
- On the client system's Windows taskbar, click 'Start', 'Control Panel', 'Printers and Other Hardware' and then 'Printers and Faxes'.
- Click 'Add a printer'.
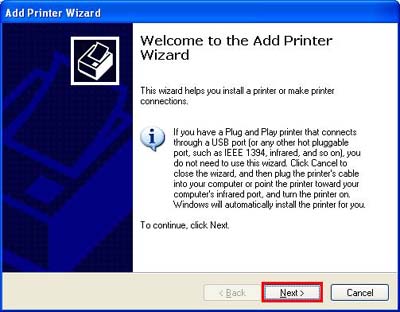
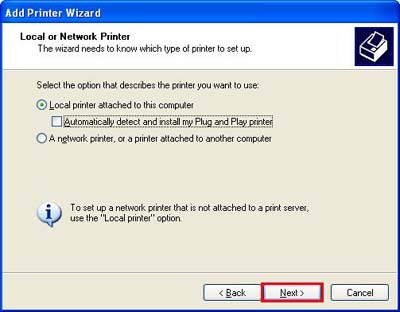
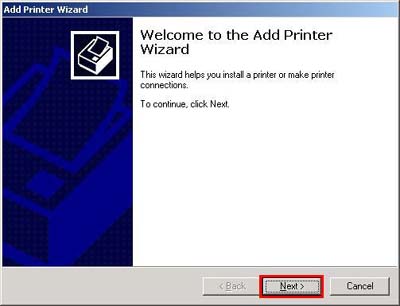
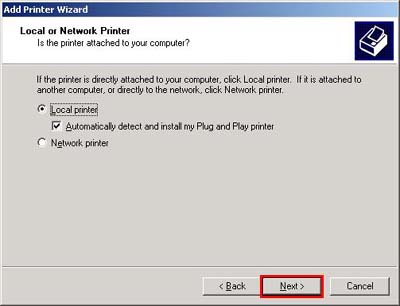
- In Add Printer Wizard dialog box, click 'Next'.
- Select 'Local printer attached to this printer', and click 'Next'. De-select 'Automatically detect and install my Plug and Play printer'.
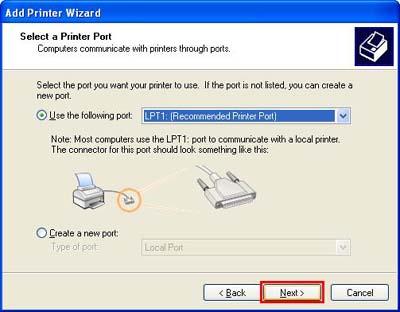
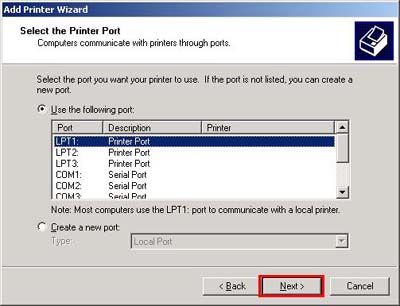
- Confirm that 'Use the following port:' is selected, and click 'Next'. Any port may be selected.
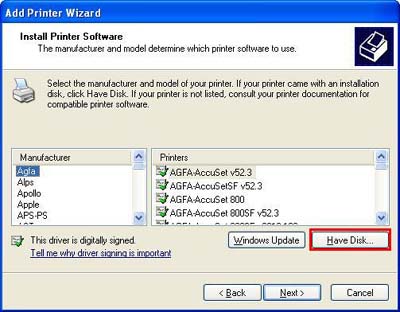
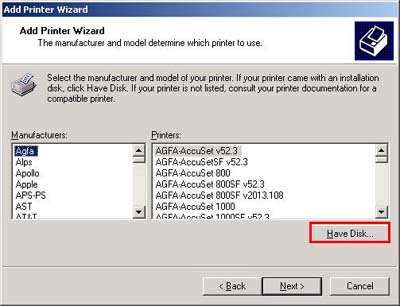
- Click 'Have Disk'.
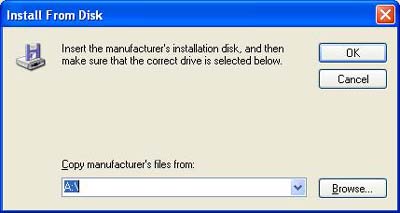
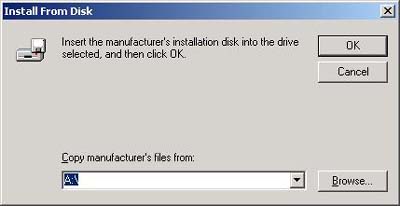
- In Install From Disk screen, click 'Browse', and specify the INF file in the CD-ROM, as follows:
\MP\zzzzz\Win2KXP\Setup\Drv2KXP\mpxxxpra.inf
NOTE: zzzzz refers to the language of the installer.
- Click 'OK' to close the Install From Disk screen.
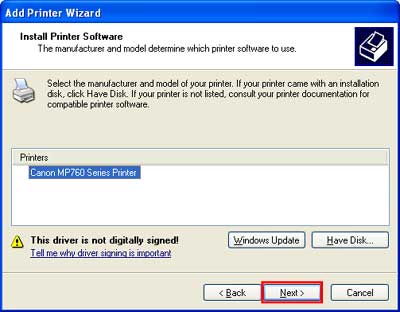
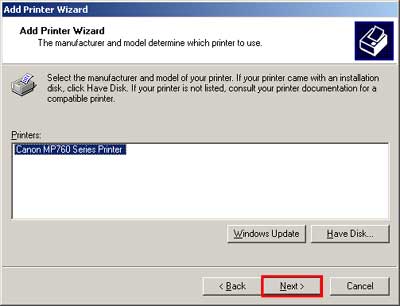
- Select the printer to be used, and click 'Next'.
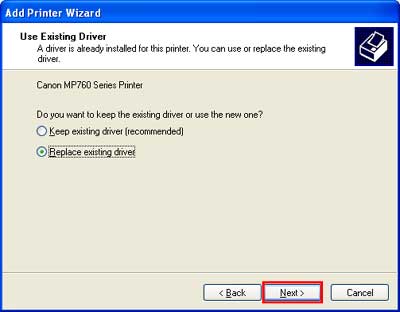
- Select 'Replace existing driver', and click 'Next'.
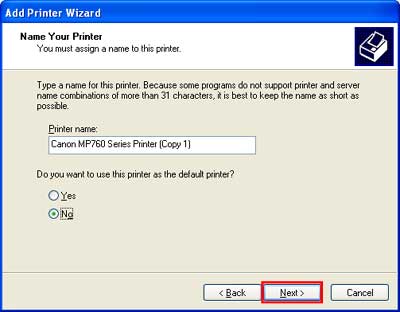
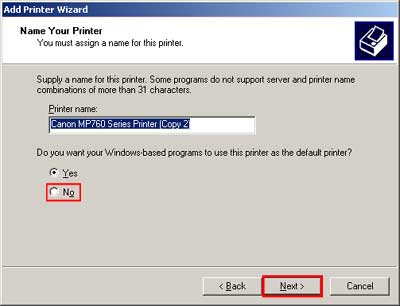
- If necessary, enter the printer name in 'Printer name', and click 'Next'. If 'Do you want to use this printer as the default printer?' is displayed, select 'No'.
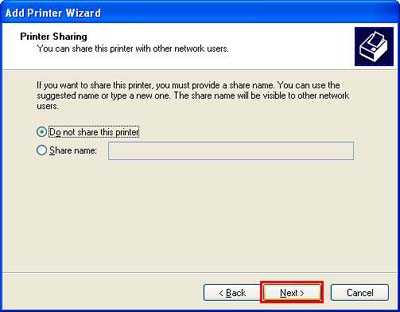
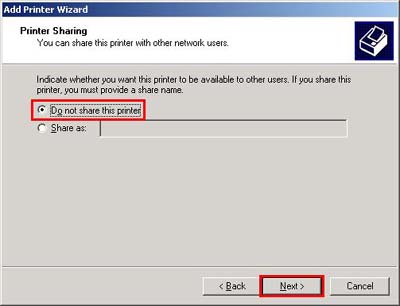
- Select 'Do not share this printer.', and click 'Next'.
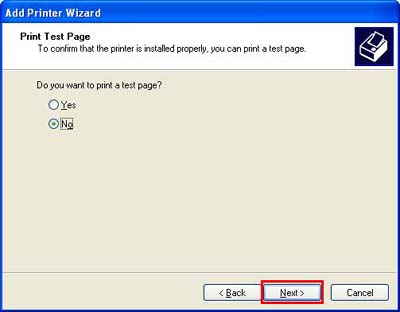
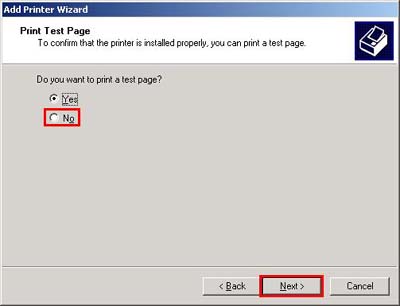
- For 'Do you want to print a test page?', select 'No', and click 'Next'.
- Click 'Finish'. In the Printer control panel, the printer icon is created.
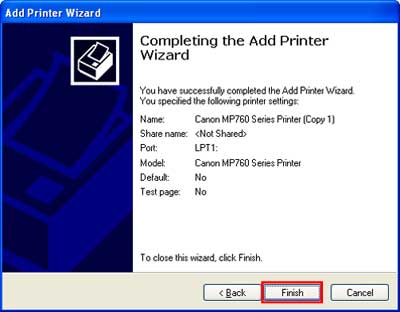
NOTE: The created icon may be deleted.
3. When a client system is Windows 2000:
- Install the Setup CD-ROM in the computer.
- On the client system's Windows taskbar, click 'Start', 'Settings' and then 'Printers'.
- Double-click 'Add Printer'.
- In the Add Printer Wizard, click 'Next'.
- Select 'Local printer', and click 'Next'. De-select 'Automatically detect and install my Plug and Play printer'.
- Confirm that 'Use the following port:' is selected, and click 'Next'. Any port may be selected.
- Click 'Have Disk'.
- In Install From Disk dialog box, click 'Browse', and specify the INF file in the CD-ROM, as follows: \MP\zzzzz\Win2KXP\Setup\Drv2KXP\mpXXXpra.inf
NOTE: zzzzz refers to the language of the installer.
- Click 'OK'.
- Select the printer to be used, and click 'Next'.
- If necessary, enter the printer name in 'Printer name', and click 'Next'. If 'Do you want your Windows-based programs to use this printer as the default printer?' is displayed, select 'No'.
- Select 'Do not share this printer.', and click 'Next'.
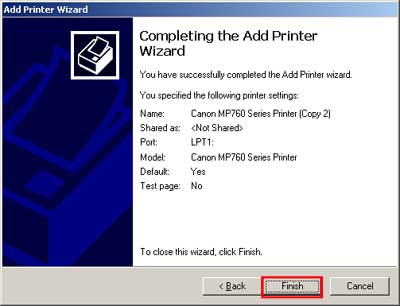
- For 'Do you want to print a test page?', select 'No', and click 'Next'.
- Click 'Finish'. In the Printer control panel, the printer icon is created.
NOTE: The created icon may be deleted.
|
