Install the printer driver using the prepackaged CD - Easy Install (Windows)
The printer driver installation can be done using the prepackaged CD-ROM Easy Install and Custom Install methods. Easy Install allows all the necessary software programs to be installed easily and overwrites older versions of the printer driver, on-screen manual, and other application software.
*The directions for Easy Installation follow.
Before Installation
- When installing the printer driver in Windows XP / Vista, log into the computer as an Administrator.
- When installing the printer driver in Windows 2000, log into the computer as a user of Administrator group.
- If your computer has resident software such as antivirus software, exit in advance.
- IMPORTANT: Turn the printer off and remove the cable connecting the computer and the printer.
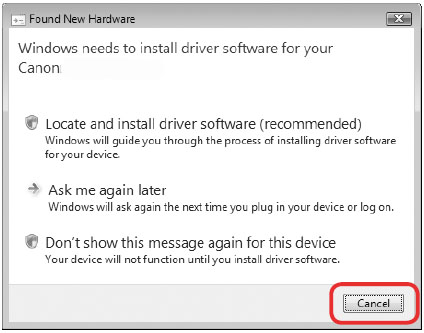
If the Found New Hardware or Found New Hardware Wizard screen appears automatically, remove the USB cable connected to your computer. Click Cancel to quit the screen. In Windows Vista, the screen may close automatically when the USB cable is unplugged. Then turn off the printer and proceed to step 1 below to install the printer driver.
The directions for Easy Installation follow.
- Insert the Canon CD in the computer.
Note: For Windows XP and Windows 2000, skip to Step 4.
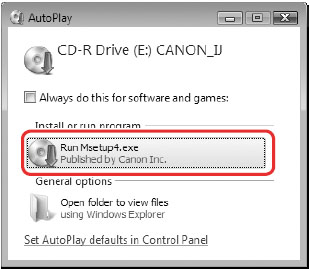
- If the AutoPlay screen appears, click Run Msetup4.exe.
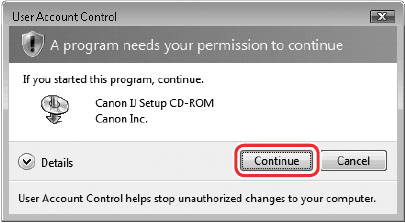
- If the User Account Control screen appears, click 'Continue.' If the same screen reappears in subsequent steps, click 'Continue.'
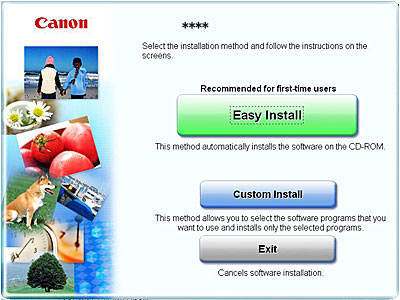
- After the CD-ROM automatically starts and displays the following window, click 'Custom Install'.
Note: If the CD-ROM does not start automatically, double-click the Msetup4.exe file in the CD drive.
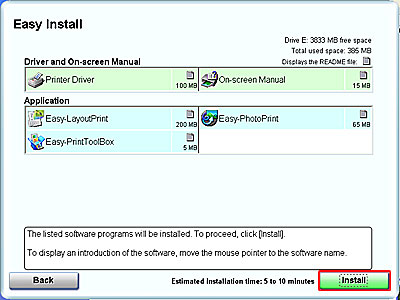
- When the Easy Install window is displayed, click 'Install'.
- Click 'Yes' in the License Agreement window to start Custom Install. Clicking 'No' will prevent you from completing installation.

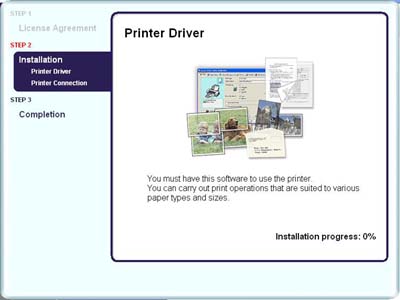
- The installation of the printer driver and application software will start.
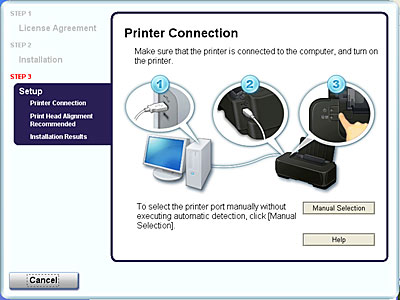
- The Printer Connection window will be displayed. Connect the printer to the computer and turn on the printer.
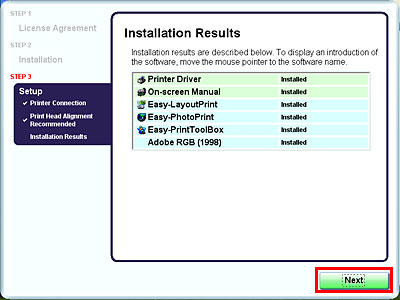
- When the installation is completed, the Installation Results window will be displayed. Confirm the results, and click 'Next'.
- If you wish to register your printer now, click 'Register'. If not, click 'Cancel'. Registration can be done after the printer driver installation by clicking on the Registration icon that will appear on your desktop after the installation..
- When the PIXMA Extended Survey Program screen appears, confirm the message. We would appreciate it if you would take part in this program regarding the use of Canon printers. If you can agree, click the 'Agree' button.
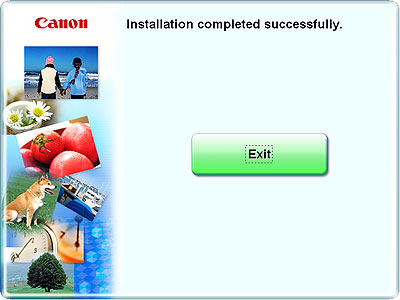
- When the Installation completed successfully screen appears, click 'Exit.'
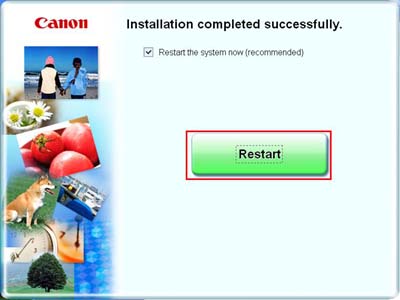
Note: If the Restart button is displayed, make sure that the Restart the system now (recommended) check box is selected, and the click 'Restart'.
This completes Easy Install.
