Install the ink cartridge(s) MX360
| Article ID: ART110836 |
| |
Date published: 05/11/2015 |
| |
Date last updated: 08/17/2015 |
Description
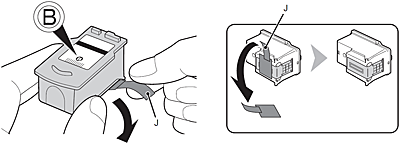
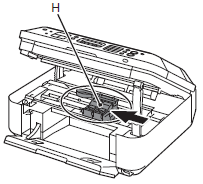
Confirm the FINE ink cartridges are installed properly or the machine will display error messages or not function properly.

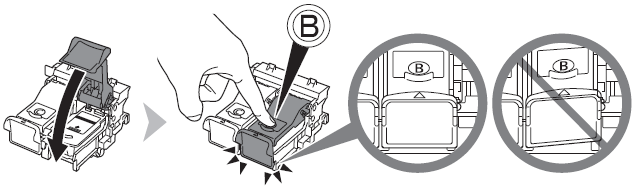
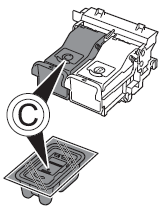
 and Color
  FINE Cartridges into their corresponding slots
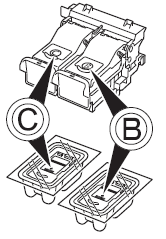
 on the right side.