Launch the Remote UI from Inkjet Smart Connect - GX4020
Article ID: ART181033
|
Date published: 12/01/2022
|
Date last updated: 12/08/2022
Description
This article shows how to open the Remote UI of the MAXIFY GX4020 from Canon Inkjet Smart Connect.
Solution
You can check the printer status and change the printer settings using the web browser on your smartphone, tablet, or computer.
To check the printer status and to change the printer settings from a computer, display "Remote UI" on the web browser.
Remote UI is a software that enables you to perform operations, which are usually performed on the printer's operation panel, using a Web browser over a network.
A network connection with the printer is required to use Remote UI.
You can use Remote UI on the following OS and the web browser.
macOS device
OS: macOS 10.14.6 or later
Web browser: Safari 14.0 or later
Windows device
OS: Windows 10 or later / Windows 8.1 / Windows 7 SP1 or later
Web browser: Microsoft Edge, Google Chrome, Mozilla Firefox
iOS / iPadOS device
OS: iOS 14.0 or later, iPadOS 14.0 or later
Web browser: standard installation browser
Android device
OS: Android 8.0 or later
Web browser: standard installation browser
Make sure the printer is powered on.
Launch "Remote UI" based on whether you have a Windows PC or a Mac™.
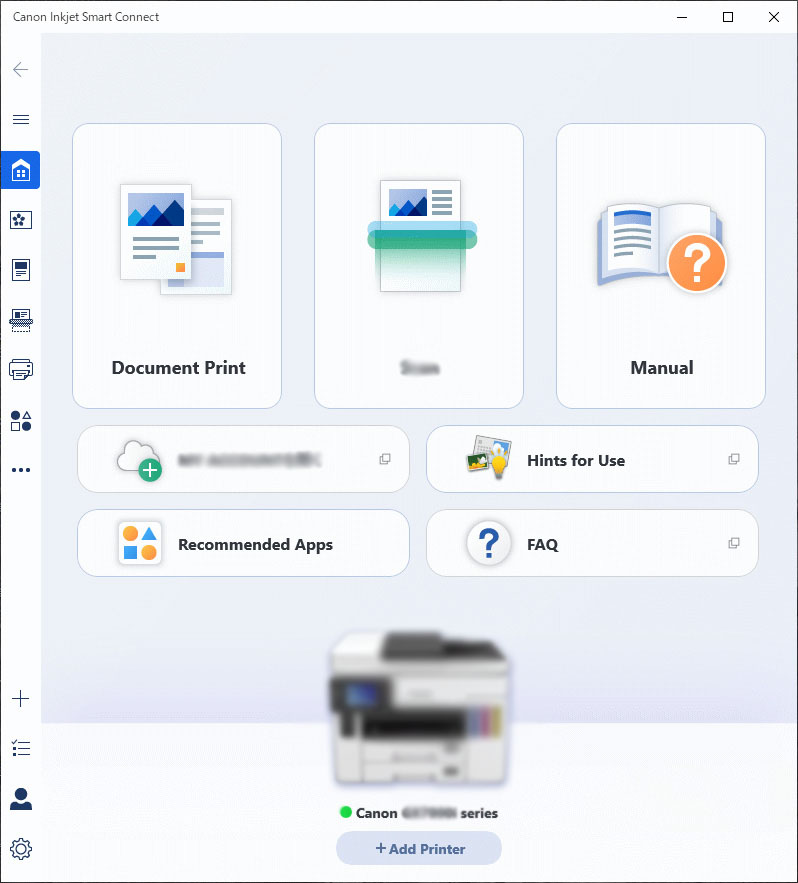
Start Canon Inkjet Smart Connect on the Start menu.
Canon Inkjet Smart Connect starts up.
If Canon Inkjet Smart Connect not installed, download it from here and install it on your computer.
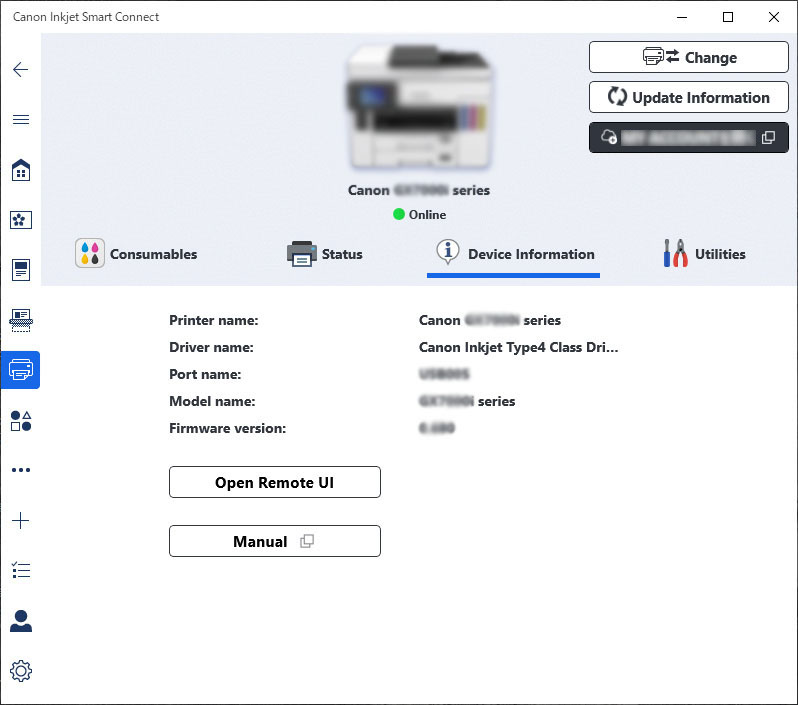
Click the Printer Management icon on the left side of the Canon Inkjet Smart ConnectHome screen and click Device Information at the bottom of the Printer Management menu.
Click Open Remote UI in the lower center of the Device Information screen.
"Remote UI" will be displayed on the web browser on your computer.
Click Canon Inkjet Smart Connect on the Dock.
Canon Inkjet Smart Connect starts up.
See the screen of Windows version above.
If Canon Inkjet Smart Connect not installed, download it from here and install it on your computer.
Click the Printer Management icon on the left side of the Canon Inkjet Smart ConnectHome screen and click Device Information at the bottom of the Printer Management menu.
Click Open Remote UI... in the lower center of the Device Information screen.
See the screen of Windows version above.
"Remote UI" will be displayed in the web browser on your computer.
If you display Remote UI for the first time on your smartphone, tablet, or computer, select For secure communication.
Once you register the root certificate to the web browser on your smartphone, tablet, or computer, this step is not necessary after the next time.
If all settings are set back to the default from the printer's operation panel, download the root certificate again, and then register it.
If the root certificate is not registered, a message to warn you that the secure connection is not guaranteed may appear. In that case, ignore the warning and register the root certificate to the web browser.
Select Log in.
The password authentication screen appears.
Enter the password.
When the password authentication is complete, the menus that can be utilized are displayed on the web browser.
The password is set at the time of purchase.The password is the printer serial number.The printer serial number is printed on the sticker attached on the printer.It consists of 9 alphanumeric characters (four alphabets followed by five numbers).
Once you register the root certificate to the web browser on your smartphone, tablet, or computer, this step is not necessary after the next time.
If all settings are set back to the default from the printer's operation panel, download the root certificate again, and then register it.
If the root certificate is not registered, a message to warn you that the secure connection is not guaranteed may appear. In that case, ignore the warning and register the root certificate to the web browser.
Select Log in.
The password authentication screen appears.
Enter THE password.
When the password authentication is complete, the menus that can be utilized are displayed on the web browser.
The password is set at the time of purchase. The password is the printer serial number. The printer serial number is printed on the sticker attached on the printer. It consists of 9 alphanumeric characters (four alphabets followed by five numbers).
When you finish checking the printer status and changing printer settings, select Log out.
Close the web browser.
If your product issue was not resolved after following the steps above, or if you require additional help, please create or log in to your Canon Account to see your technical support options.
Or if you still need help, visit our Canon Community by clicking the button below to get answers: