|
Wireless Setup Using WPS (Wi-Fi Protected Setup)
Before Starting Wireless Connection Setup
REFERENCE
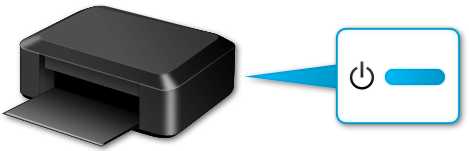
Make sure that the printer is turned on.
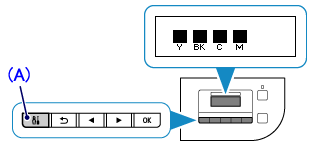
1. Confirm that the following screen is displayed.
REFERENCE
If another screen is displayed, press the Setup button (A) on the printer.
2. Press the [Setup] button.
3. Use the  or  button (B) to select [Wireless LAN setup]. Press the [OK] button.
4.
When the screen left above is displayed, go to the step 5.
When the screen right above is displayed, go to the step 6.
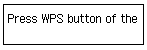
5. Press and hold the WPS button on the access point.
-> Go to 8.
6. Select [WPS (Push button)].
Press the [OK] button.
7. Press and hold the WPS button on the access point.
REFERENCE
For details on pressing the WPS button, refer to the access point manual.
8. Press the OK button on the printer within 2 minutes.
REFERENCE
If a different screen appears, see "If an Error Screen Appears" below in this page and follow the instructions there.
9. When the left screen appears, press the OK button.
Press the [Setup] button.
When connection is complete, [Wi-Fi] appears at the right of the screen.
REFERENCE
If a different screen appears, see "If an Error Screen Appears" below in this page and follow the instructions there.
The wireless LAN setup using WPS is completed.
Install the software.
If an Error Screen Appears
- Multiple access points detected <See manual> appears
The screen appears when connections are being attempted from multiple access points simultaneously. Wait for a while, then configure WPS settings again. Press the WPS button on only one access point.
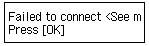
- Failed to connect <See manual> appears
The screen appears when an error occurs.
Check the access point settings, then configure WPS settings again.
- Timeout error <See manual> appears
The screen appears when WPS setup was not completed within a specified time.
Is the network device (router, etc.) turned on? If the network device is already turned on, turn it off, then turn it back on.
|