Windows 2000/XP: Right-click the printer icon for the machine, then click 'Printing Preferences'.
Windows 98/Me: Right-click the printer icon for the machine, then click 'Properties'.
The Printer Properties or Printing Preferences dialog box is displayed.
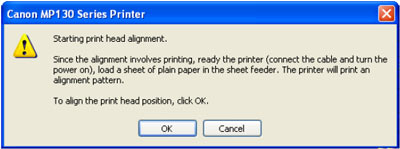
IMPORTANT: a. Windows 2000/XP: The 'Manage Printers' privilege is required. b. Do not perform another operation while the print head is being aligned.
Load Letter or A4 size plain paper in the machine.
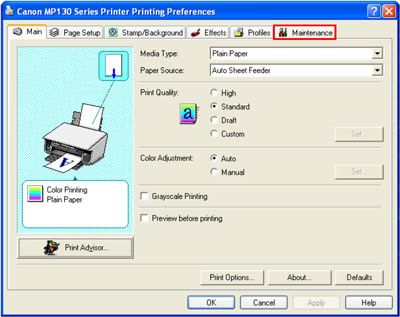
On the Maintenance tab, click 'Print Head Alignment'.
Click 'OK'.
Click 'OK'.
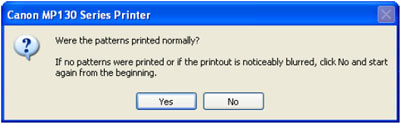
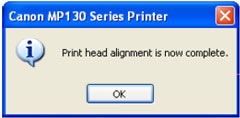
When printing of the pattern is completed, click 'Yes'. If the pattern does not print, check that the ink tanks are securely inserted.
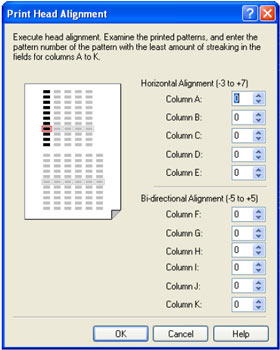
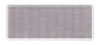
In the samples of printed pattern A, find the one in which the vertical lines are least obvious, then enter the number. In the same way, enter the number of the B-K sample in which the vertical lines are least obvious, then finally click 'OK'.