Untitled Document
How to perform the Print Head Alignment (Mac OS 8.6-9.x)
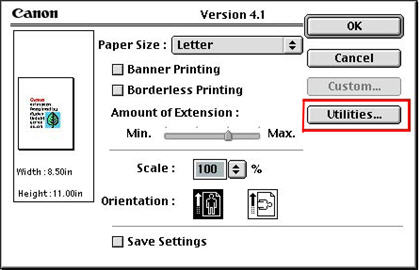
1. Select 'Page Setup' from the 'File' menu.
2. Click 'Utilities' in the 'Page Setup' dialog box.
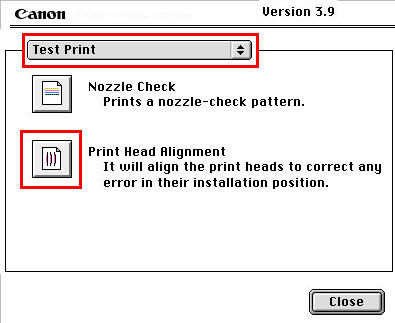
3. Check that 'Test Print' is displayed in the 'Printer Utility' dialog box. Click the 'Print Head Alignment' icon
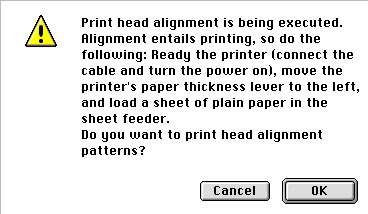
4. The message shown below is displayed. Check the following, and then click 'OK'.
- Is the cable connected properly? Is the printer on?
- Is the printer's paper thickness lever set to the left?
- Is a sheet of plain paper loaded in the auto sheet feeder?
5. Refer to the printed sheet, and enter the numbers on the next screen.
a. Select the pattern with the fewest visible vertical stripes in column A.
b. Enter the selected pattern's number in the column A box.
c. Similarly, enter the selected numbers in the boxes for column B to F.
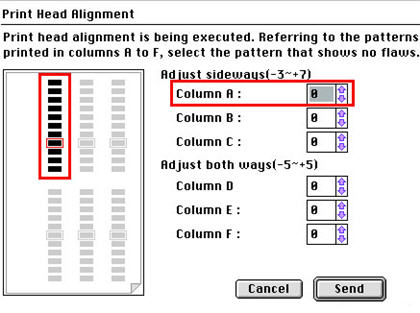
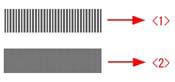
<1> Pattern with the greatest number of visible vertical stripes.
<2> Pattern with the least number of visible vertical stripes.
6. The Print Head Alignment operation is now complete.
