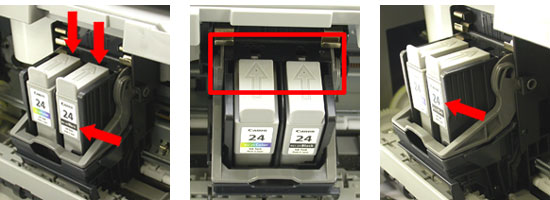
When replacing the ink tanks, confirm that the new ink tanks are installed properly. If the ink tanks are not locked into place, paper may not be fed properly, or ink may not be supplied to the print head.
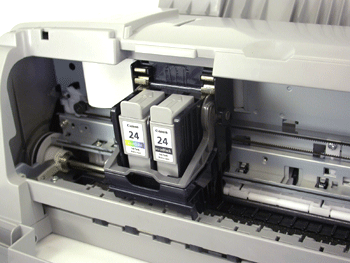
Check that the printer is powered on and open the front cover.
Wait until the print head moves to the center.
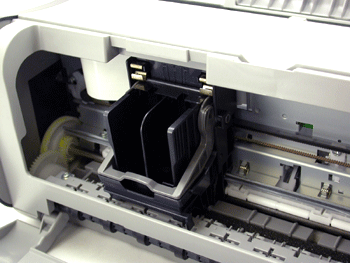
Remove the empty ink tank by pulling the release tab towards you.
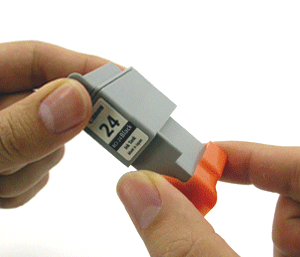
Remove the new ink tank from its package. Slowly push up the orange protective cap in the direction that the arrow indicates, and remove it.
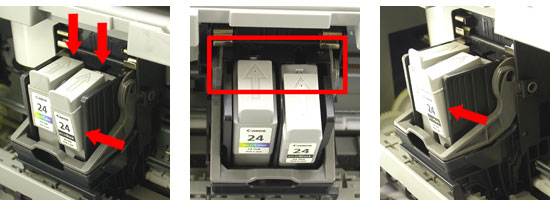
Insert the new ink tank to the print head by holding it at a slight angle. Press down on the top of the ink tank until a click sound is made.