How can I scan to my DR-G2140 / DR-G2110 scanner when it is on a different network (segment)?
| Article ID: ART172517 |
| |
Date published: 11/30/2018 |
| |
Date last updated: 11/30/2018 |
Description
It is possible to scan to the DR-G2140/G2110 scanner when it is on a different network segment but there are several steps that need to be completed first.
Solution
- Make sure that the latest driver/software for the DR-G2xxx series scanner is installed on the computer you wish to scan from.
- In order for the driver to see the network scanner, you will need to change/edit the NetworkDriver "ini" file first. The file is only available when the scanner is on the same network segment as the computer you are using, so, initially, you will need to have the scanner and the computer on the same network segment.
- Power on the scanner. The default network setting for the scanner is DHCP, so unless your network prevents automatic IP address assignment, the scanner should pull an IP address automatically.
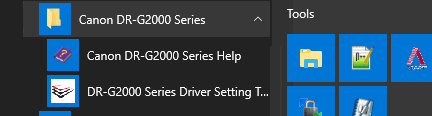
- Click on Windows [Start] button, and locate and start the application labeled "DR-G2000 Series Driver Setting Tool" (it is located in the menu folder titled "Canon DR-G2000 Series",
If you receive a pop-up User Account Control window, click "Yes" to continue.

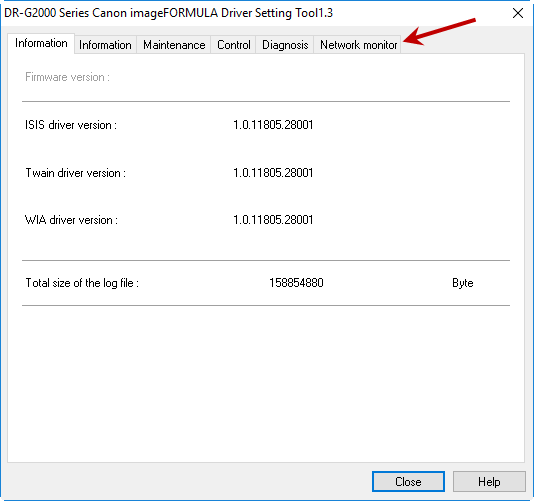
- When the application launches, click on the "Network monitor" tab (the last tab on the far right).
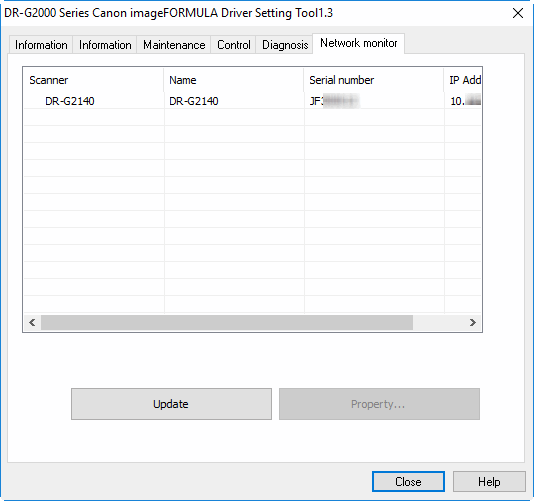
- If you see the scanner listed in this window, it means that the computer you are using is communicating with the scanner and you are ready for the next step. If you do not see the scanner listed, use the [Update] button.
- Now we need to locate the Network driver file. Open Windows [File Explorer] and navigate to the following path:
"C/ProgramData/Canon Electronics/Scanner drivers/NetworkDriver"
Note: The folder labeled "ProgramData" is a hidden folder. If you do not see it listed under your "C" drive, click on the [View] tab, and place a checkmark in the box "Hidden items".

- Within the Networkdriver folder, you should see a file that is named with your scanner's IP address (ie. xxx.xxx.xxx.xxx.ini).

If you do not see this file, it is because the computer is not seeing the scanner. go back to step 5.
- You will need to edit this file. Right-click on this file and select "Edit" (it will open in [Notepad]).
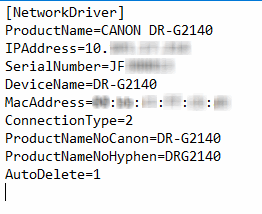
- You need to change the last line, titled "AutoDelete". By default, the file is set to delete itself when the scanner is no longer connected with the computer. Change the line "AutoDelete=1" to "AutoDelete=0" and then save the file. This prevents the file from deleting itself.
- You can now distribute this file (xxx.xxx.xxx.xxx.ini) to all of the computers you wish to scan with using the DR-G21xx series network scanner. Make sure that the receiving computer has the latest DR-G21xx series driver/software installed on it and then just locate the Networkdriver folder and add the file from step 10. Make sure the scanner is powered on, fire up the Driver Settings Tool (step 4 above), and click on the "Network monitor" tab. You should see the scanner listed there.
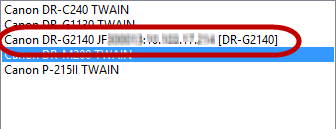
- You are now ready to scan over the network. When selecting the correct scanner driver in your scanning software (CaptureOnTouch), ensure you select the scanner driver that has your model name followed by the serial number of the scanner and the IP address.