Faxing a Document from a MAC
To send a document by fax, follow the procedure below.
1. From the [File] menu of the application software, select [Page Setup].
The [Page Setup] dialog box is displayed.
Note:
In Mac OS X version 10.5 and later, depending on the application, the [Page Setup] dialog box may not be available. In such applications, the [Page Setup] dialog box settings are displayed in the [Print] dialog box.
2. Confirm that the name of the fax you are using is displayed in [Format for] in the [Page Attributes] preferences pane -> set the page size , orientation, and scale.
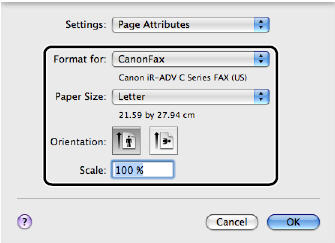
3. Click [OK].
4. From the [File] menu, select [Print].
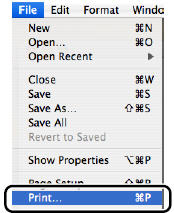
The [Print] dialog box is displayed.
5. Select the fax you are using from [Printer] in the [Print] dialog box.
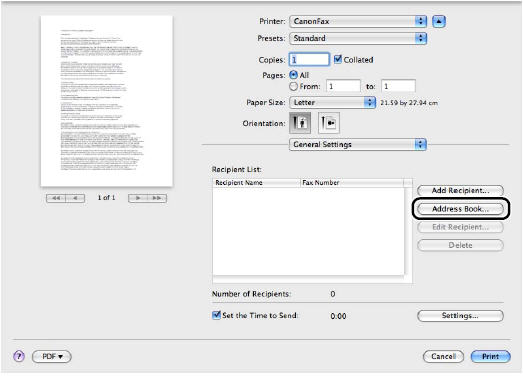
6. Select the General Settings] preferences pane -> specify the recipients.
Adding a New Name and Fax Number
1 Click [Add Recipient] in the [General Settings] preferences pane of the [Print] dialog box.
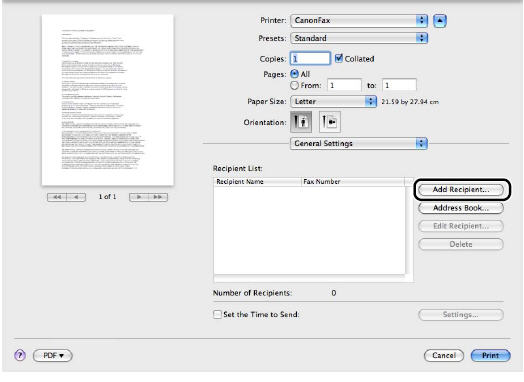
The [Add Recipient] dialog box is displayed.
2. Enter the name and fax number you want to add in [Recipient Name] and [Fax Number]-> click [OK].
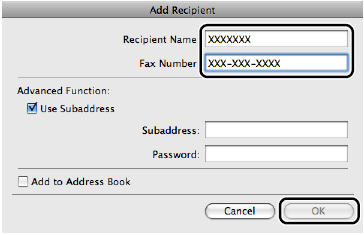
The new recipient is displayed in [Recipient List] in the [General Settings] preferences pane.
Note:
- To change the name and fax number of an added recipient, select the recipient from [Recipient List] -> click [Edit Recipient].
- If you select [Reenter Fax Number before adding Destination to [Recipient List]] in the [Security Settings] dialog box of the [Special Features] preferences pane, re-enter the fax number in the dialog box that is displayed.
Adding a Recipient from the Address Book
1. Click [Address Book] in the [General Settings] preference pane of the [Print] dialog box.
The [Select Recipient from Address Book] dialog is displayed.
2. Select a recipient from the list under [Address Books] -> click [ ] (Below Arrow).
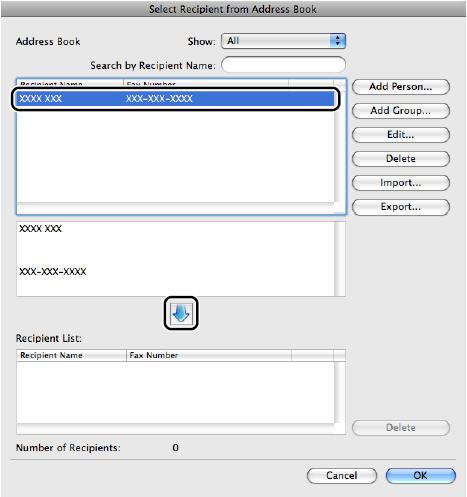
The selected recipient is displayed in [Recipient List].
3. Click [OK] in the [Selected Recipient from Address Book] dialog box.
The new recipient is displayed in [Recipient List] in the [General Settings] preferences pane.
Note:
To change the name and fax number of an added recipient, select from [Recipient List] -> click [Edit Recipient].
7. If you want to attach a cover sheet, configure the settings for the cover sheet in the [Cover Sheet] preferences pane.
8. Click [Print].
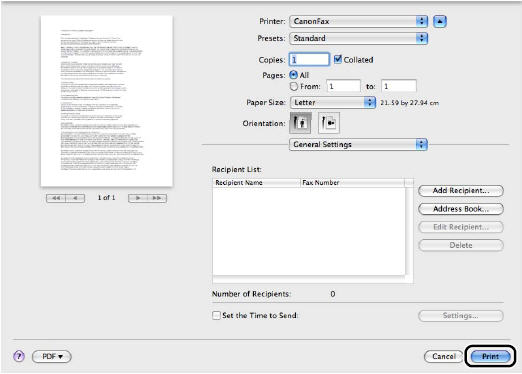
Faxing Starts
