If an Error Code displays on the LED (for example: E, 0, 5 or E, 0, 7), you can reinstall the ink cartridge to try to clear the error.
There are a few things to be cautious of when you reseat a cartridge.
 Caution
-
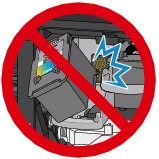
Don't touch the metallic parts or other parts inside the machine.
-
Don't touch the electrical contacts or print head nozzle on a cartridge. The machine may not print properly if you touch them.
-
Handle the cartridge carefully. If you shake it, ink may spill and stain your hands or the surrounding area.
Remove the cartridge(s)
-
Make sure the power is turned ON.
-
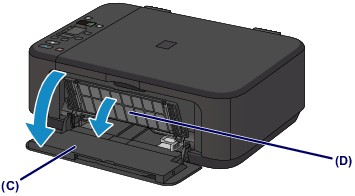
Open the front cover (C), and the paper output tray (D).
-
Open the paper output cover (E). The cartridge holder moves to the replacement position, and the head cover (F) opens automatically (see the animated image steps 1-6).
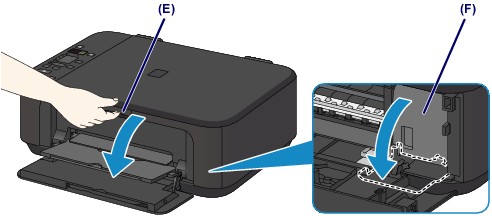
Don't stop the cartridge holder or try to move it forcibly. Wait until it stops completely.
 If the paper output cover is open for more than 10 minutes, the cartridge holder moves to the far right and the Alarm lamp lights. If this happens, close, then reopen the paper output cover.
-
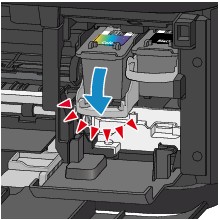
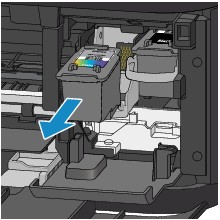
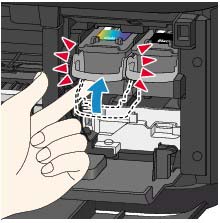
Push down on the ink cartridge lock lever until it clicks (see the animated image, steps 1-8).
-
Remove the cartridge(s).
Reinstall the cartridge(s)
-
If you have a new cartridge, take it out of the package and remove the protective tape.
There may be ink on the tape, so remove it carefully. Don't try to reattach the tape after you remove it.
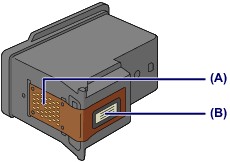
Don't touch the electrical contacts (A) or print head nozzle (B). The machine may not print properly if you touch them.
-
Insert the new cartridge into the holder until it touches the back (see the animated image,steps 1-4). The color cartridge goes on the left and the black on the right.
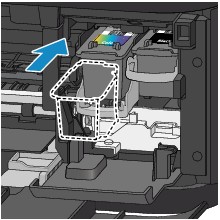

Insert the cartridge gently so it doesn't touch the electrical contacts on the cartridge holder.
-
Push up on the ink cartridge lock lever to lock the cartridge into place (see the animated image, steps 1-4). You should hear it click.
-
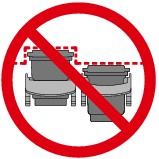
Check to be sure the cartridge is installed correctly (make sure both cartridges are even).
-
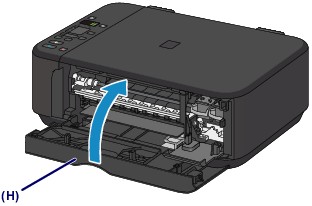
Close the paper output cover (H).
About ink cartridges
-
If you remove a cartridge, replace it immediately. If both the black or color cartridge aren't installed, an error occurs and the machine can't print.
-
Use a new cartridge. A used cartridge may cause the nozzles to clog and it won't be able to notify you when it's time for a replacement.
-
Don't leave a new cartridge out in the open after the packaging is removed. This causes the cartridge to dry out, and the machine may not operate properly when the cartridge is installed.
-
The inside of the machine may be stained with ink. Be careful not to stain your hands or clothing when you replace the cartridge. Use a clean cloth to wipe off ink inside the machine.
-
To maintain optimal print quality, use the cartridge within 6 months after first use.
Good to know
-
The machine cleans the print head automatically after you install / reinstall a cartridge. Don't begin any tasks until the process finishes.
-
If the print head is out of alignment, align the print head.
