Wireless Setup via USB Cable - Windows Computers - G4210
To be able to use the PIXMA printer to print or scan wirelessly on a Windows computer, the printer must first be connected to the wireless network and software drivers and applications installed on the computer.
 Instructions for setting up the printer on Mac computers can be found here.
The instructions / screenshots below show an alternative setup method whereby a USB cable is connected temporarily to the printer and computer to set up the wireless connection.
The setup file for this printer can be obtained from here.
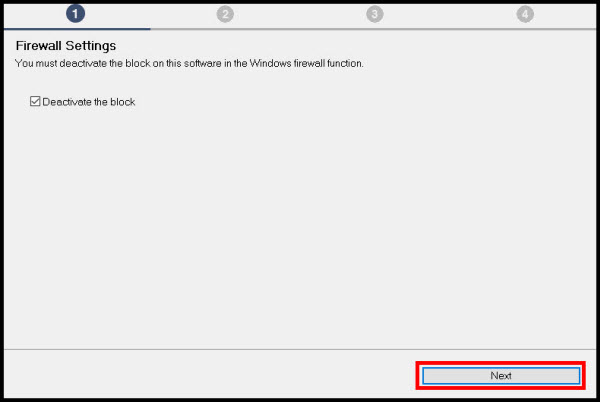
Read the information carefully taking note how to run the setup file if setup does not start automatically. Then click the "Download" button.
 Setup can also be performed by using the Setup CD that came with the printer.
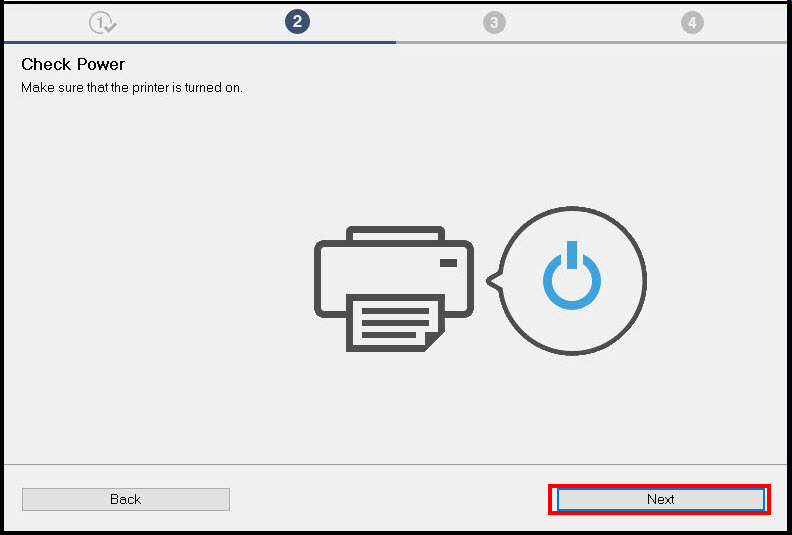
Follow these steps to set up the printer for wireless use with your computer.
-
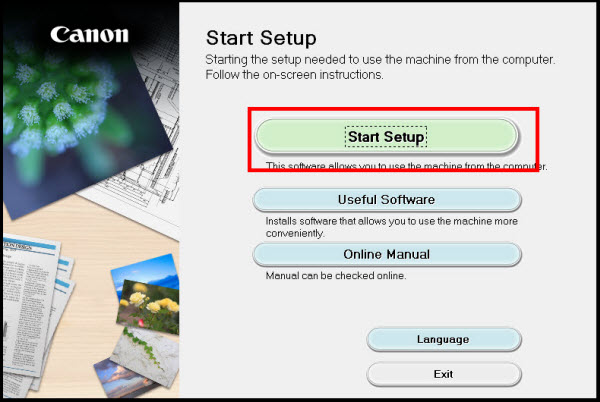
Select Start Setup.
-
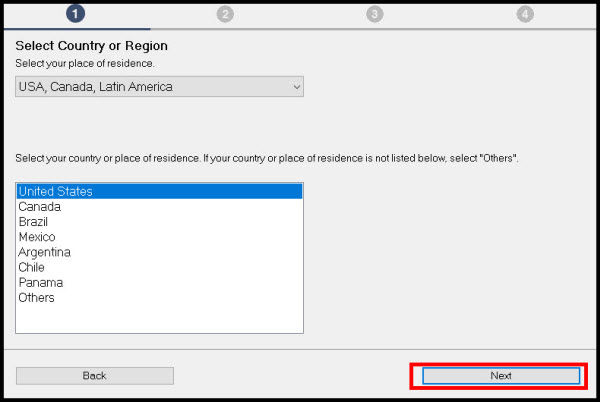
Select your region and click Next.
-
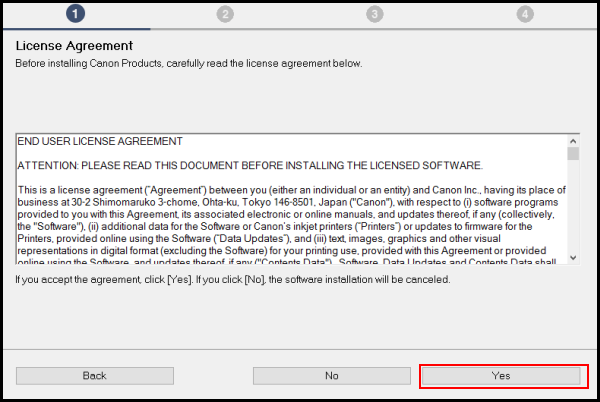
Select Yes on the License Agreement.
-
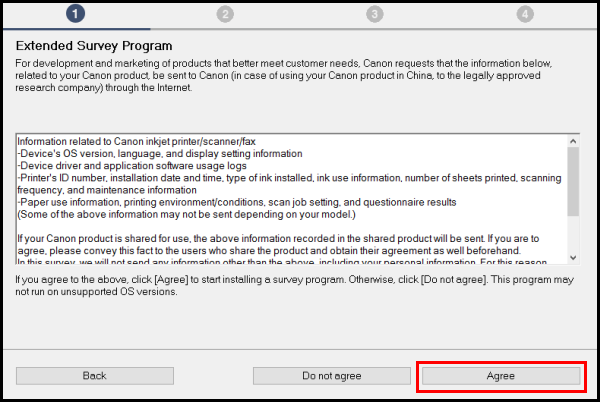
Select Agree or Do Not Agree to the Survey.
-
Select Next.
-
Select Wireless LAN Connection and click Next.

-
Click Next.
-
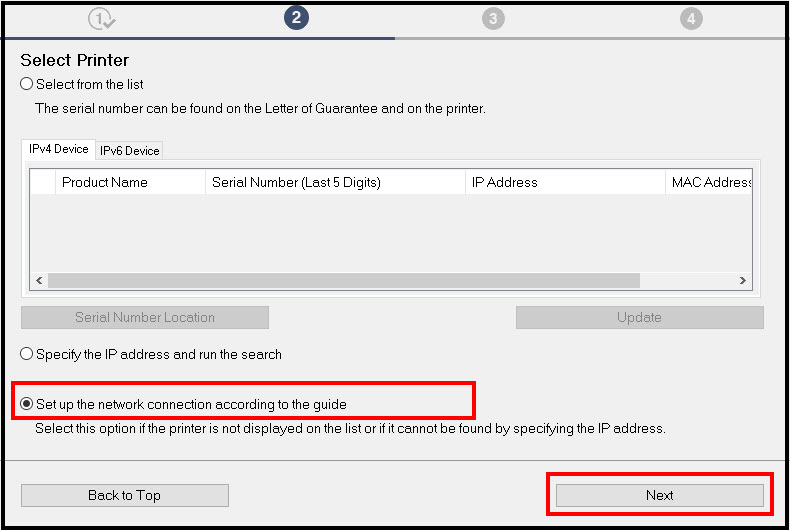
Select Set up the network connection according to the guide and click Next.
-
If an online manual page opens, close it.
-
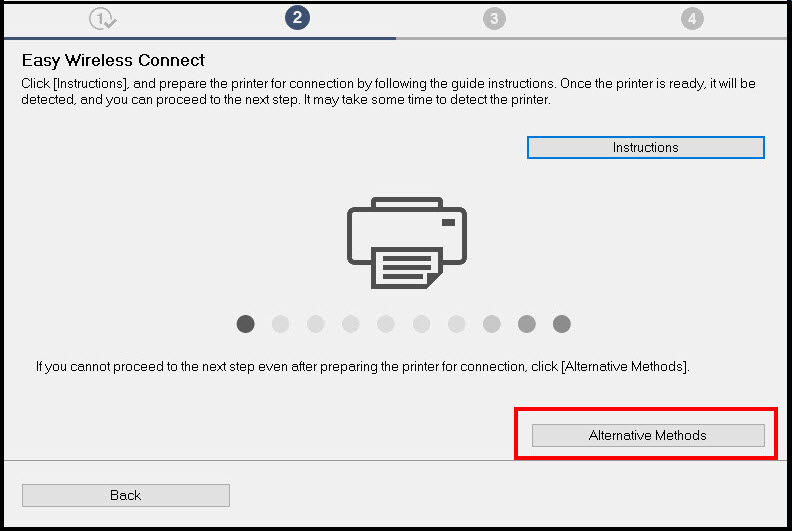
Click Alternative Methods.
-
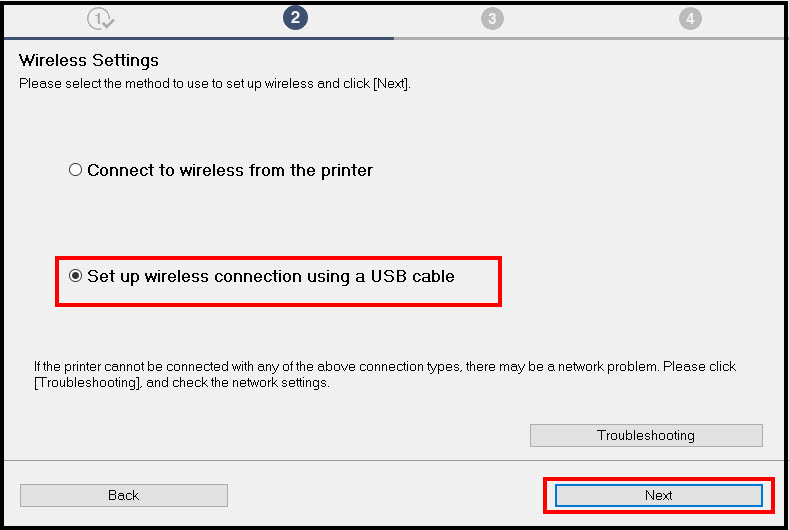
Select Set up wireless connection using a USB cable and click Next.
-
If an online manual page opens, close it.
-
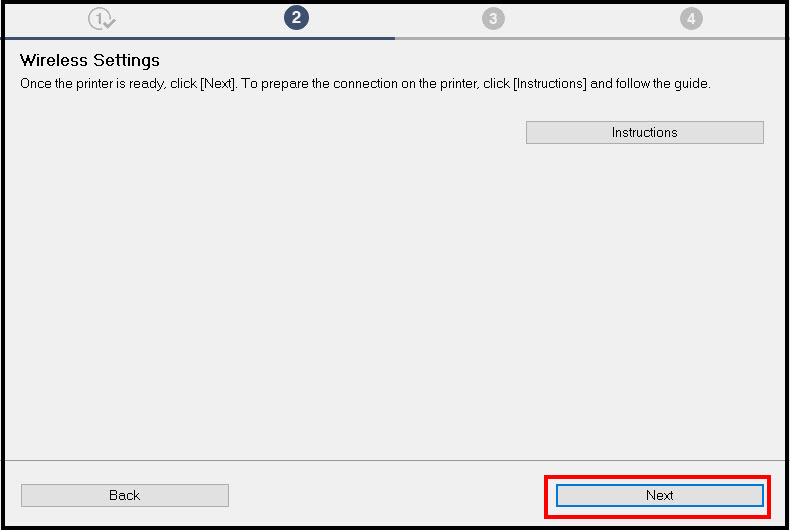
Click Next.
-
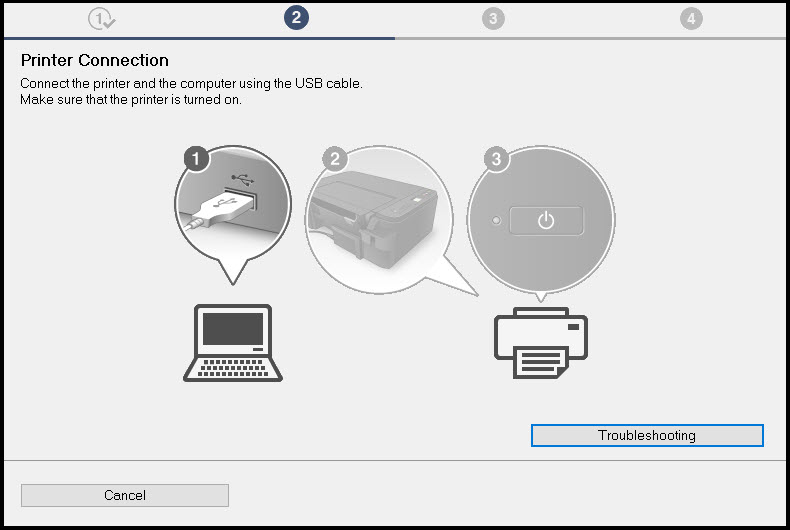
Connect the printer and computer using a USB cable.
-
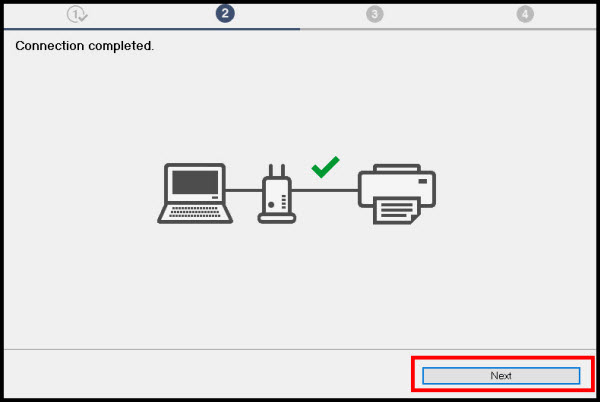
Network Connection completed. Click Next.
-
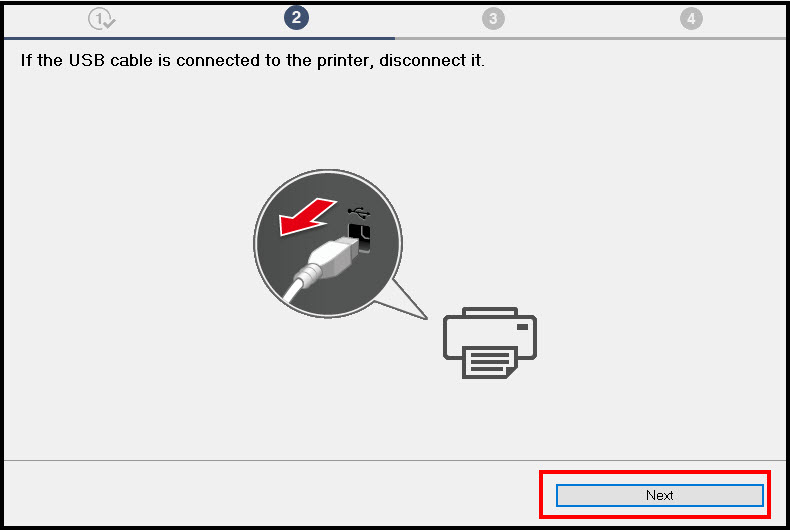
Disconnect the USB cable.
-
Head Alignment and Test Print screens appear next. These can be performed or not. If you choose to perform these, carefully follow the on-screen instructions.
-
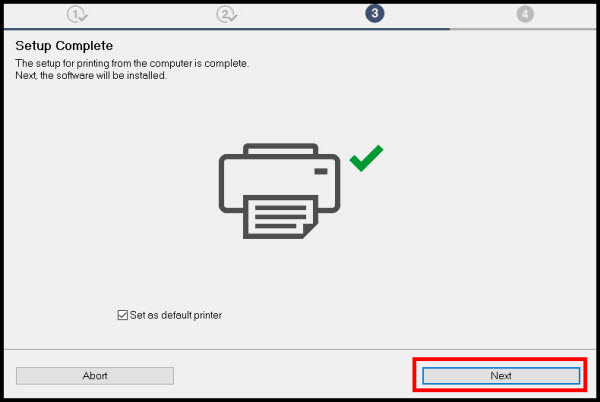
Setup complete. Click Next.
-
Select any optional application software desired (Defaults, Clear All or select by checkbox). Click Next.

-
Click Next.
-
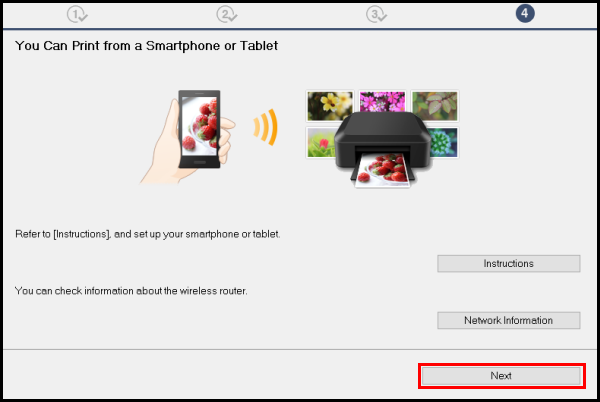
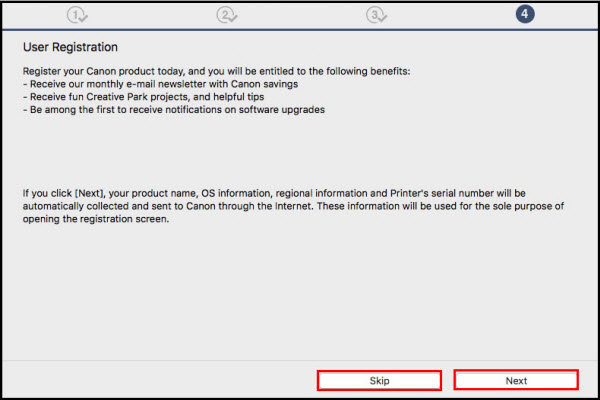
Click Next or Skip.
-
Click Exit.
If your product issue was not resolved after following the steps above, or if you require additional help, please create or log in to your Canon Account to see your technical support options.
Or if you still need help, visit our Canon Community by clicking the button below to get answers:

____________________________________________________________________________________________
