Using a USB cable to establish Wi-Fi connection - TS702 (Windows)
Article ID: ART173320
|
Date published: 01/10/2019
|
Date last updated: 03/05/2019
Description
Printer not detected. Use USB cable to transfer network information
Solution
Setup using USB cable
If the printer is not detected despite having completed all preparatory steps for connection, the connection can be established by temporarily connecting a USB cable between printer and computer. The USB cable will transfer necessary network information and can be disconnected after setup completes
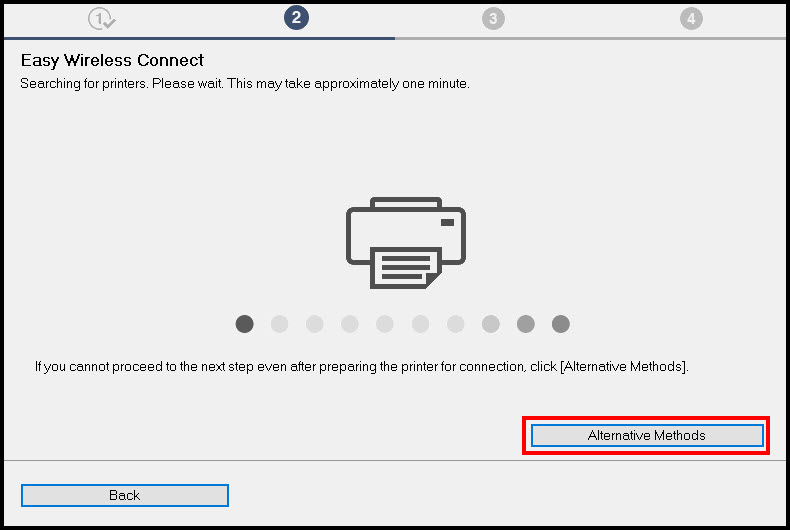
If the printer is not detected, setup will not proceed past the following screen. Click Alternative Methods to continue setup.
Select Set up Wi-Fi connection using a USB cable. Click Next.
Connect a USB cable between the printer and computer. Verify the printer is powered on.
Click Next on the Connection completed screen.
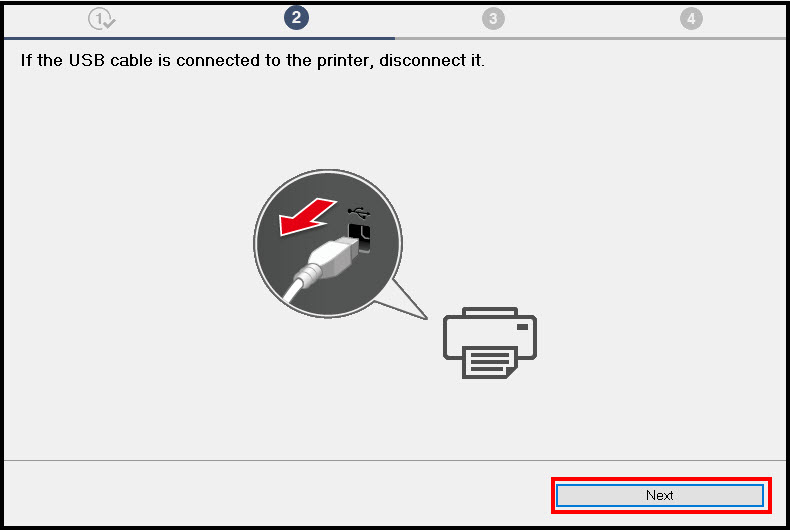
Disconnect the USB cable. Click Next.
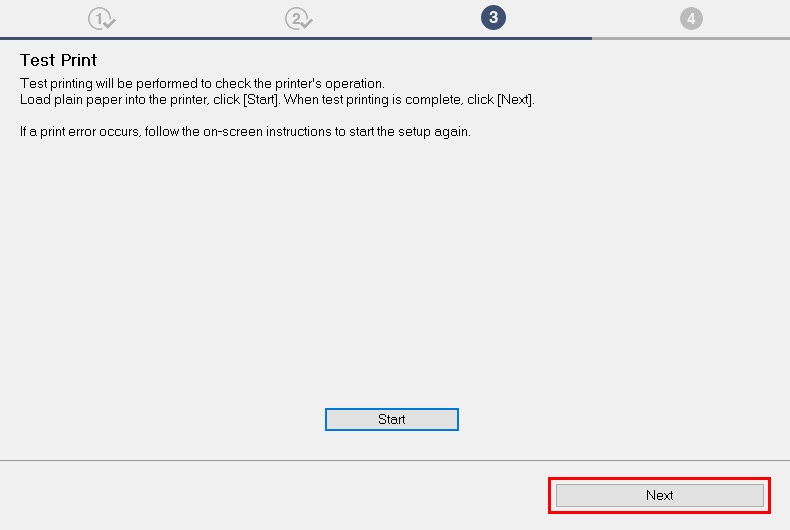
On the Test Print screen, click Start to perform a test print if desired (Optional) . Click Next to proceed.
Click Next on the Setup Complete screen. If you have another printer on your PC that you would prefer to use as your default printer, remove the check from the Set as default printer box.
The Software Installation List will appear. Place a check in the box for each item that you would like to install. Click Next to proceed.
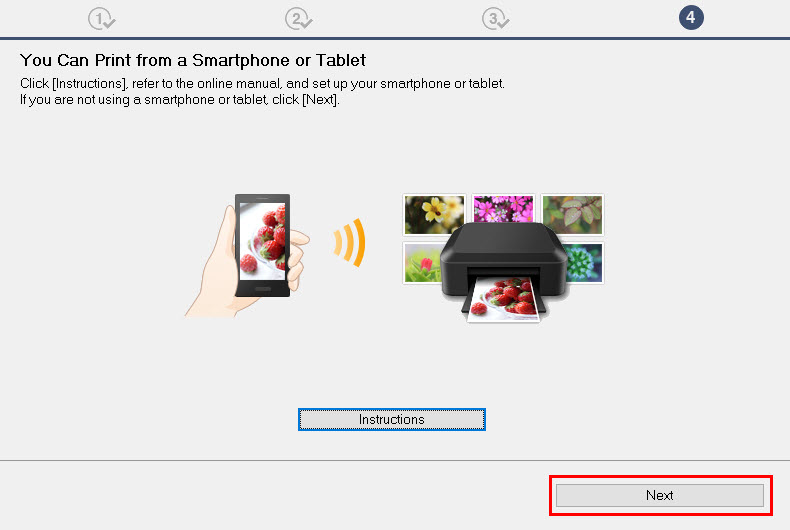
Click Next on the You can Print from a Smartphone...... screen
Click Exit
The installation is complete and your printer is now ready for use with your PC.