Basic Operations for Scanning and Saving Images (ArcSoft PhotoStudio)
Article ID: ART125685
|
Date published: 05/12/2015
|
Date last updated: 08/14/2015
Description
Basic Operations for Scanning and Saving Images (ArcSoft PhotoStudio)
Solution
Basic operations to scan and save images (ArcSoft PhotoStudio)
Follow the procedures below to scan and save an image through ArcSoft PhotoStudio, using the CanoScan LiDE 600F as an example.
Place the document you want to scan on the scanner.
Start ArcSoft PhotoStudio.
Windows Click the [Start] menu and select [(All) Programs] - [ArcSoft PhotoStudio 5.5], and click [PhotoStudio 5.5].
Macintosh Open [Applications] - [PhotoStudio] folders, then double-click the [PhotoStudio] icon.
ArcSoft PhotoStudio starts.
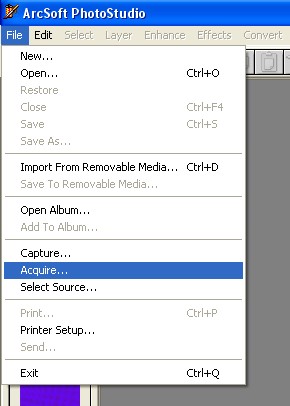
Select [Select Source] from the [File] menu.
Select your scanner model in the [Select Source] window and click [Select]. Note:The CanoScan LiDE 600F is used as an example. * If you use Windows and WIA-CanoScan LiDE 600F (scanner name) is also displayed, do not select it.
Note: This setting is needed only for the first time of use and you do not usually need to repeat it after then except when you have selected another scanner or a digital camera. You may have to set it every time depending which application program you use.
Select [Acquire] from the [File] menu.
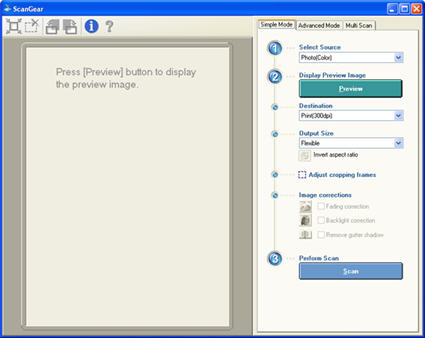
The "ScanGear" window is displayed.
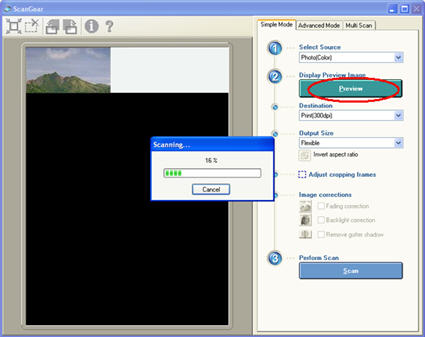
Click "Preview".
The scanned image is displayed gradually.
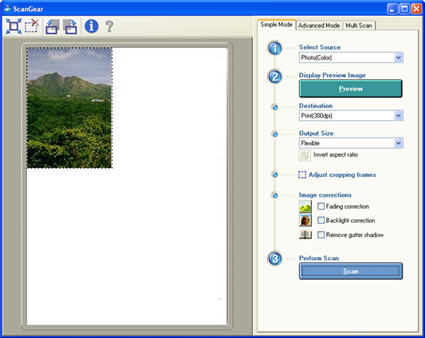
Select the scan area.
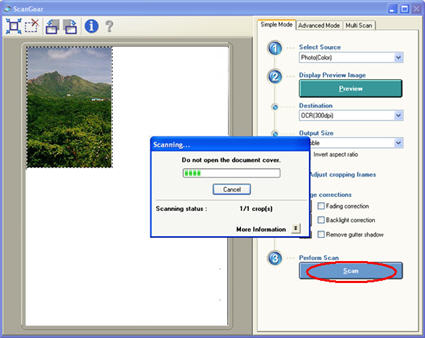
Click "Scan".
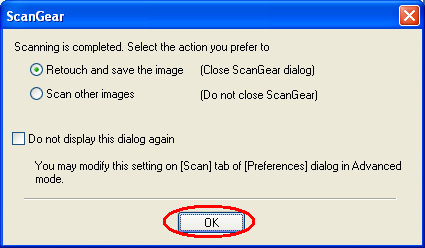
When the [Scanning is completed...] message is displayed, click the [OK] button.
ScanGear window is closed and the scanned image appears in ArcSoft PhotoStudio (an image editing program) window.